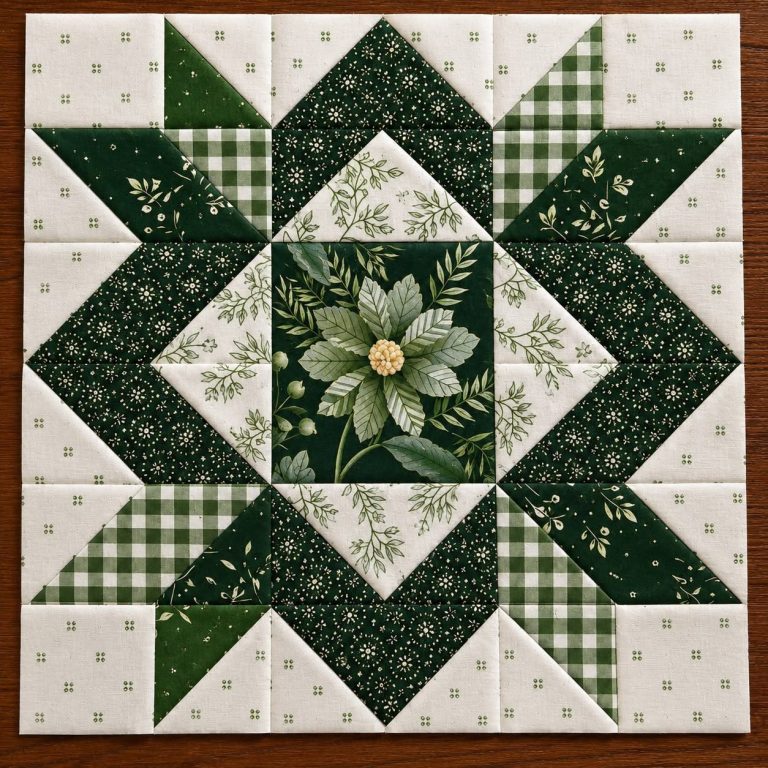
Green Floral Star Quilt Block

This quilt features a beautiful 3 × 3 layout of winter-themed fabric panels, framed with navy blue and light gray fabric. The design creates the illusion of each picture being a framed window.
The finished quilt shown in the photo is approximately 45 × 55 inches, but the dimensions can easily be adjusted.
Select 9 coordinating fabric panels featuring winter landscapes, flowers, snow-covered trees, or other seasonal images.
For the same look as the sample, choose panels with a predominantly blue, white, and gray color palette.
Try to keep all nine panels approximately the same size.
Trim each printed panel to approximately:
10 1/2 × 12 1/2 inches
This includes a 1/4-inch seam allowance.
Make sure the important parts of each picture remain visible after trimming.
For each picture block, cut two light gray strips.
Suggested size:
3 × 12 1/2 inches
These strips will be sewn to the left and right sides of each printed panel.
Cut one navy blue rectangle for the bottom of each block.
Suggested size:
14 1/2 × 4 1/2 inches
This creates the dark lower portion seen in the photograph.
The distinctive feature of this quilt is the angled navy-and-gray corners.
For each block, cut two light gray triangles and two navy triangles.
Place the triangles at the lower corners of the block so that the seam creates a diagonal line.
Sew carefully along the diagonal.
Trim away the excess fabric and press the seams open or toward the darker fabric.
Begin with one printed panel.
Sew a gray strip to each side.
Press the seams.
Next, add the navy bottom section with the diagonal corner pieces.
Press the entire block carefully.
Repeat this process until you have nine finished blocks.
Place each block on your cutting mat.
Using a quilting ruler, trim all nine blocks to exactly the same finished dimensions.
Keeping the blocks identical in size will make assembling the quilt much easier.
Cut navy blue strips for the spaces between the blocks.
For a design similar to the photograph, use strips approximately:
2 inches wide
Sew one sashing strip between each pair of blocks.
Add vertical sashing between the three columns.
Press the seams toward the navy fabric.
Arrange the blocks into three rows of three.
A suggested arrangement is:
Row 1: Landscape – Landscape – Flower
Row 2: Flower – Landscape – Iris
Row 3: Crocus – Landscape – Iris
You can rearrange the panels according to your fabric designs.
Sew the blocks together with the navy sashing between them.
Press each row.
Place the first and second rows right sides together.
Sew them together along the horizontal sashing.
Press the seam.
Repeat with the third row.
You should now have one complete quilt top.
Cut navy blue strips for the outside border.
A 2-inch-wide border works well for this design.
Sew the side borders first.
Then add the top and bottom borders.
Press the seams carefully.
Place the backing fabric on a flat surface with the wrong side facing up.
Place the batting on top.
Place the completed quilt top over the batting with the right side facing up.
Smooth all three layers so there are no wrinkles.
Secure the layers with safety pins, basting spray, or hand-basting stitches.
Quilt the three layers together.
For a similar appearance to the photograph, use simple straight-line quilting.
You can stitch:
Avoid excessive quilting over the printed panels if you want the images to remain the main focus.
After quilting, trim the edges so that the backing, batting, and quilt top are even.
Use a rotary cutter and quilting ruler to create clean, straight edges.
Cut several strips of navy fabric approximately 2 1/2 inches wide.
Join the strips together until you have one continuous binding strip.
Fold the strip in half lengthwise and press.
Sew the binding to the front of the quilt using a 1/4-inch seam allowance.
Miter the corners as you work around the quilt.
Fold the binding over the raw edge toward the back.
Hand-stitch or machine-stitch the binding securely in place.
Give the finished quilt a gentle press.
Check the binding, corners, and quilting stitches.
Your Winter Landscape Quilt is complete!