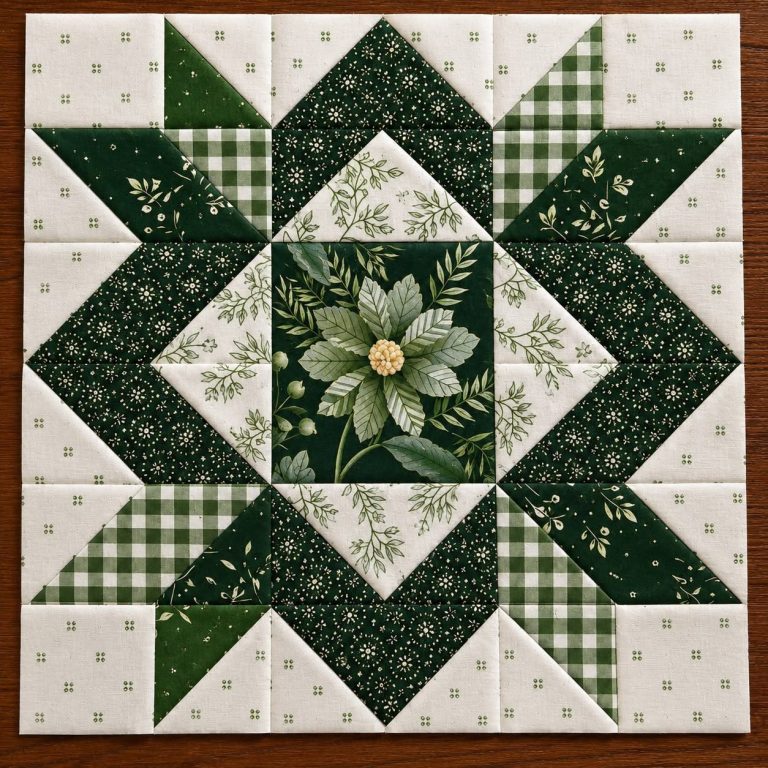
Green Floral Star Quilt Block

This quilt is made with repeating chicken blocks arranged in rows. Each chicken is created from several pieces of fabric, using a combination of patterned, solid, and neutral fabrics.
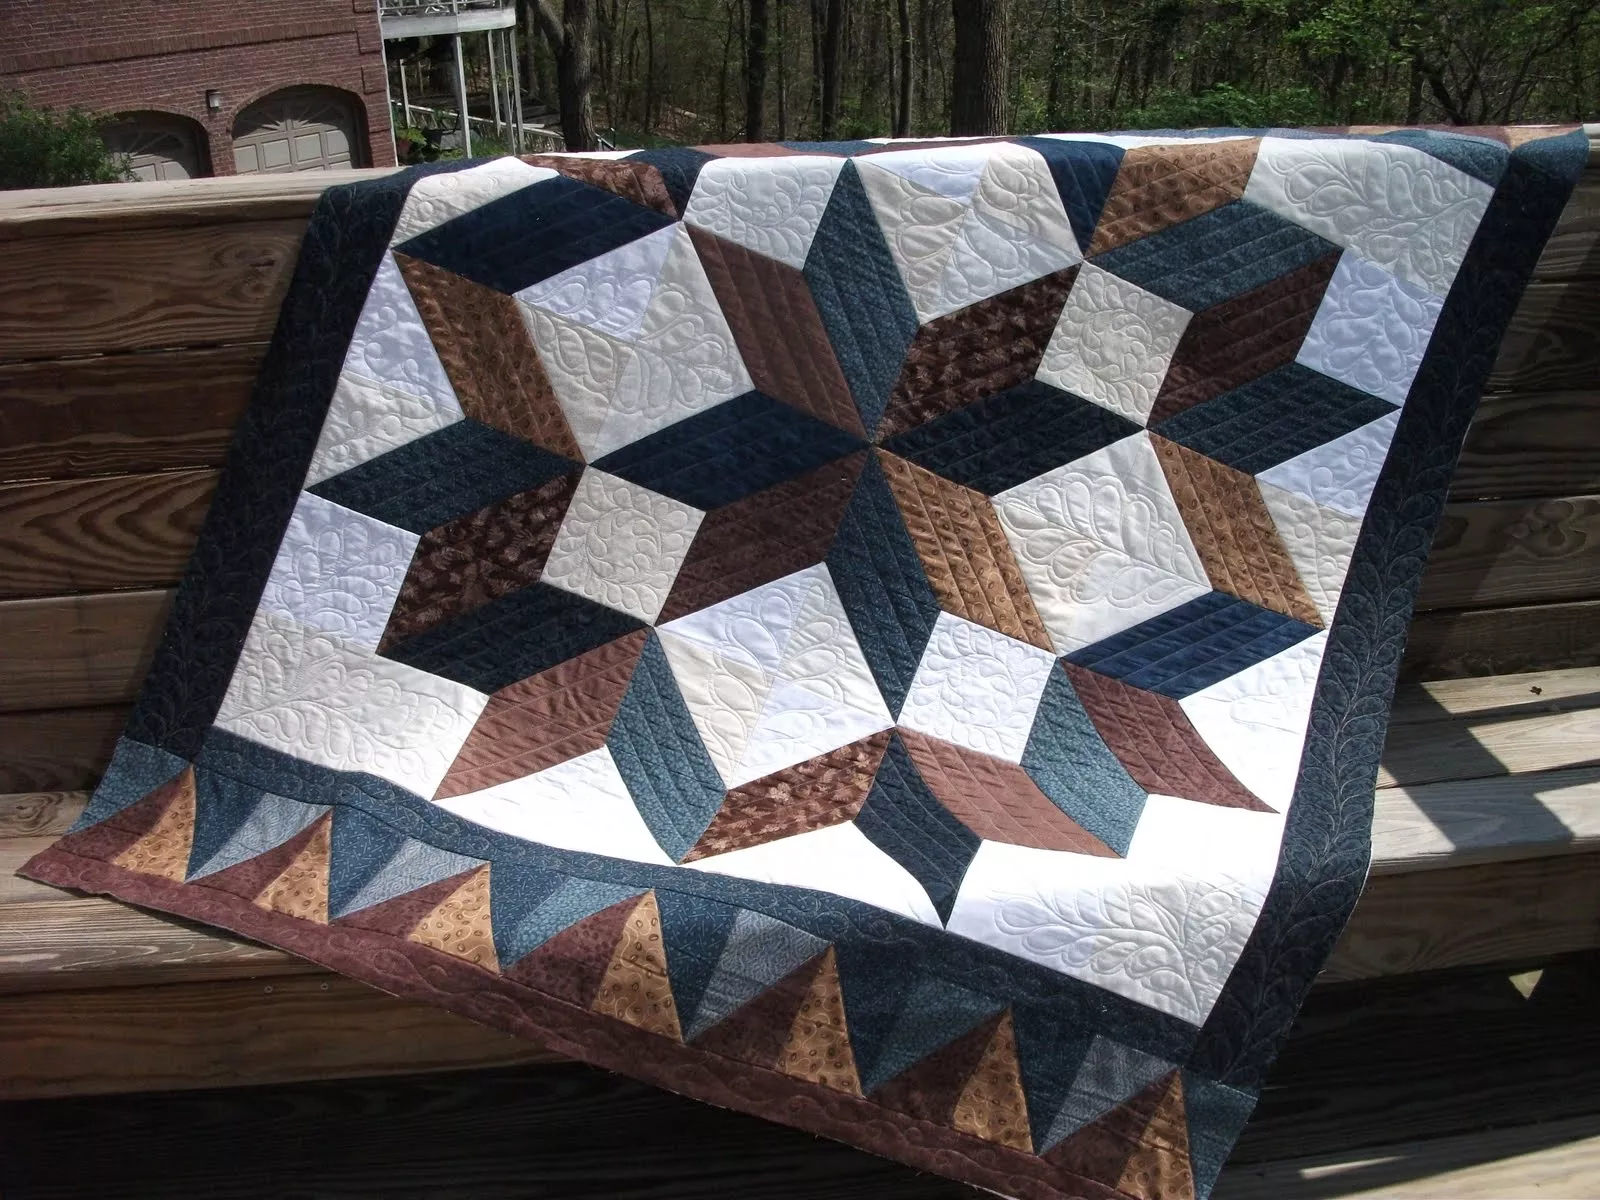
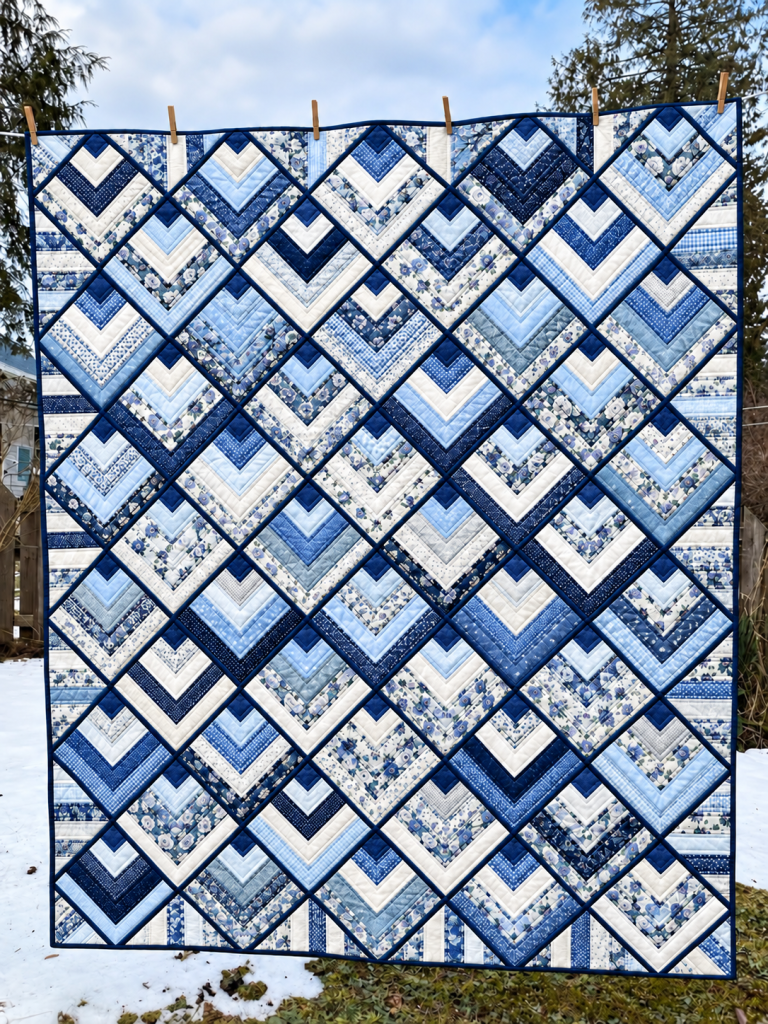
The quilt in the photo has a scrappy country-style appearance, with many different fabrics and colors.
Select several coordinating cotton fabrics.
For a scrappy look like the quilt in the photo, choose:
Use different fabrics for each chicken block so that every chicken looks slightly different.
Each chicken block is made from simple geometric pieces.
For each chicken, prepare:
You can make the pieces larger or smaller depending on the finished size you want.
A good starting point is to make each finished chicken block approximately 10 x 10 inches.
Add a 1/4-inch seam allowance to all pieces when cutting.
Place the chicken body fabric and the background pieces right sides together.
Sew them together using a 1/4-inch seam allowance.
Press the seams after each step.
Continue adding the background pieces around the body until the chicken begins to take shape.
Sew the head piece to the upper part of the chicken body.
Make sure the head is centered and the seams line up correctly.
Press the seam toward the darker fabric.
Attach the triangular tail piece to the back of the chicken.
The tail can be made from a contrasting fabric to make each chicken more interesting.
Press the seam carefully.
Cut very small pieces of red fabric for the chicken’s comb and wattle.
Position the comb above the head and the wattle underneath the beak.
These pieces can be appliquéd or pieced into the block.
For an easier version, you can use raw-edge appliqué and secure the pieces with a narrow zigzag stitch.
Add a small triangular piece of yellow or orange fabric for the beak.
For the eye, you can use:
If the quilt will be used by a child, embroidery is safer than buttons.
Add the remaining background pieces around the chicken until the block forms a square.
Square up the block using a quilting ruler.
Trim each block to the same finished size.
This is important because all the blocks need to line up when the quilt is assembled.
Repeat the process to make as many chickens as needed.
For a quilt similar to the one shown in the photo, make approximately 30–40 chicken blocks, depending on the desired finished size.
Use different fabrics for each block to create the scrappy patchwork effect.
Lay all the finished blocks on the floor or on a large table.
Arrange them in rows.
Turn some of the fabric combinations around so that similar colors are not directly beside each other.
Once you are happy with the arrangement, take a photo so you can remember the layout.
Sew the blocks together in horizontal rows.
Place two blocks right sides together and sew along the edge using a 1/4-inch seam allowance.
Press the seams.
Continue until each row is complete.
Place two completed rows right sides together.
Match the seams carefully and sew them together.
Press the seam.
Continue joining the rows until the entire quilt top is assembled.
Lay the backing fabric on a flat surface with the wrong side facing up.
Place the batting on top.
Place the completed quilt top over the batting with the right side facing up.
Smooth all three layers carefully.
Baste the layers together using safety pins, basting spray, or long hand stitches.
Quilt the three layers together.
You can use:
For a traditional country look, simple straight lines or quilting around each chicken work beautifully.
After quilting, trim the edges so that the quilt top, batting, and backing are even.
Use a ruler and rotary cutter for clean, straight edges.
Cut strips of fabric approximately 2 1/2 inches wide for the binding.
Join the strips together to make one long strip.
Fold the binding in half lengthwise and press.
Sew the binding to the front of the quilt.
Fold it over to the back and hand-stitch or machine-stitch it in place.
Give the finished quilt a gentle final press.
Check all the seams, binding, and quilting stitches.
Your chicken quilt is now finished!