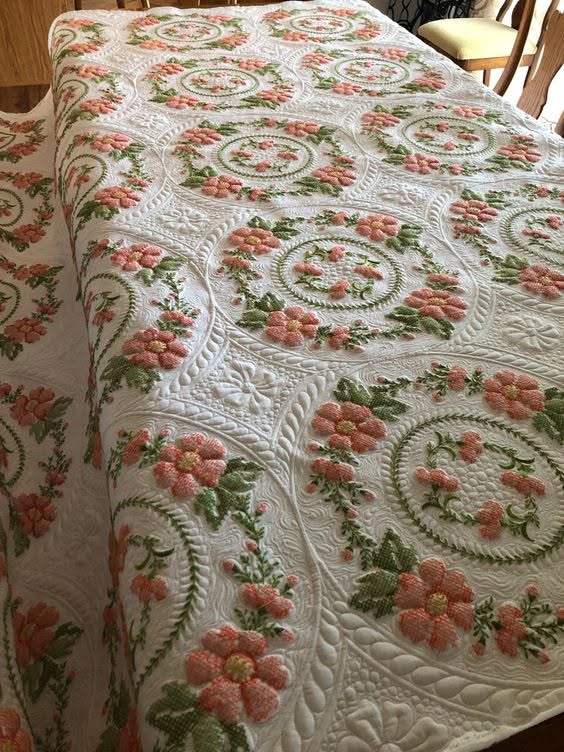
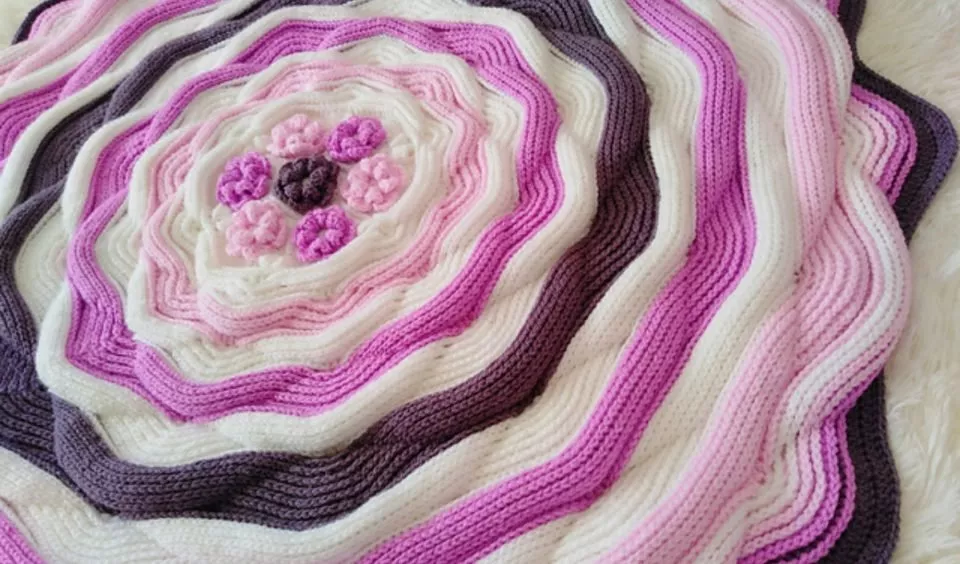
Rings of Posies

Making your first quilt can be an exciting and rewarding project. Here’s a basic guide to get started:
Necessary materials:
Fabrics of your choice (can be a combination of prints, solid colors, etc.)
Ruler
Scissors
Sewing machine
Line
safety pins
Acrylic blanket or other filling material
Fabric for the back of the quilt
Sewing machine or needle and thread for finishing the back of the quilt
Quilting ruler (optional)
Rotary cutter and cutting base (optional)
Step by step:
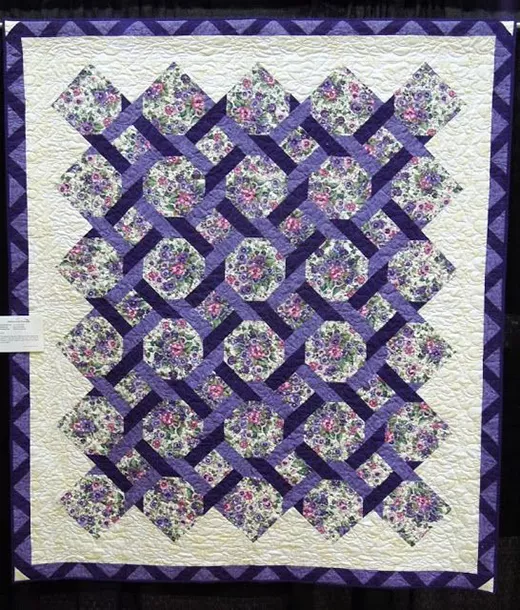
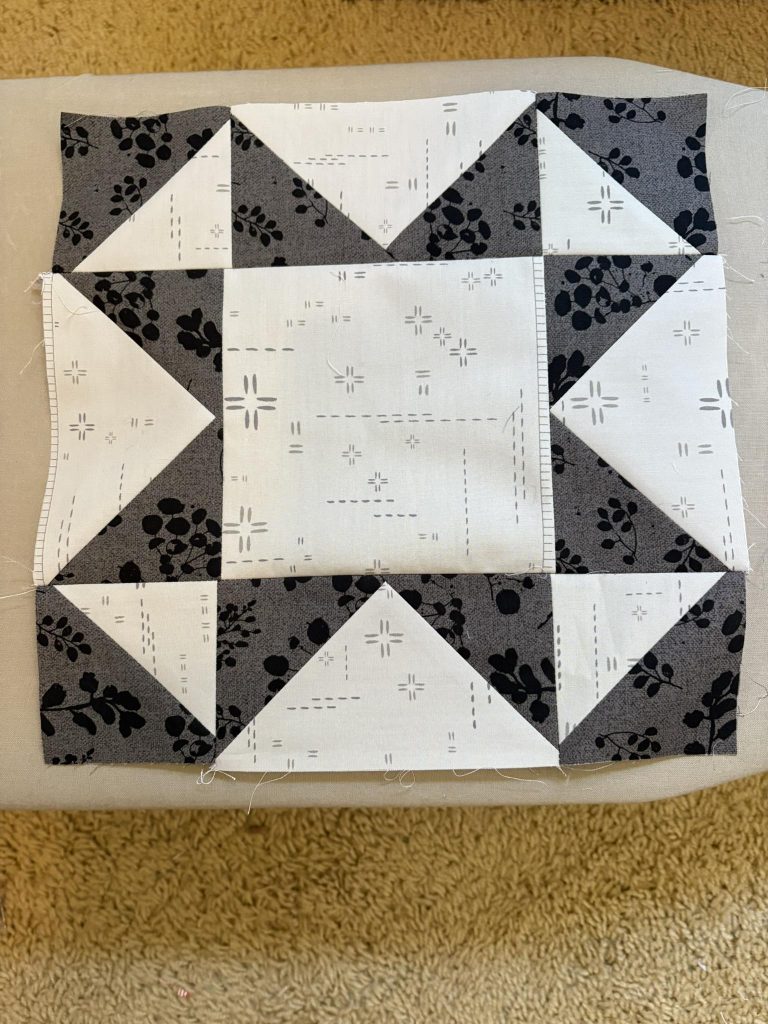
Choose your quilt design: Decide on the size and design of your quilt. For the first quilt, it may be easiest to start with a simple design, such as a block pattern or rectangular patchwork quilt.
Choose fabrics: Select the fabrics you want to use for your quilt. You can choose a specific color palette or a pattern combination. Keep in mind that the choice of fabrics will affect the final appearance of the quilt.
Cut the Blocks: Measure and cut the fabrics into uniformly sized blocks according to your chosen design. Use a ruler and scissors, or a rotary cutter and a cutting mat for precise cuts.
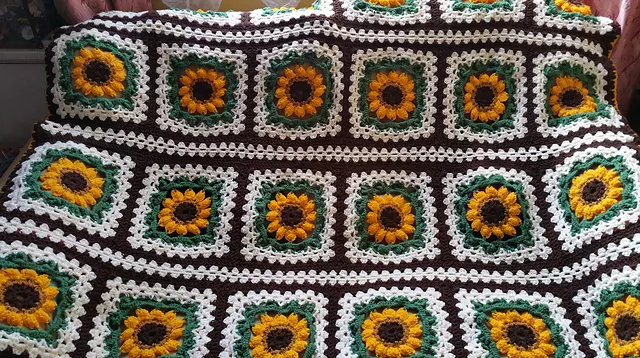
Assemble the blocks: Arrange the blocks according to the quilt design. Play around with color combinations and prints to achieve the desired visual effect. You can tack the blocks together to get an idea of how they will fit together.
Sew the blocks: Using a sewing machine, sew the blocks together to form the rows of the quilt. Align the edges of the blocks and pin them together before sewing. Continue sewing the rows together until you have completed the quilt.
Add Stuffing: Place acrylic blanket or other stuffing material over the back of the assembled quilt. Make sure the stuffing is flush with the edges of the quilt.
Add the quilt back: Place the fabric chosen for the quilt back right side down on top of the batting. Line up the edges with the top of the quilt and secure with pins.
Sew the layers together: Using the sewing machine, sew around the entire quilt, leaving an opening on one side to turn the quilt right side out. Be sure to sew all the layers together, keeping the edges lined up.
Turn the quilt right side out: Thread the quilt through the opening left in the previous step, turning it right side out. Use a ruler or pen to help push the edges to be sharp.
Finish: Close the opening by hand using blind stitches or sew a final seam around the entire quilt. You also have a few additional options for finishing your quilt:
Quilting: Quilting is the process of sewing through layers of quilts to hold them together and add texture. You can quilting by hand or by machine. If you choose machine quilting, you can use a quilting ruler to help guide the stitches or quilting freely, creating decorative patterns.
Finishing the edges: There are several ways to finish the edges of the quilt. You can fold the edges inward and hem them using a sewing machine or hand sewing. Another option is to create a decorative border, such as applying fabric tape or making a bias to cover the edges.
Labels and Signature: Adding a label with your name and date to the quilt is a special way to personalize it and leave your mark. You can make a printed or hand-embroidered fabric tag and sew it to the back of the quilt.
Remember that quilting takes patience and practice. As you gain experience, you can experiment with more advanced techniques such as more complex patchwork blocks, intricate quilting, and custom design. The important thing is to enjoy the creative process and be proud of the end result of your first quilt!

Pinterest Image
See also this tutorial: HOW TO MAKE YOUR FIRST QUILT
