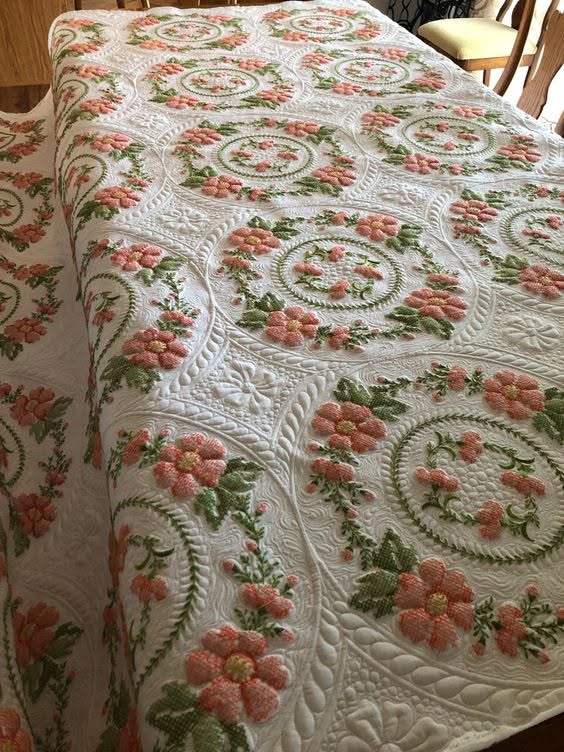
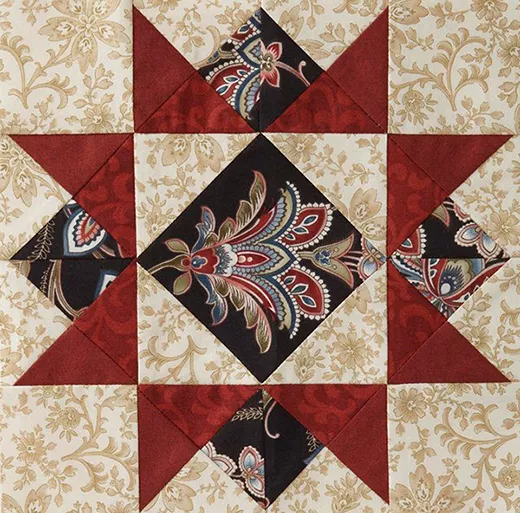
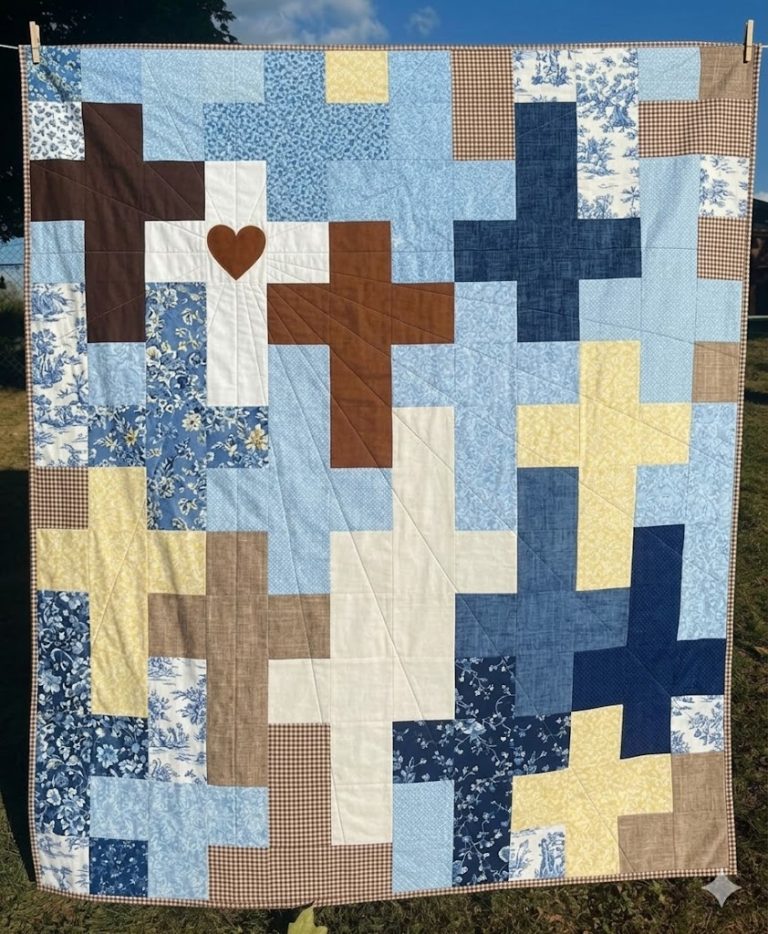
Loading...

Tie Quilt

advertising

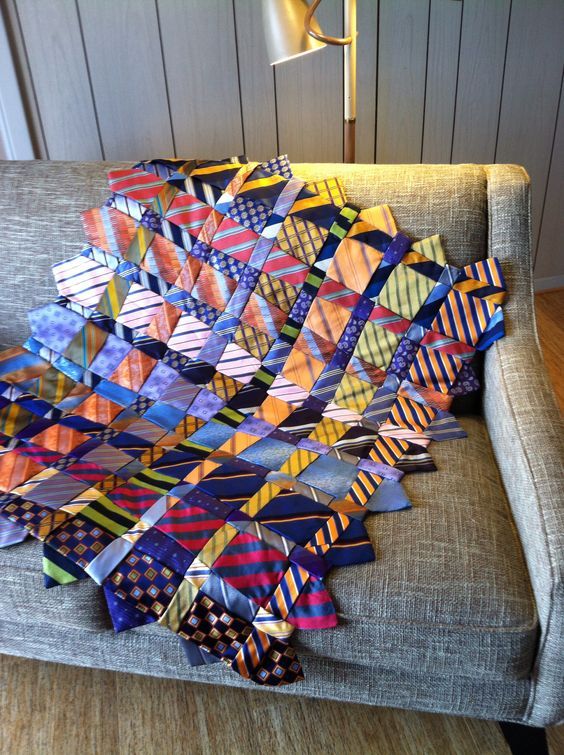
Making a tie quilt is a fun and creative way to upcycle old neckties and create a unique, quilted piece. Here’s a basic guide on how to make a tie quilt:

Materials Needed:

advertising
  1. Old neckties (the number depends on your desired quilt size).
  2. Fabric for the backing and binding.
  3. Quilt batting.
  4. Sewing machine.
  5. Thread.
  6. Scissors.
  7. Rotary cutter and mat (optional but useful).
  8. Ruler.

Step-by-Step Guide:

  1. Collect Neckties: Gather a collection of old neckties. You can use ties from your own collection, thrift stores, or ask friends and family to contribute.
  2. Prepare Neckties: Disassemble the neckties by carefully cutting the stitches on the backside. This will give you long strips of tie fabric.
  3. Cut Tie Pieces: Decide on the size for your quilt blocks. Common sizes are 4×4 inches or 5×5 inches. Use your ruler and rotary cutter to cut the tie strips into squares. You can choose a random mix of patterns or arrange them in a specific pattern.
  4. Layout Design: Organize your tie squares into the desired layout for your quilt. Play with color and pattern combinations until you’re satisfied with the design.
  5. Sewing Rows: Sew the tie squares together to form rows. Use a 1/4-inch seam allowance for each seam. Press your seams open or to the side to reduce bulk.
  6. Sew Rows Together: After sewing your rows, stitch them together to create the quilt’s top. Ensure that the squares line up neatly.
  7. Backing and Batting: Cut your backing fabric and quilt batting to match the size of your quilt top. Layer them in the following order: backing, batting, and quilt top (right side up).
  8. Quilting: Quilt the layers together by stitching in the ditch (sewing along the seams) or with a preferred quilting pattern. Use your sewing machine or hand-sew if you prefer.
  9. Binding: Create or attach binding strips to the edges of the quilt. This covers the raw edges and gives your quilt a finished look.
  10. Finishing: Trim any excess batting and backing fabric. Square up the edges for a neat finish.
  11. Final Touches: Hand-stitch the binding to the back of the quilt for a clean edge.
  12. Wash and Enjoy: Give your tie quilt a gentle wash and press to soften it up. Now it’s ready to use or display as a unique piece of art.

Remember, the number of neckties you collect will determine the size of your quilt. You can make anything from small wall hangings to full-sized bed quilts. Feel free to get creative with your layout and design. Enjoy the process of preserving memories and creating a personalized quilt.

advertising