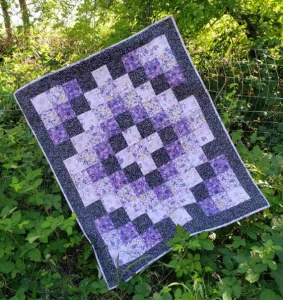
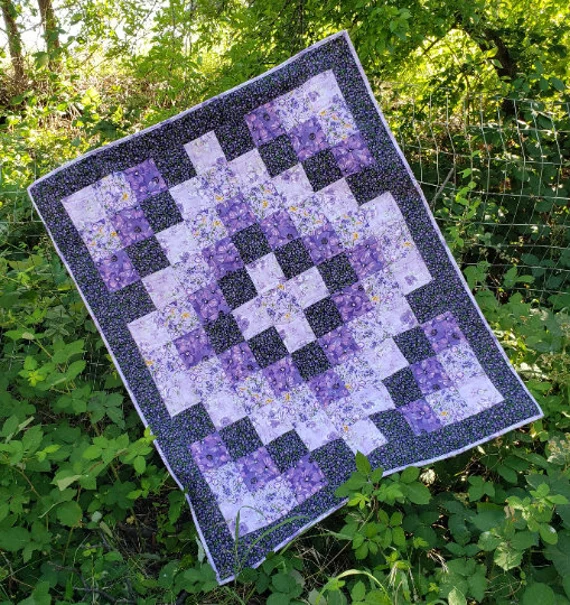
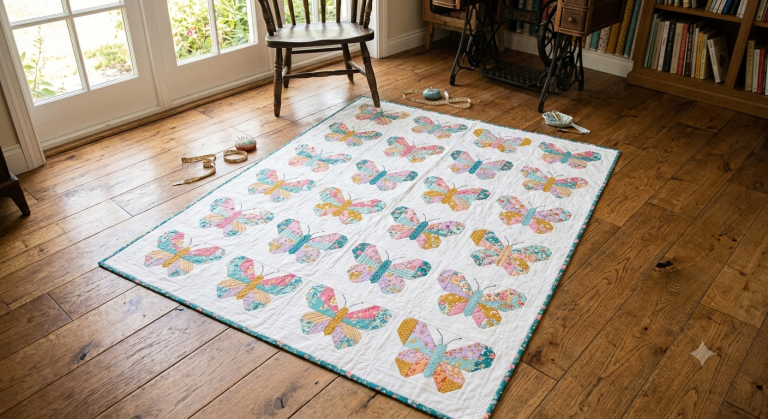
Creating a “Trip Around the World” quilt is a beautiful and rewarding project for quilting enthusiasts. This classic pattern features squares arranged in a way that gives the illusion of a globe-trotting adventure. In this guide, we’ll provide you with step-by-step instructions on how to make a “Trip Around the World” quilt.
Materials You’ll Need:
- Fabric: Choose a variety of fabrics in different colors and patterns. The more diverse, the more stunning your quilt will be. You’ll need enough fabric for your desired quilt size.
- Rotary Cutter and Mat: These tools will help you cut fabric pieces accurately.
- Quilting Ruler: A clear, acrylic quilting ruler is essential for precise measurements.
- Sewing Machine: A sewing machine will make piecing the quilt together much faster, but you can also hand-sew it if you prefer.
- Thread: High-quality cotton thread in a color that complements your fabrics.
- Quilt Batting: Choose a batting that suits your desired quilt thickness.
- Backing Fabric: A large piece of fabric for the quilt’s backing.
- Quilt Binding: Fabric strips or pre-made binding for finishing the quilt edges.
Steps to Create a “Trip Around the World” Quilt:
1. Fabric Selection:
- Start by selecting your fabrics. The “Trip Around the World” pattern is excellent for showcasing a broad range of colors and prints. You can use as few as three or as many as you like.
2. Cutting Strips:
- Cut fabric into 2.5-inch wide strips. Each strip should be the width of the fabric (usually around 42 inches).
3. Creating the Blocks:
- Take one strip of each fabric and sew them together along the long sides, creating a strip set.
- Continue to make more strip sets until you have enough to create your desired number of blocks.
4. Sub-cutting Strips:
- Sub-cut the strip sets into 2.5-inch wide segments. You’ll have rectangles that are 2.5 x 4.5 inches.
5. Assembling Blocks:
- Take one rectangle from the first strip set and sew it to a rectangle from the second strip set. Continue this process, sewing rectangles in a circular pattern to create a square. Repeat until you have enough blocks to complete your quilt.
6. Arranging Blocks:
- Arrange the blocks in the desired layout. The blocks should create the illusion of concentric circles, resembling a world map.
7. Piecing the Quilt Top:
- Sew the blocks together row by row, ensuring that the pattern continues smoothly. Press the seams in one direction to reduce bulk.
8. Adding Borders (Optional):
- To give your quilt a finished look, you can add borders. Measure the sides of your quilt and cut border strips to fit. Attach the borders to the quilt top.
9. Quilt Sandwich:
- Create a quilt sandwich by layering the quilt backing, batting, and quilt top. Baste the layers together to prevent shifting during quilting.
10. Quilting: – Quilt your layers together using your preferred quilting design. You can quilt it with straight lines, free-motion designs, or any pattern that suits your style.
11. Binding: – Trim any excess batting and backing, leaving a clean edge. Attach the quilt binding to the edges, covering the raw edges of the quilt.
12. Finishing: – After attaching the binding, fold it over the quilt edge and secure it with stitching. Trim any excess binding.
13. Final Touches: – Give your quilt a final press with an iron to ensure it lays flat and looks pristine.
Creating a “Trip Around the World” quilt is a labor of love that results in a stunning and timeless piece of art. The choice of fabrics and colors is where you can truly make it your own. Whether you’re a beginner or an experienced quilter, this pattern offers a rewarding creative experience that will produce a cherished heirloom for years to come. Enjoy your quilting journey!


