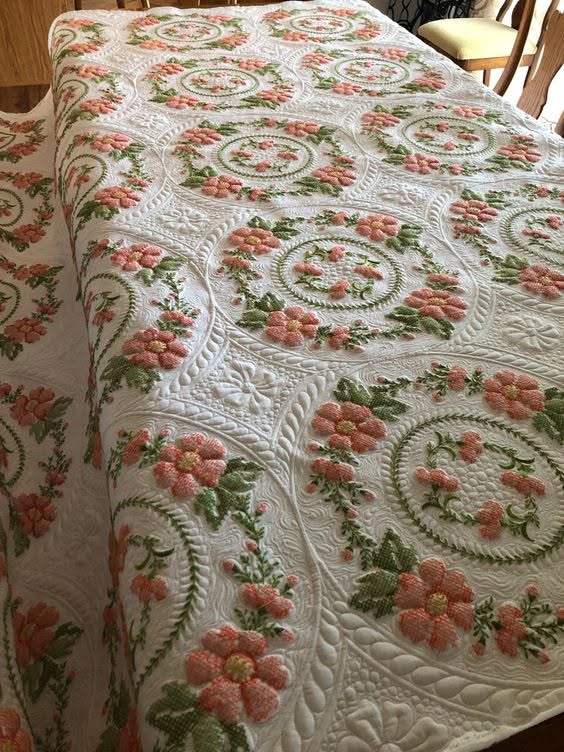
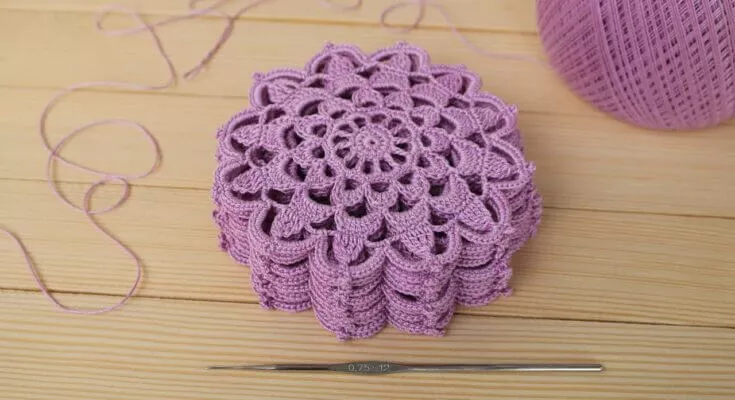
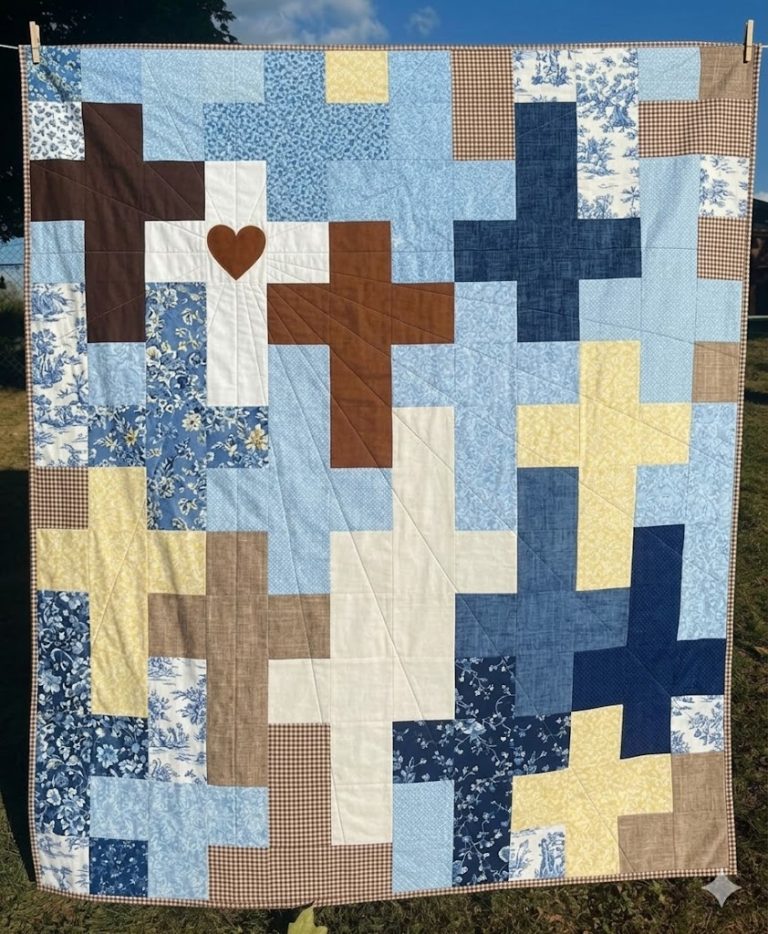
Loading...

Sunbonnet Quilt

advertising

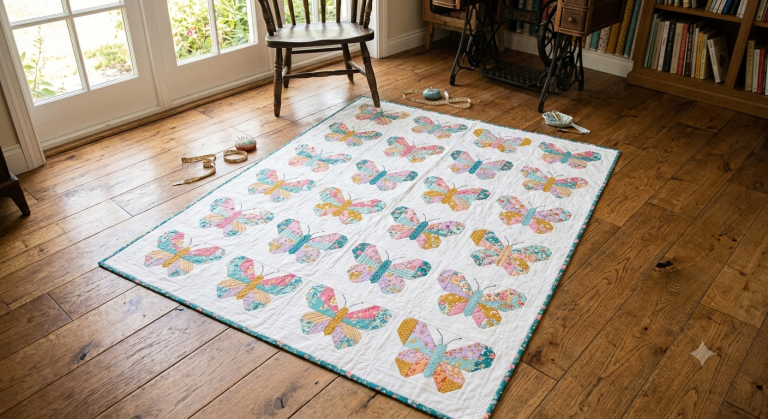
Creating a sunbonnet quilt involves making blocks with a sunbonnet girl appliqué pattern and assembling them into a quilt. Here’s a basic guide to get you started:

Materials Needed:

advertising
  1. Quilting fabric in various colors and patterns.
  2. Quilting thread to match your fabric.
  3. Quilt batting.
  4. Sewing machine or needle for hand-sewing.
  5. Sunbonnet girl appliqué pattern.
  6. Scissors.
  7. Pins.
  8. Iron and ironing board.

Step-by-Step Guide:

  1. Select Your Fabric: Choose fabric for the quilt blocks. Common colors for sunbonnet girl quilts include pastels and calico prints. You’ll need fabric for the sunbonnet girl’s dress, bonnet, apron, and background.
  2. Cutting Fabric: Cut your fabric into the desired block size. A common size is 10×10 inches. You’ll need one background square and additional fabric for the girl’s appliqué parts.
  3. Appliqué Sunbonnet Girl: Trace or draw the sunbonnet girl appliqué pattern onto the fabric. Cut out the girl’s dress, bonnet, apron, and head. Pin the appliqué pieces onto the background square in the desired arrangement.
  4. Appliqué Stitch: Use your sewing machine or hand-sew to appliqué the girl’s pieces onto the background. Common stitches include satin stitch and blanket stitch. Use matching thread colors to create a clean and neat look.
  5. Block Assembly: Repeat the process to create as many blocks as you desire for your quilt. You can make each block identical or vary the sunbonnet girl’s dress and apron colors to add diversity.
  6. Sashing: To separate the blocks, consider adding sashing (strips of fabric) between each block. Sashing can be of a complementary color or pattern.
  7. Quilt Top Assembly: Arrange the blocks with sashing to create the quilt top. Sew the blocks and sashing together.
  8. Layer the Quilt: Layer the quilt top, quilt batting, and quilt backing. Baste the layers together to secure them.
  9. Quilting: Quilt the layers together. You can choose different quilting techniques such as straight-line quilting, stippling, or free-motion quilting. Follow your preferred quilting pattern.
  10. Trim and Bind: Once quilting is complete, trim the edges of the quilt. Then, bind the quilt by sewing binding strips around the quilt’s edges. This will give your quilt a finished look.
  11. Finishing Touches: Iron the quilt to ensure it’s smooth and wrinkle-free. You can add extra embellishments or decorative stitches if desired.
  12. Enjoy Your Sunbonnet Quilt: Your sunbonnet quilt is now ready to use and display. Whether as a functional blanket or a decorative piece, it’s a charming addition to any space.

Creating a sunbonnet quilt requires patience, sewing skills, and an eye for detail. It’s a delightful way to showcase your love for quilting and create a cherished heirloom. Be sure to choose high-quality quilting fabrics and thread to ensure your quilt’s longevity.

advertising