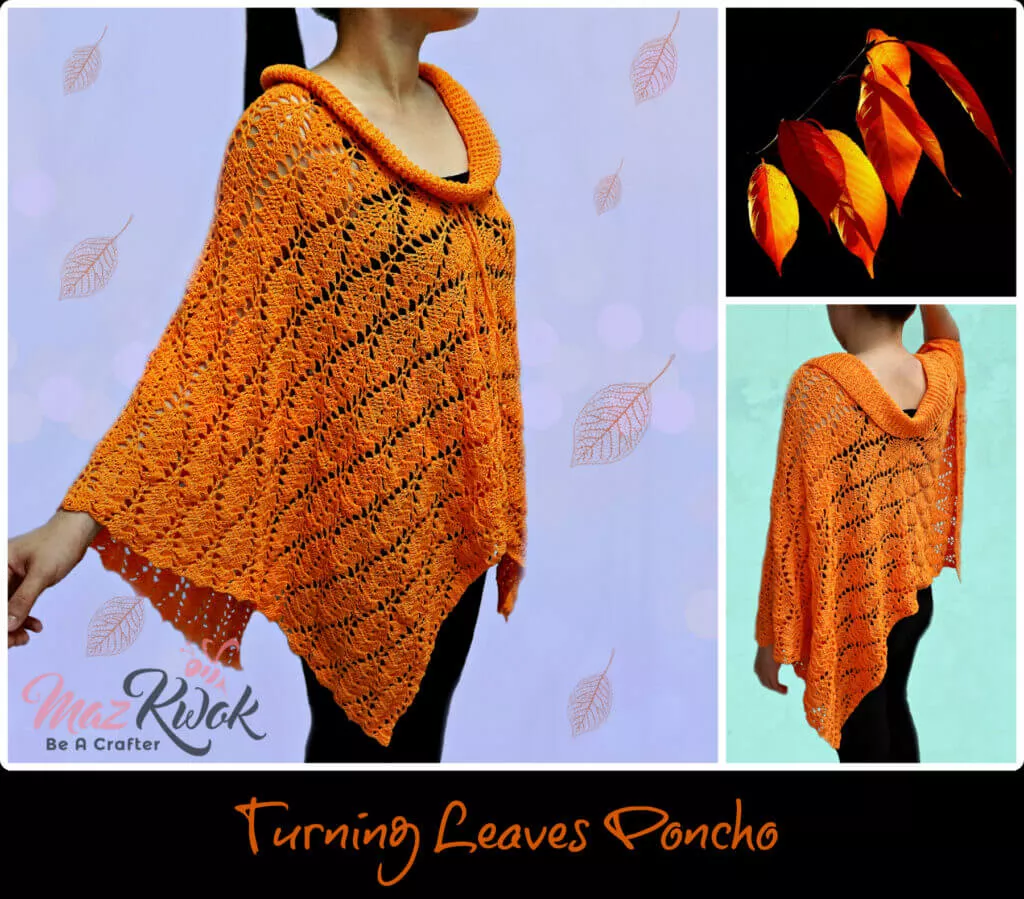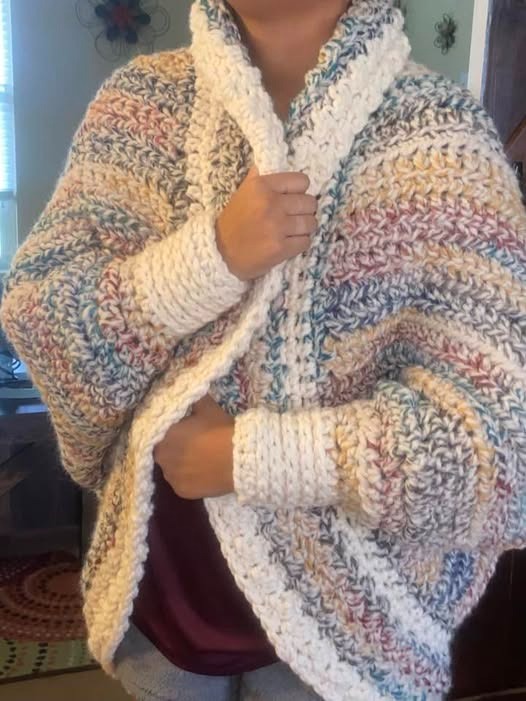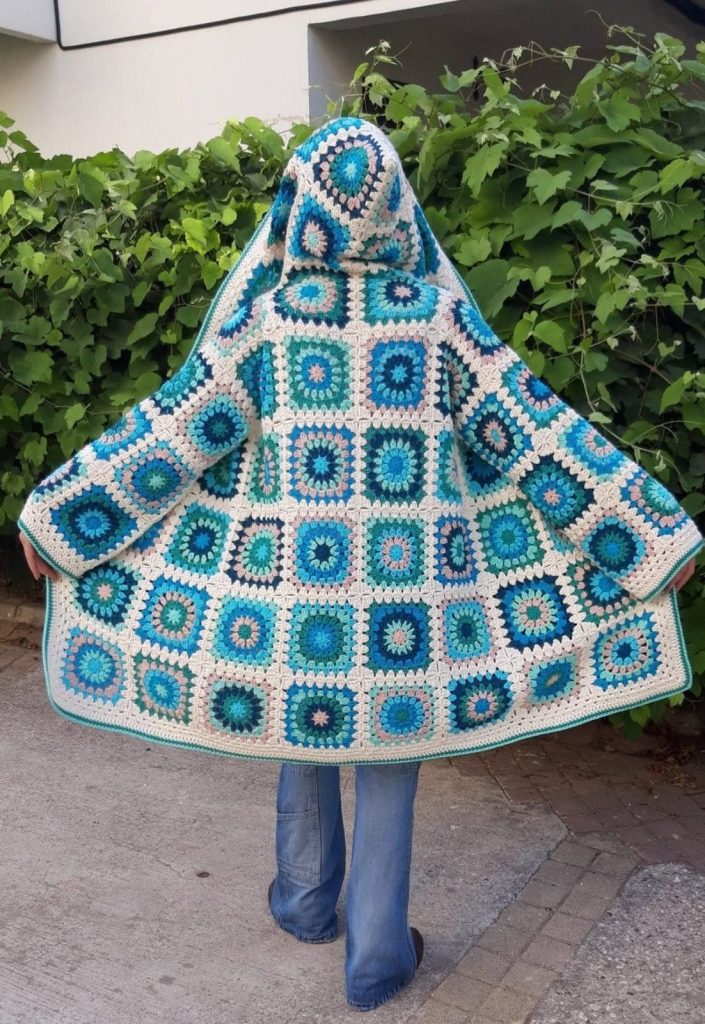
Granny Square Crochet Poncho

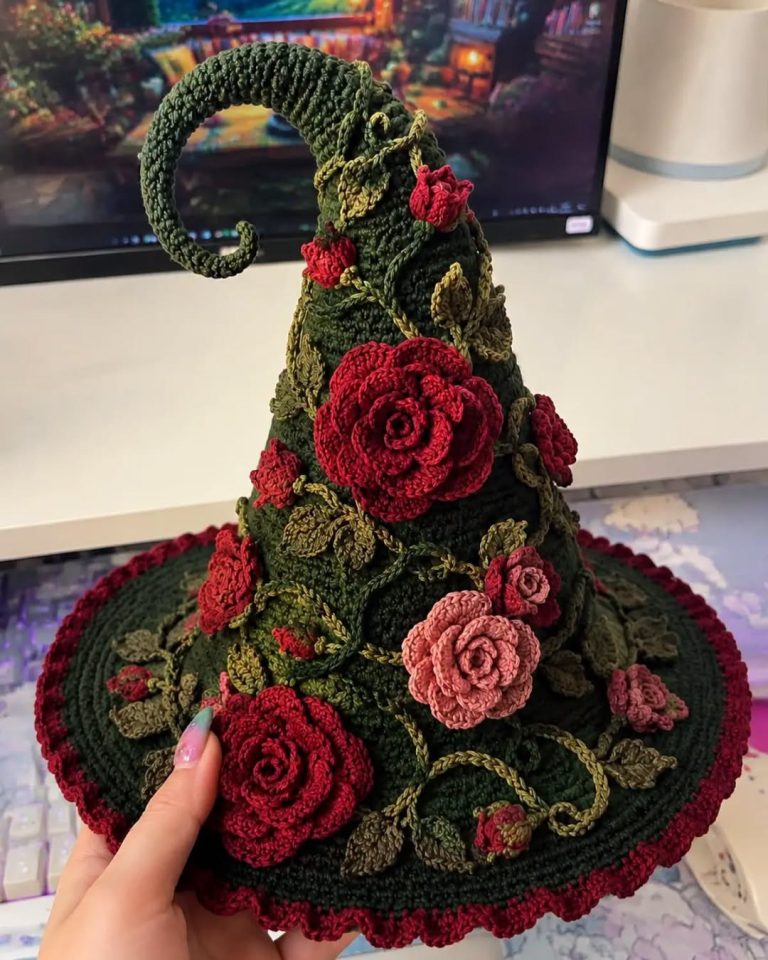
Create a dramatic fantasy-inspired crochet hat featuring a tall pointed crown, curled tip, wide decorative brim, roses, leaves, and winding vines. The deep green and burgundy color combination gives this hat a beautiful woodland/Christmas-inspired look.
Skill Level: Intermediate
Crochet Terminology: US terms
Finished Size: Adult
Hook: 3.0–3.5 mm crochet hook
Yarn: DK or light worsted-weight cotton yarn
Pattern note: This is an original written pattern inspired by the provided reference image. The exact construction of the photographed hat is unknown, so stitch counts may need to be adjusted according to your yarn, hook, and desired head size.
The crown is worked from the bottom upward in continuous rounds.
The finished crown should be approximately 25–30 cm (10–12 in) tall, depending on the desired look.
With forest-green yarn, make a magic ring.
Work 6 sc into the ring.
Do not join unless you prefer joined rounds.
6 sts
Work 2 sc in each stitch around.
12 sts
Sc in next stitch, 2 sc in next stitch.
Repeat around.
18 sts
Sc in next 2 sts, 2 sc in next stitch.
Repeat around.
24 sts
Sc in next 3 sts, 2 sc in next stitch.
Repeat around.
30 sts
Continue increasing in this manner until the opening measures approximately 18–20 cm (7–8 in) across.
This opening will eventually sit around the wearer’s head.
Once the desired head circumference has been reached, stop increasing.
Continue working sc around.
To create the tall, tapered shape, begin decreasing gradually.
For example:
Sc in next 8 sts, dec.
Repeat around.
Sc around.
Sc in next 7 sts, dec.
Repeat around.
Continue alternating a plain round with a decrease round, gradually reducing the number of stitches.
As the crown becomes narrower, the hat will begin forming its characteristic pointed cone.
Continue until the crown is approximately 25–30 cm (10–12 in) tall.
To recreate the textured appearance of the hat in the photograph, work several rounds in BLO.
Work:
Sc BLO around.
Repeat for 3–5 rounds.
Then return to regular sc stitches.
You can alternate regular sc and BLO rounds throughout the crown to create subtle horizontal ridges.
The curled tip is one of the most distinctive features of this hat.
For a sturdy curl, insert flexible craft wire into the crocheted tip.
When the crown becomes very narrow, continue working approximately 6–8 sc around.
Work several rounds without increasing or decreasing.
Continue until the narrow tube is approximately 15–20 cm (6–8 in) long.
Insert a piece of flexible wire through the center of the tube.
Add a small amount of stuffing around the wire if desired.
Continue crocheting until the tube is completely covered.
Fasten off securely.
Carefully bend the tip into a large curved shape, similar to a shepherd’s crook or curled horn.
Arrange the tip so that it curves outward and then slightly upward.
Important: Make sure the ends of the wire are completely covered and cannot be felt through the crochet.
The brim is worked separately as a large flat circle and then attached to the crown.
Using forest-green yarn, make a magic ring.
6 sc into the MR.
2 sc in each stitch around.
12 sts
Sc in next st, 2 sc in next st.
Repeat around.
Sc in next 2 sts, 2 sc in next st.
Repeat around.
Continue increasing evenly until the brim measures approximately:
35–40 cm (14–16 in) in diameter.
For a wider dramatic brim, continue increasing until you reach the desired size.
Once the desired diameter has been reached, work 1–2 rounds of sc without increases.
For the decorative edge, switch to burgundy yarn.
Sl st in next st, skip 1 st, 5 dc in next st, skip 1 st.
Repeat around.
This creates a simple scalloped border.
Alternatively, work a round of sc BLO followed by a round of decorative picots for a more delicate finish.
Place the bottom opening of the crown in the center of the brim.
Pin it in position carefully.
Using forest-green yarn and a tapestry needle, sew the crown securely to the brim.
Work all the way around the base of the crown.
Make sure the stitches are strong because this seam supports the entire crown.
The hat is decorated with roses in several different sizes.
Use burgundy, deep red and dusty pink yarn.
Ch 25.
Starting in the second chain from the hook:
Work 2 dc in each chain across.
Fasten off, leaving a long yarn tail.
Starting at one end, roll the strip tightly around itself.
Shape the center into a small spiral and allow the outer edge to open slightly.
Sew the bottom of the rose securely with the yarn tail.
Ch 35.
Starting in the second chain:
2 dc in next chain, 1 dc in next chain.
Repeat across.
Fasten off.
Roll the strip into a spiral, arranging the petals as you go.
Sew through the bottom several times to secure the flower.
Ch 50–55.
Starting in the second chain:
2 dc in next chain, 1 dc in next chain.
Repeat across.
For an even fuller rose, work additional dc stitches toward the outer end.
Fasten off.
Roll the strip into a large spiral.
Sew the base firmly.
Make several large roses in burgundy for the main focal points of the hat.
Use olive-green or khaki yarn.
Ch 10.
Starting in the second chain from the hook, work:
sc, hdc, dc, dc, tr, dc, dc, hdc, sc
Work a sl st into the final chain.
Turn the work and crochet along the opposite side of the foundation chain using similar stitches.
Fasten off.
Shape the leaf with your fingers.
Make approximately 15–25 leaves in different sizes.
To create the little flower buds seen between the larger roses, use burgundy yarn.
Make a small magic ring.
Work 6 sc into the ring.
Work 2 sc in each stitch around.
Do not stuff heavily.
Pull the opening slightly closed with a tapestry needle.
Sew the bottom closed.
For some buds, add a few olive-green stitches around the base to create the appearance of sepals.
The winding vines give the hat much of its botanical appearance.
Use olive-green or gold-green yarn.
Ch 50–80, depending on the desired length.
Starting in the second chain from the hook, work sl st across.
Fasten off.
While holding the finished chain, gently twist it into a spiral.
For a thicker vine, crochet two chains together or work a second chain alongside the first.
For vines that need to curve around the crown:
Ch 40.
Work:
sl st, sl st, sc, sc, hdc, hdc, sc, sc
Repeat this sequence as desired.
The variation in stitch height will naturally create a gentle curve.
Sew the vines directly onto the crown.
Allow some sections to remain loose rather than sewing them completely flat. This gives the hat a more three-dimensional appearance.
Arrange the roses around the crown before sewing them permanently.
A good arrangement is:
Sew every flower firmly to the crown.
Arrange additional roses, leaves and vines around the brim.
Keep the front slightly more heavily decorated than the back.
Wind the crochet vines around the crown and allow a few sections to trail across the brim.
Sew the vines down at several strategic points.
Do not sew every section flat—the raised vines create a beautiful dimensional effect.
Place the completed hat on a bowl, mannequin head, or similarly shaped object.
Adjust the crown and brim while the crochet is still flexible.
If additional stiffness is desired, lightly apply fabric stiffener to the brim and allow it to dry completely.
Shape the curled tip by hand.
Allow the hat to dry completely before wearing or displaying it.
Your finished piece should have:
The combination of the tall pointed crown and oversized floral decorations creates a whimsical fantasy garden hat that works beautifully as a statement accessory, costume piece, or decorative handmade hat.