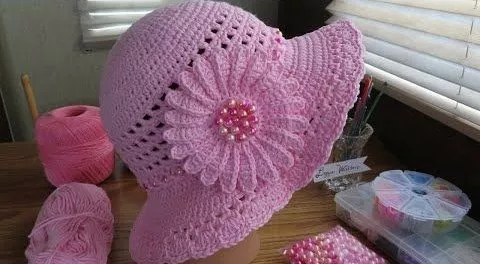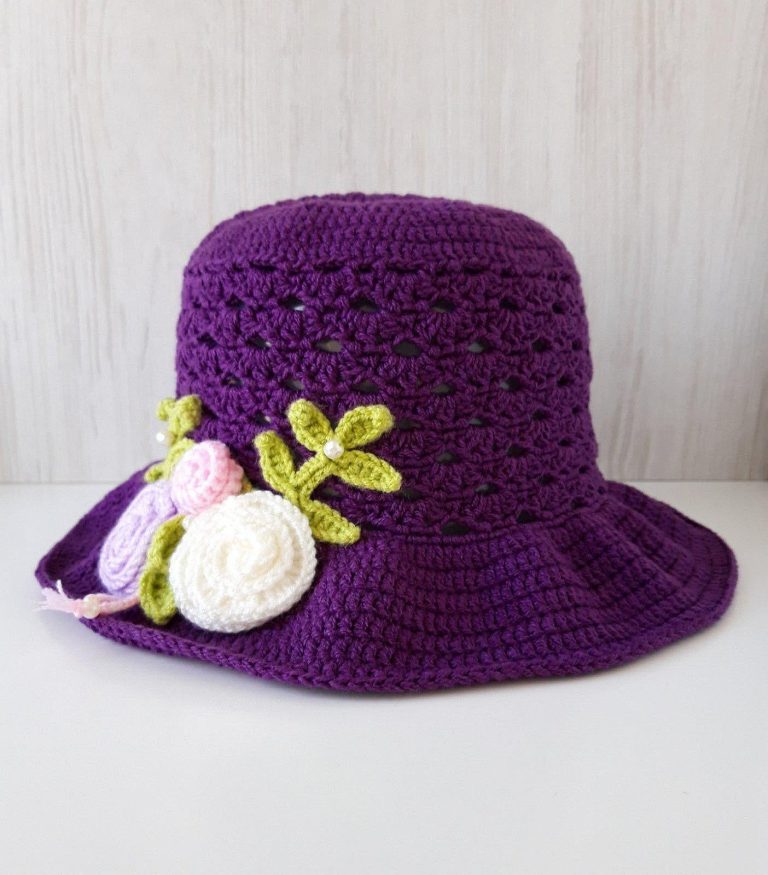
Crochet Flower Bucket Hat

This easy crochet Christmas tree is a fun and colorful project for the holiday season. The tree is made with simple crochet stitches and decorated with small red and green clusters that give it a beautiful textured look.
It is perfect for making Christmas ornaments, gift decorations, holiday garlands, Christmas decorations, or handmade gifts.
This pattern is beginner-friendly and can be made with just a small amount of yarn.
This pattern uses US crochet terms.
With green yarn, ch 2.
Work 3 sc into the 2nd chain from the hook.
Turn.
Ch 1.
Work 2 sc in the first stitch, sc in the next stitch, and 2 sc in the last stitch.
Turn.
Ch 1.
Sc across.
Turn.
Ch 1.
Work 2 sc in the first stitch, sc across, then 2 sc in the last stitch.
Turn.
Continue alternating a simple row and an increase row until the tree reaches the desired size.
The piece will gradually form a small triangle.
Fasten off.
Now add small red and green crochet clusters to the front of the tree.
For each small decoration:
This creates a small bobble-like cluster.
Make several red clusters randomly across the green tree.
You can also add a few green clusters using a slightly darker or lighter shade of green.
Tip: Leave some green space between the clusters so the decorations stand out.
With brown yarn:
Row 1: Ch 7.
Sc in the 2nd chain from the hook and sc across.
You will have 6 sc.
Rows 2–5:
Ch 1, turn, sc across.
Fasten off and leave a long tail for sewing.
Fold the trunk slightly if you want a thicker appearance.
Place the brown trunk behind the bottom center of the tree.
Sew it securely to the back using the yarn needle.
This step is optional, but it makes the tree look even more festive.
You can sew on:
Place the decorations randomly around the tree.
For a very easy finishing touch, attach a small gold star to the top of the tree.
You can use:
To make the tree hang on a Christmas tree, cut approximately 8 inches (20 cm) of yarn.
Fold it in half and tie the ends together.
Sew the loop securely to the top of the tree.
Your Crochet Christmas Tree Ornament is finished!
If you want your Christmas tree to have a firmer shape, you can lightly block the finished piece or apply a small amount of fabric stiffener.
Allow it to dry completely before adding the decorations.
You can easily customize this pattern by changing the colors.
Try:
You can also make several trees in different sizes and use them to create a Christmas garland.
The finished size will depend on your yarn, hook size, and the number of rows.
For a small Christmas ornament, make approximately 12–15 rows.
For a larger tree decoration, simply continue adding rows until you reach the desired size.