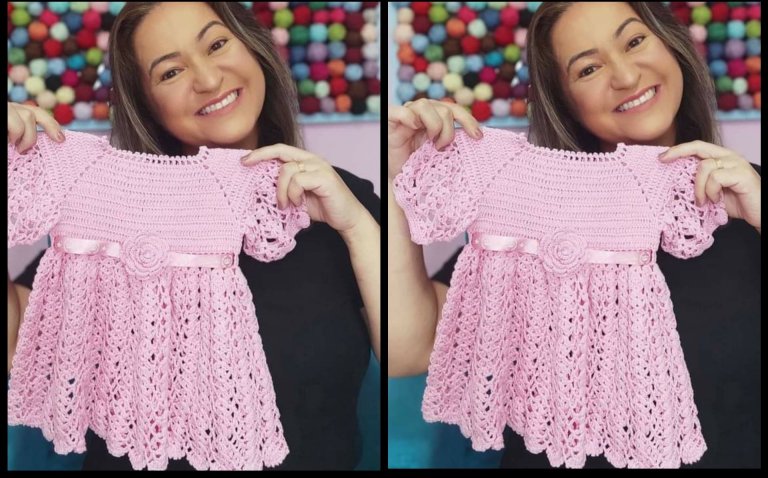
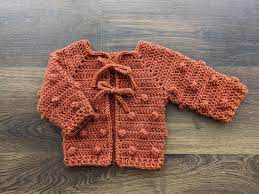
Crochet Floral Summer Dress Pattern Outline

Crochet Baby Dress, a wonderful work, delicate and full of charm that you will love. A beautiful dress model that is worth investing in for those who work with crafts and also the mother who likes to make different pieces for her princess to make her look pretty. With little material it is easy to make this beautiful piece and the color used here is just a suggestion. Choose a color that matches the accessories that the child already has so you can vary the look of your little one, leaving her always well dressed and elegant with beautiful looks.
It’s always good to remember that it’s worth using your creativity to create new pieces giving your own touch to them. Using techniques and recipes expanding the products also for sale and increasing the monthly income pleasing your customers with amazing pieces. A wonderful crochet work, delicate and full of charm.
A beautiful model that is worth investing in for those who work with crafts and also the mother who likes to make different pieces for her princess and make her look very beautiful and stylish too.
See Also:
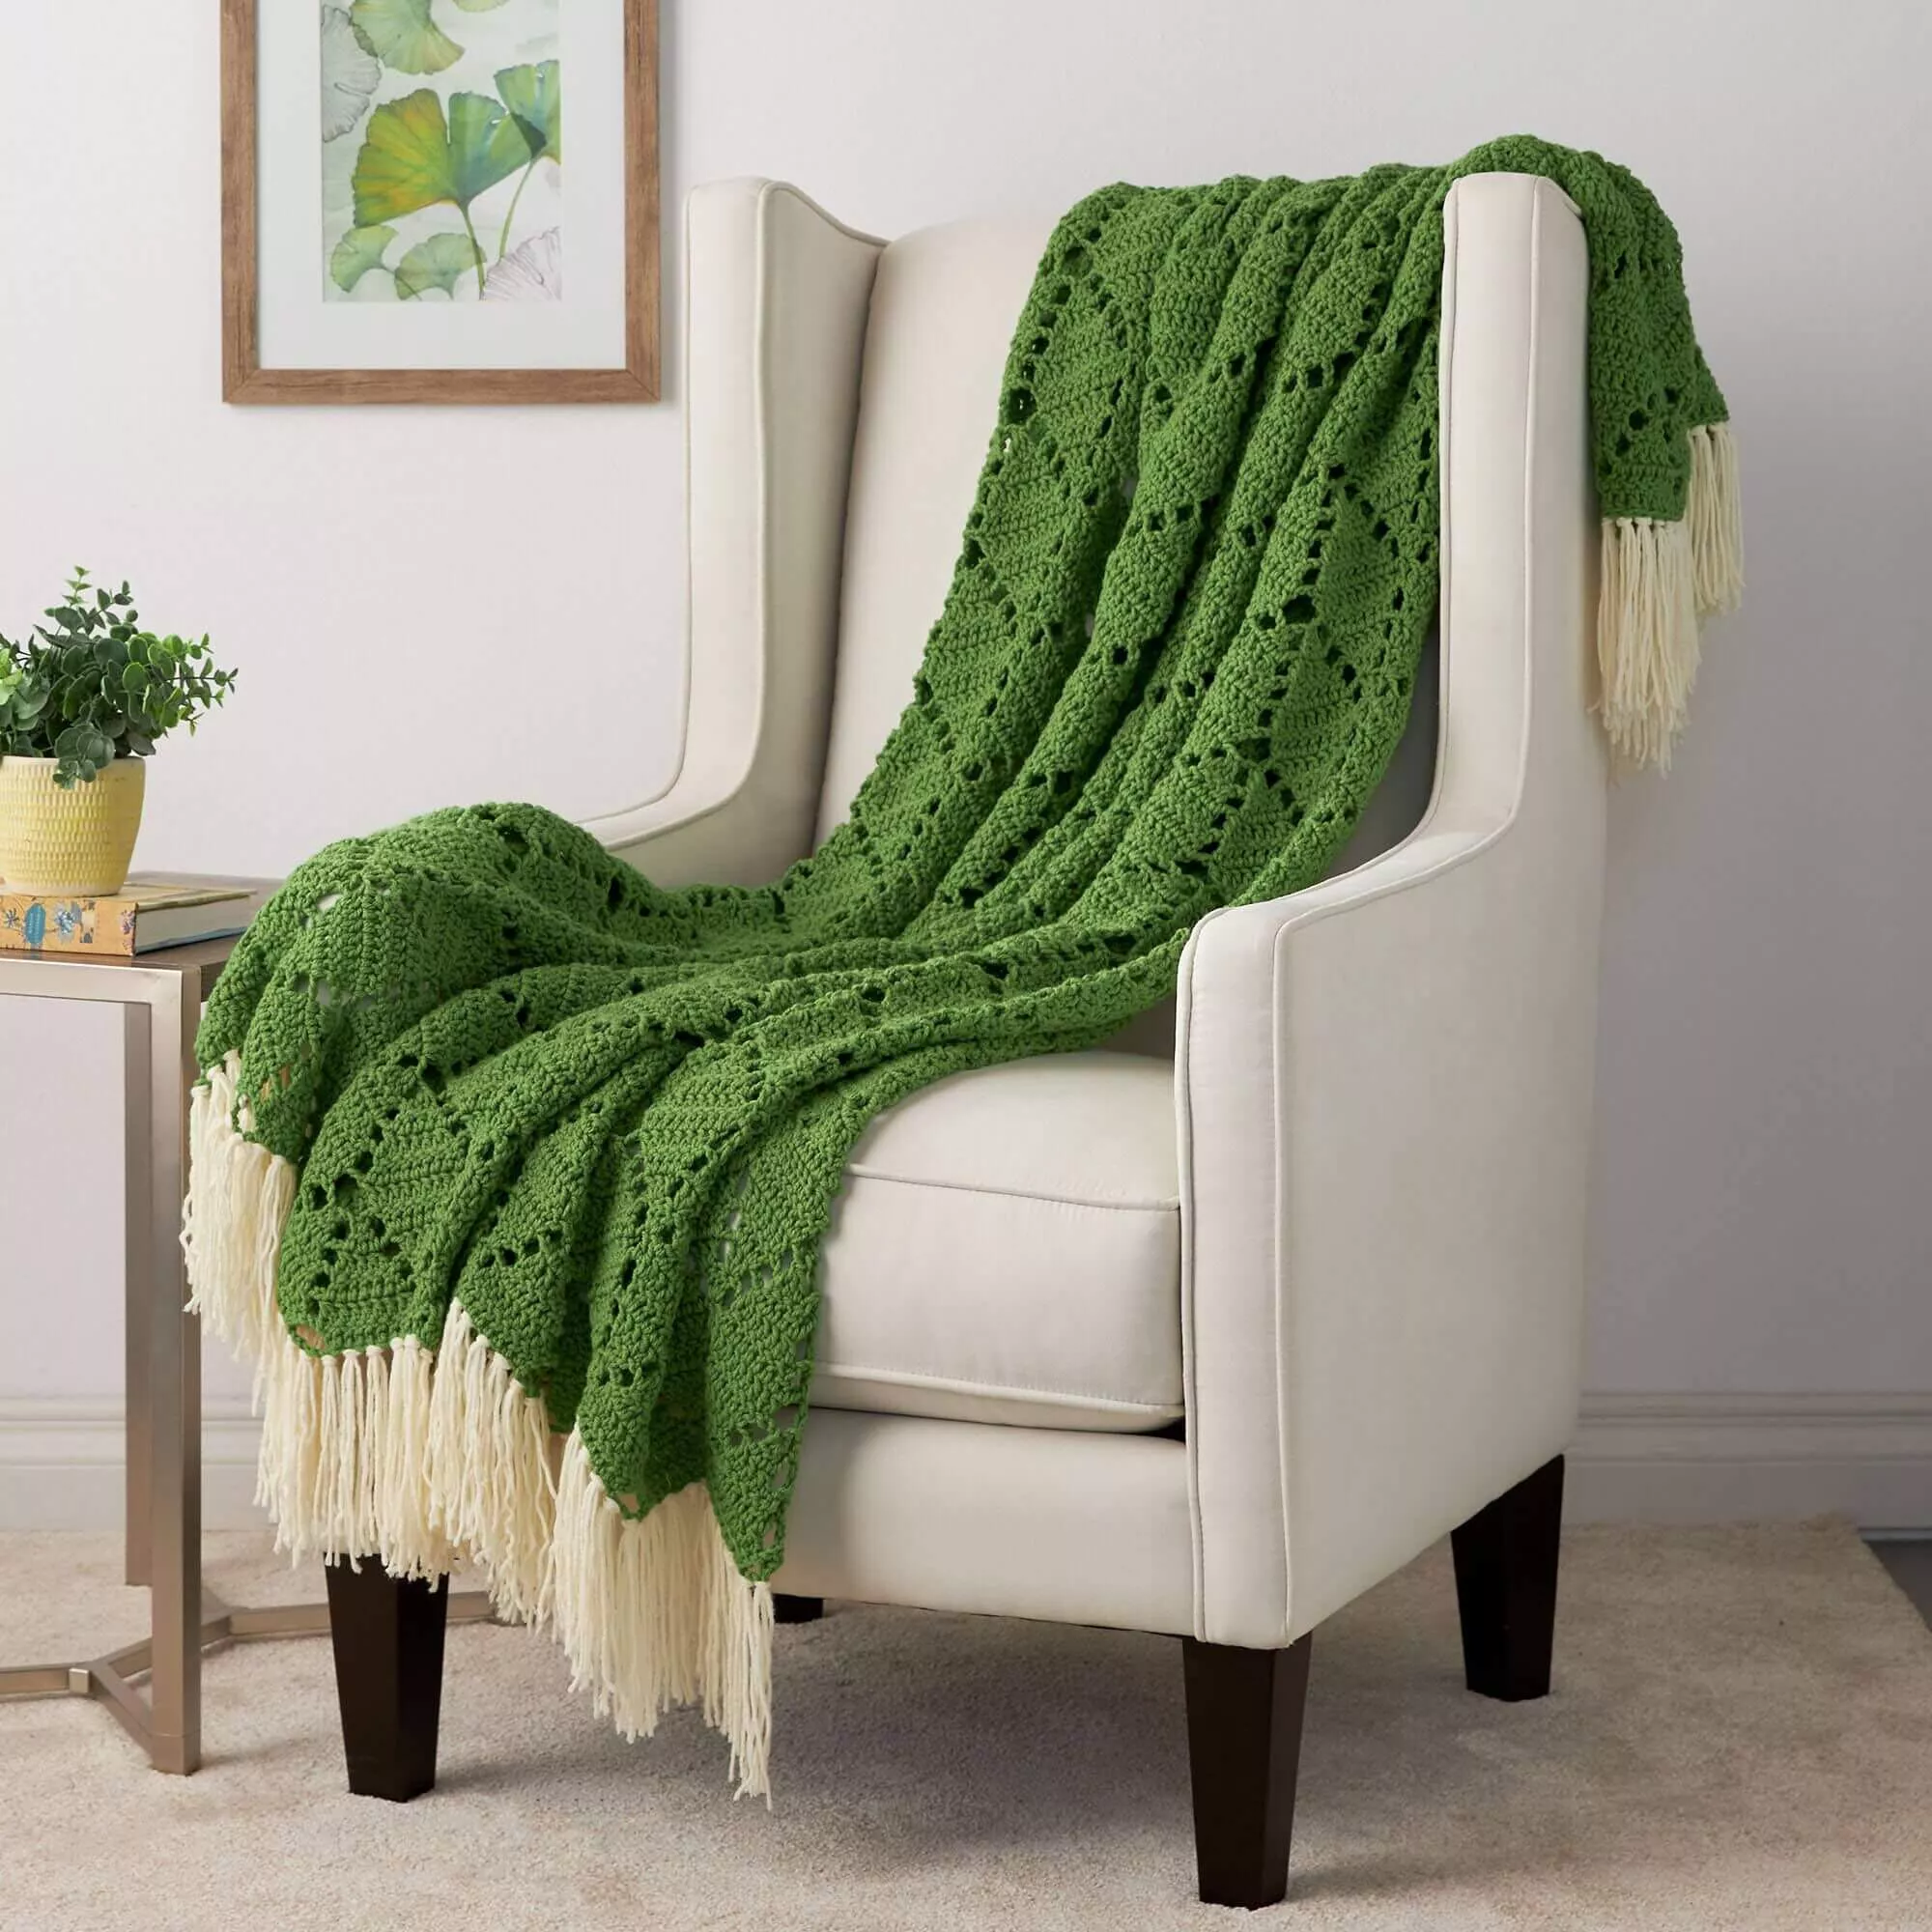
➽ Crochet Granny Square Runner Rug
Materials
Pink sport weight yarn
White sport weight yarn
“I” hook
Special Stitches
Shell=(2DC, ch 1, 2DC).
Begin with pink, Ch 40
6 (making armholes). With white, In same “shell”, ch 3, dc in sp, ch 1, 2dc in space (1st shell made). (working shells in ch 1 sp of shells below)Shell in next 5 shls . Sk 8 shls. Shell in next 10 shls. Sk next 8 shls. Shell in last 4 shls. Join to first ch 3. DO NOT TURN. (20 shells)
7-14 (or desired legnth): Ch 1, sl st into ch1 space of next shell, (Ch3, dc, ch1, 2dc) all in same shell (beg shell made). Shell across. Join to ch 3. At end of last row, fasten off white.
Decoration: Add flower below or any small decoration
Ch 4, Join to form ring. *Ch 3, AD 2, sl st into ring. Rep 5 times. Fasten of leaving 10 in tail and sew to front, center of sleeper.
Edging (slip stitching in ends of rows)
Attatch pink yarn to any st around neck. Sc around rem neck stitches. At the corner that opens to the back, Ch 18, sl st back down ch (first tie made). Sl st half way down back. Ch 18, Sl st down ch. Sl st down rest of the way. When you get to the opening where you made the first white shell, Do not sl st in the white shell. Only continue on the other side sl stitching in only pink sts. This closes the back up a little. Sl st up to place opposite of second tie, Place tie, Sl st up to place of first tie, Place tie, sc around rest of neck. Join with sl st to first sc. Fasten off.
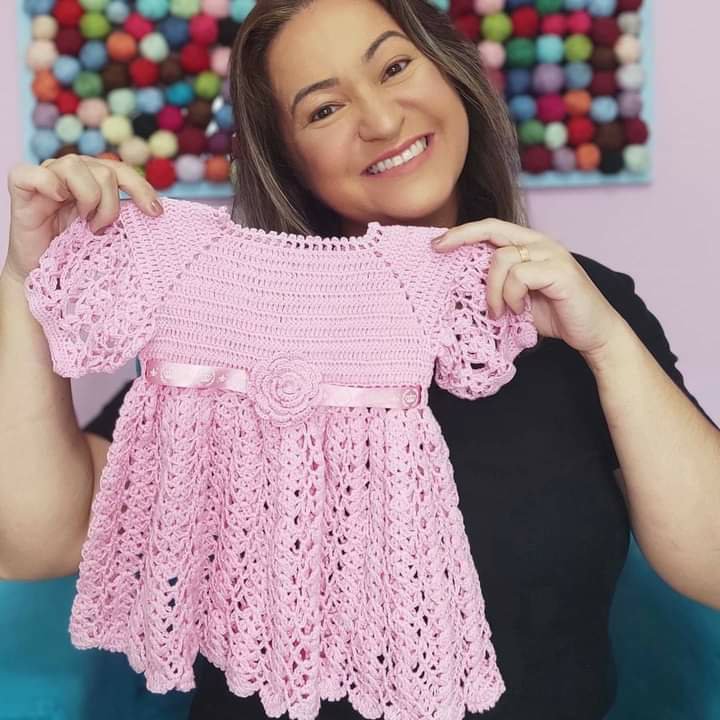
Crochet Baby Dress, a dress for your princess that can give her amazing looks that she will love. You can be sure that this piece will make a difference in your princess’ wardrobe and in her looks that will look even better. Making pieces like this is always an amazing experience, believe me, you will love the result of this dress in your princess’ looks.
Are you in the mood to make this wonderful Crochet Baby Dress? so come with us, follow the tutorial which is well explained and i am sure you will be able to make this wonderful project easily. A tip for you: Separate the materials and tools before starting the tutorial, so you can follow it and go on with the project!!
