Crochet Shell Stitch Tiered Christmas Tree Pattern
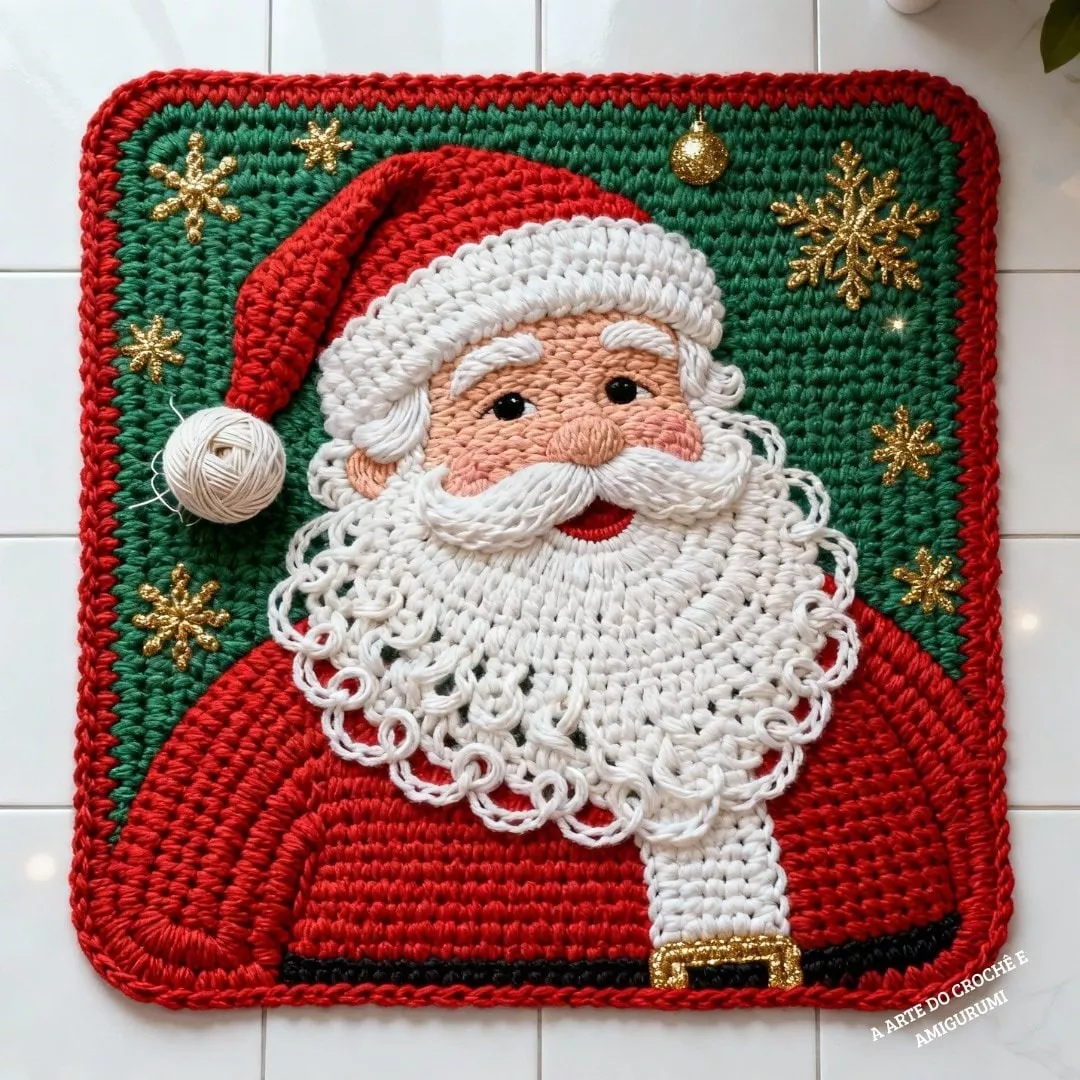
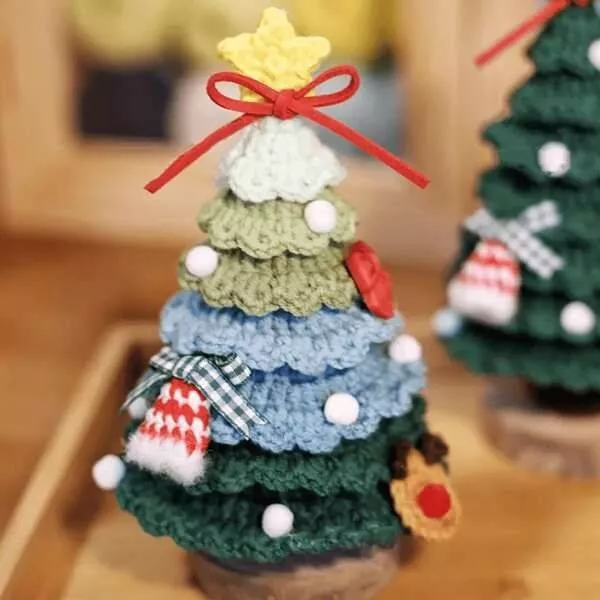
This festive pattern allows you to crochet beautiful, tiered Christmas trees using simple stitches. The Shell Stitch creates the scalloped, layered look shown in the image.
advertising
Skill Level: Easy/Intermediate
Finished Size: Approximately 6 inches tall (can be adjusted by changing yarn weight/hook size).
Gauge: Not critical for this project.
Materials
Yarn: Worsted Weight (Category 4) yarn in Green and other desired colors (White, Light Green, Blue, etc., for the tiers).
Hook: US G/6 (4.0 mm) or H/8 (5.0 mm) crochet hook (adjust based on your chosen yarn).
Other: Stuffing (fiberfill), Tapestry Needle, Scissors, Optional: Small piece of wood or cardboard for the base, decorations (pom-poms, mini bows).
Abbreviations (US Terms)
Abbreviation
English Term
ch
chain
st(s)
stitch(es)
sl st
slip stitch
sc
single crochet
hdc
half double crochet
dc
double crochet
inc
increase
sk
skip
R
Round
The Tree Tiers (Make 3)
You will make three separate tiers: Small, Medium, and Large. We will start with a magic ring and work in a spiral, unless otherwise noted.
1. Small Tier (Top)
Start: In the color for your first tier (e.g., White or Light Green).
advertising
R1: Magic Ring, ch 2 (does not count as st), 10 dc inside the ring. Sl st to the first dc to join. (10 sts)
R2 (Shell R): Ch 1, sc in the first st, sk 2 sts, (2 dc, ch 1, 2 dc) in the next st, sk 2 sts Repeat from * to * once. Sl st to the first sc to join. (2 shells/scallops)
R3: Ch 1, sc in each st around, including the ch-1 space of each shell. Join with sl st. (16 sts)
R4: Ch 1, sc in each st around. Join with sl st. (16 sts)
Fasten off, leaving a long tail for assembling.
2. Medium Tier (Middle)
Start: In the color for your second tier (e.g., Light Green or Blue).
R1: Magic Ring, ch 2 (does not count as st), 12 dc inside the ring. Sl st to the first dc to join. (12 sts)
R2 (Shell R): Ch 1, sc in the first st, sk 1 st, (3 hdc) in the next st, sk 1 st Repeat from * to * 3 more times. (This creates a rounded edge). Sl st to the first sc to join. (4 shells/scallops)
R3: Ch 1, sc in each st around. Join with sl st. (16 sts)
R4: Ch 1, sc in next 3 sts, inc Repeat from * to * around. Join with sl st. (20 sts)
R5: Ch 1, sc in each st around. Join with sl st. (20 sts)
Fasten off, leaving a long tail for assembling.
3. Large Tier (Bottom)
Start: In the color for your third tier (e.g., Dark Green).
R1: Magic Ring, ch 2 (does not count as st), 15 dc inside the ring. Sl st to the first dc to join. (15 sts)
R2 (Shell R): Ch 1, sc in the first st, sk 2 sts, (2 dc, ch 1, 2 dc) in the next st, sk 2 sts Repeat from * to * twice. Sl st to the first sc to join. (3 shells/scallops)
R3: Ch 1, sc in each st around, including the ch-1 space of each shell. Join with sl st. (24 sts)
R4: Ch 1, sc in next 5 sts, inc Repeat from * to * around. Join with sl st. (28 sts)
R5-R6: Ch 1, sc in each st around. Join with sl st. (28 sts)
Fasten off, leaving a long tail.
Assembly
Stuffing: Lightly stuff the Small and Medium Tiers. Stuff the Large Tier about halfway.
Stacking: Place the Small Tier on top of the Medium Tier, and the Medium Tier on top of the Large Tier.
Securing: Use the long tails and the tapestry needle to sew the tiers together securely through the center. Ensure the scalloped edges are aligned nicely.
Finishing the Base: You may insert a small piece of cardboard or wood into the bottom of the Large Tier to help it stand flat. Use the tail to sew the bottom opening closed, gathering the stitches gently, or weave it into the base.
Decorate: Sew on mini pom-poms, crochet a small star for the top, or tie a small bow for decoration, as shown in your inspiration photo!

