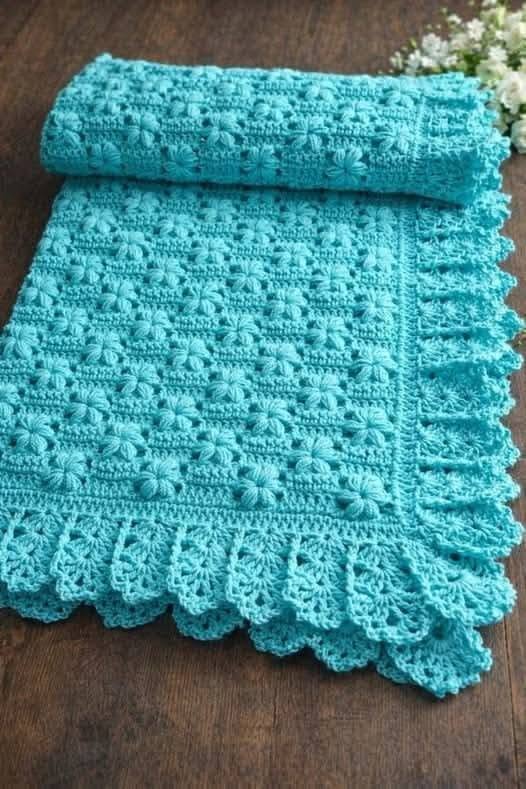
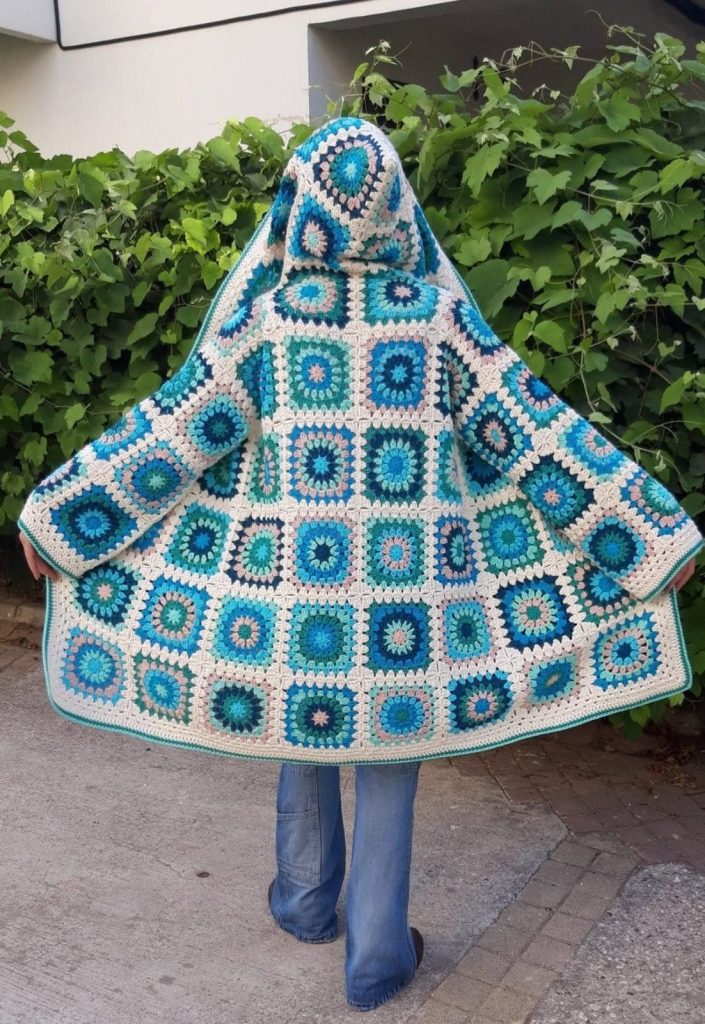
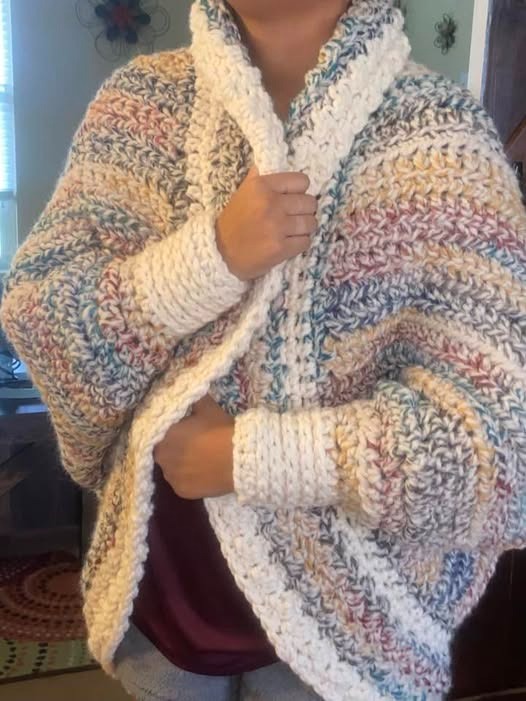
Create a beautiful turquoise crochet blanket featuring raised floral motifs, textured stitches, and a delicate lace border. This elegant design is perfect for a baby blanket, a decorative throw, or a handmade gift.
Skill Level: Intermediate
Terminology: US crochet terms
Materials
- Medium-weight cotton yarn in turquoise
- Crochet hook suitable for your yarn (approximately 3.0–4.0 mm)
- Scissors
- Yarn needle
- Stitch markers (optional)
Abbreviations
- ch – chain
- sl st – slip stitch
- sc – single crochet
- hdc – half double crochet
- dc – double crochet
- tr – treble crochet
- st(s) – stitch(es)
- sp – space
- sk – skip
- rep – repeat
Step 1: Crochet the Foundation
- Make a foundation chain according to your desired blanket width.
- Add a few extra chains if needed to create a multiple that fits your chosen stitch pattern.
- Work one row of single crochet across the foundation chain.
- Chain 2 and turn.
Tip: Crochet a small swatch before starting the blanket to check your stitch pattern and gauge.
Step 2: Create the Textured Blanket Body
- Work rows of double crochet stitches to establish the base.
- Alternate textured rows with rows of regular stitches to create the horizontal bands seen in the photo.
- Keep the stitch count consistent throughout the project.
- Repeat the textured pattern until the blanket reaches your desired length.
The original blanket features a combination of raised stitches and horizontal ridges. You can recreate a similar effect by alternating regular double crochet rows with clusters of stitches worked into the same stitch or space.
Step 3: Add the Raised Flower Motifs
To create a simple three-dimensional flower:
- Join the yarn at the selected stitch or space.
- Chain 3.
- Work 2 double crochet stitches into the same space.
- Chain 3 and slip stitch into the same space to form one petal.
- Repeat the petal sequence around the center to create a small flower.
- Fasten off or continue to the next motif, depending on your chosen method.
Arrange the flowers evenly across the blanket in horizontal rows. Alternate their positions between rows for a balanced appearance.
Note: This is a suggested flower motif, not a verified reproduction of the exact stitch pattern in the photograph.
Step 4: Crochet the Blanket Border
- Work single crochet stitches evenly around the entire blanket.
- Place extra stitches at the corners to help the border lie flat.
- Work additional rows of double crochet or textured stitches to create a neat frame around the central panel.
- Check that the edges remain straight and do not curl.
Step 5: Make the Decorative Lace Edging
The blanket in the photograph has a wide, repeating lace border.
- Join the yarn along the outer edge of the blanket.
- Work a foundation row of single crochet or double crochet stitches.
- Chain a few stitches and skip stitches at regular intervals to create open spaces.
- Work groups of double crochet or treble crochet stitches into the spaces to form decorative lace motifs.
- Repeat the pattern consistently around all four sides.
- At the corners, adjust the number of stitches or chain spaces so the border spreads evenly.
For a more floral appearance, use shell stitches, chain spaces, and clusters of tall stitches to create fan-shaped motifs.
Step 6: Finishing
- Fasten off the yarn and weave in all loose ends.
- Gently block the blanket to help the lace border open up and the edges lie flat.
- Allow the blanket to dry completely before using it.
Tips for the Best Results
- Use the same yarn throughout for consistent texture and color.
- Keep the raised flowers evenly spaced.
- Count your stitches at the end of each row.
- Avoid pulling the lace border too tightly.
- Make a sample of the flower and border before crocheting the full blanket.
Important: The photograph does not provide enough detail to determine the exact original stitch sequence or stitch count. These instructions describe a similar design, and you may need to adjust the repeats to achieve the look and size you want.