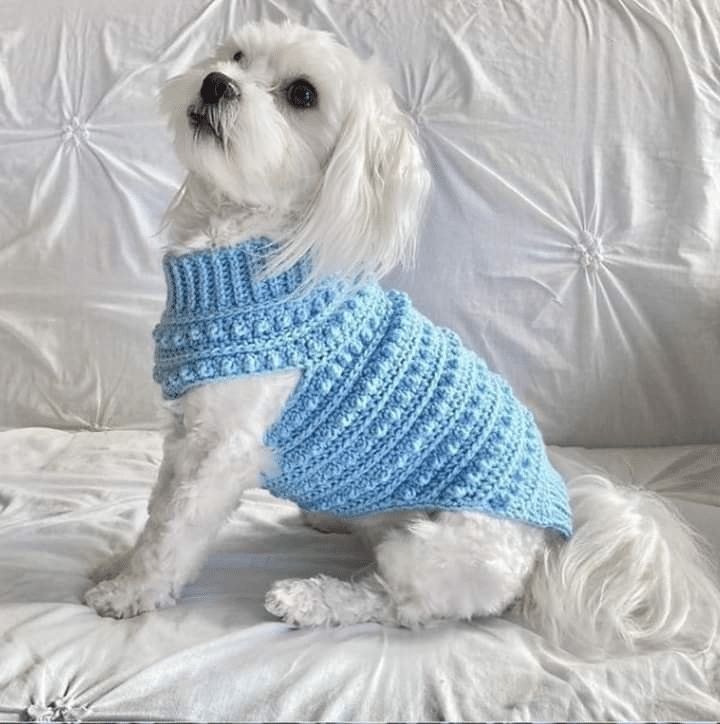
How to Crochet a Dog Sweater

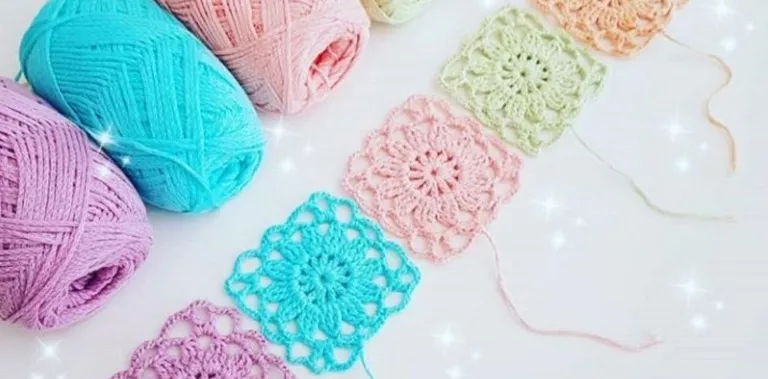
The Retro Daisy Granny Square is built in three main stages: first you crochet a small circular center, then you form thick “daisy” petals that sit on top of that center, and finally you square the motif by working the background color into the spaces between petals and creating clean corners. Choose three colors if you want the classic look (a center color, a petal color, and a background/square color), and use a hook that matches your yarn (most people use DK or worsted weight with a 4.0–5.0 mm hook). Start with the center color and make a magic ring (or chain 4 and join to form a ring). Chain 3 to count as your first double crochet, then work 11 more double crochets into the ring so you have 12 double crochets total. Pull the ring closed tightly and join with a slip stitch to the top of the beginning chain-3. Fasten off the center color and prepare to add the petal color.
Attach the petal color in any stitch from the center round. The petals are typically made as raised clusters anchored into the center stitches, creating a chunky flower look. Chain 2 (this does not count as a stitch), then in the same stitch work a puff stitch (yarn over, insert hook, pull up a loop; yarn over, insert hook, pull up a loop; yarn over, insert hook, pull up a loop—then yarn over and pull through all loops on the hook), and chain 1 to lock the puff. Move to the next stitch and repeat: puff stitch, chain 1. Continue this all the way around so you create 12 puffs total, one in each double crochet from the center. When you reach the end, join with a slip stitch into the top of the first puff. If you want even fuller petals like the blanket in the photo, you can make each puff taller by pulling up loops four times instead of three before closing the puff, but keep the tension consistent so all petals match. Fasten off the petal color.
Now you will square the flower using the background color, working into the chain-1 spaces between the petals so the petals remain visible and “pop.” Attach the background color in any chain-1 space between two puffs. Chain 3 (counts as your first double crochet) and work 2 more double crochets into the same chain space to create a 3-double-crochet cluster. In the next chain-1 space, work 3 double crochets. In the next space after that, work another 3 double crochets. On the fourth space you will form your first corner: work 3 double crochets, chain 2, and 3 double crochets all into that same chain-1 space. This corner placement is what turns the round into a square shape. After the corner, continue working 3 double crochets into each chain-1 space, and every time you reach the next corner position (you will make four corners evenly spaced around the flower), repeat the corner sequence (3 double crochets, chain 2, 3 double crochets) in the same space. When you complete the round, join with a slip stitch to the top of the beginning chain-3 and fasten off if you are changing colors.
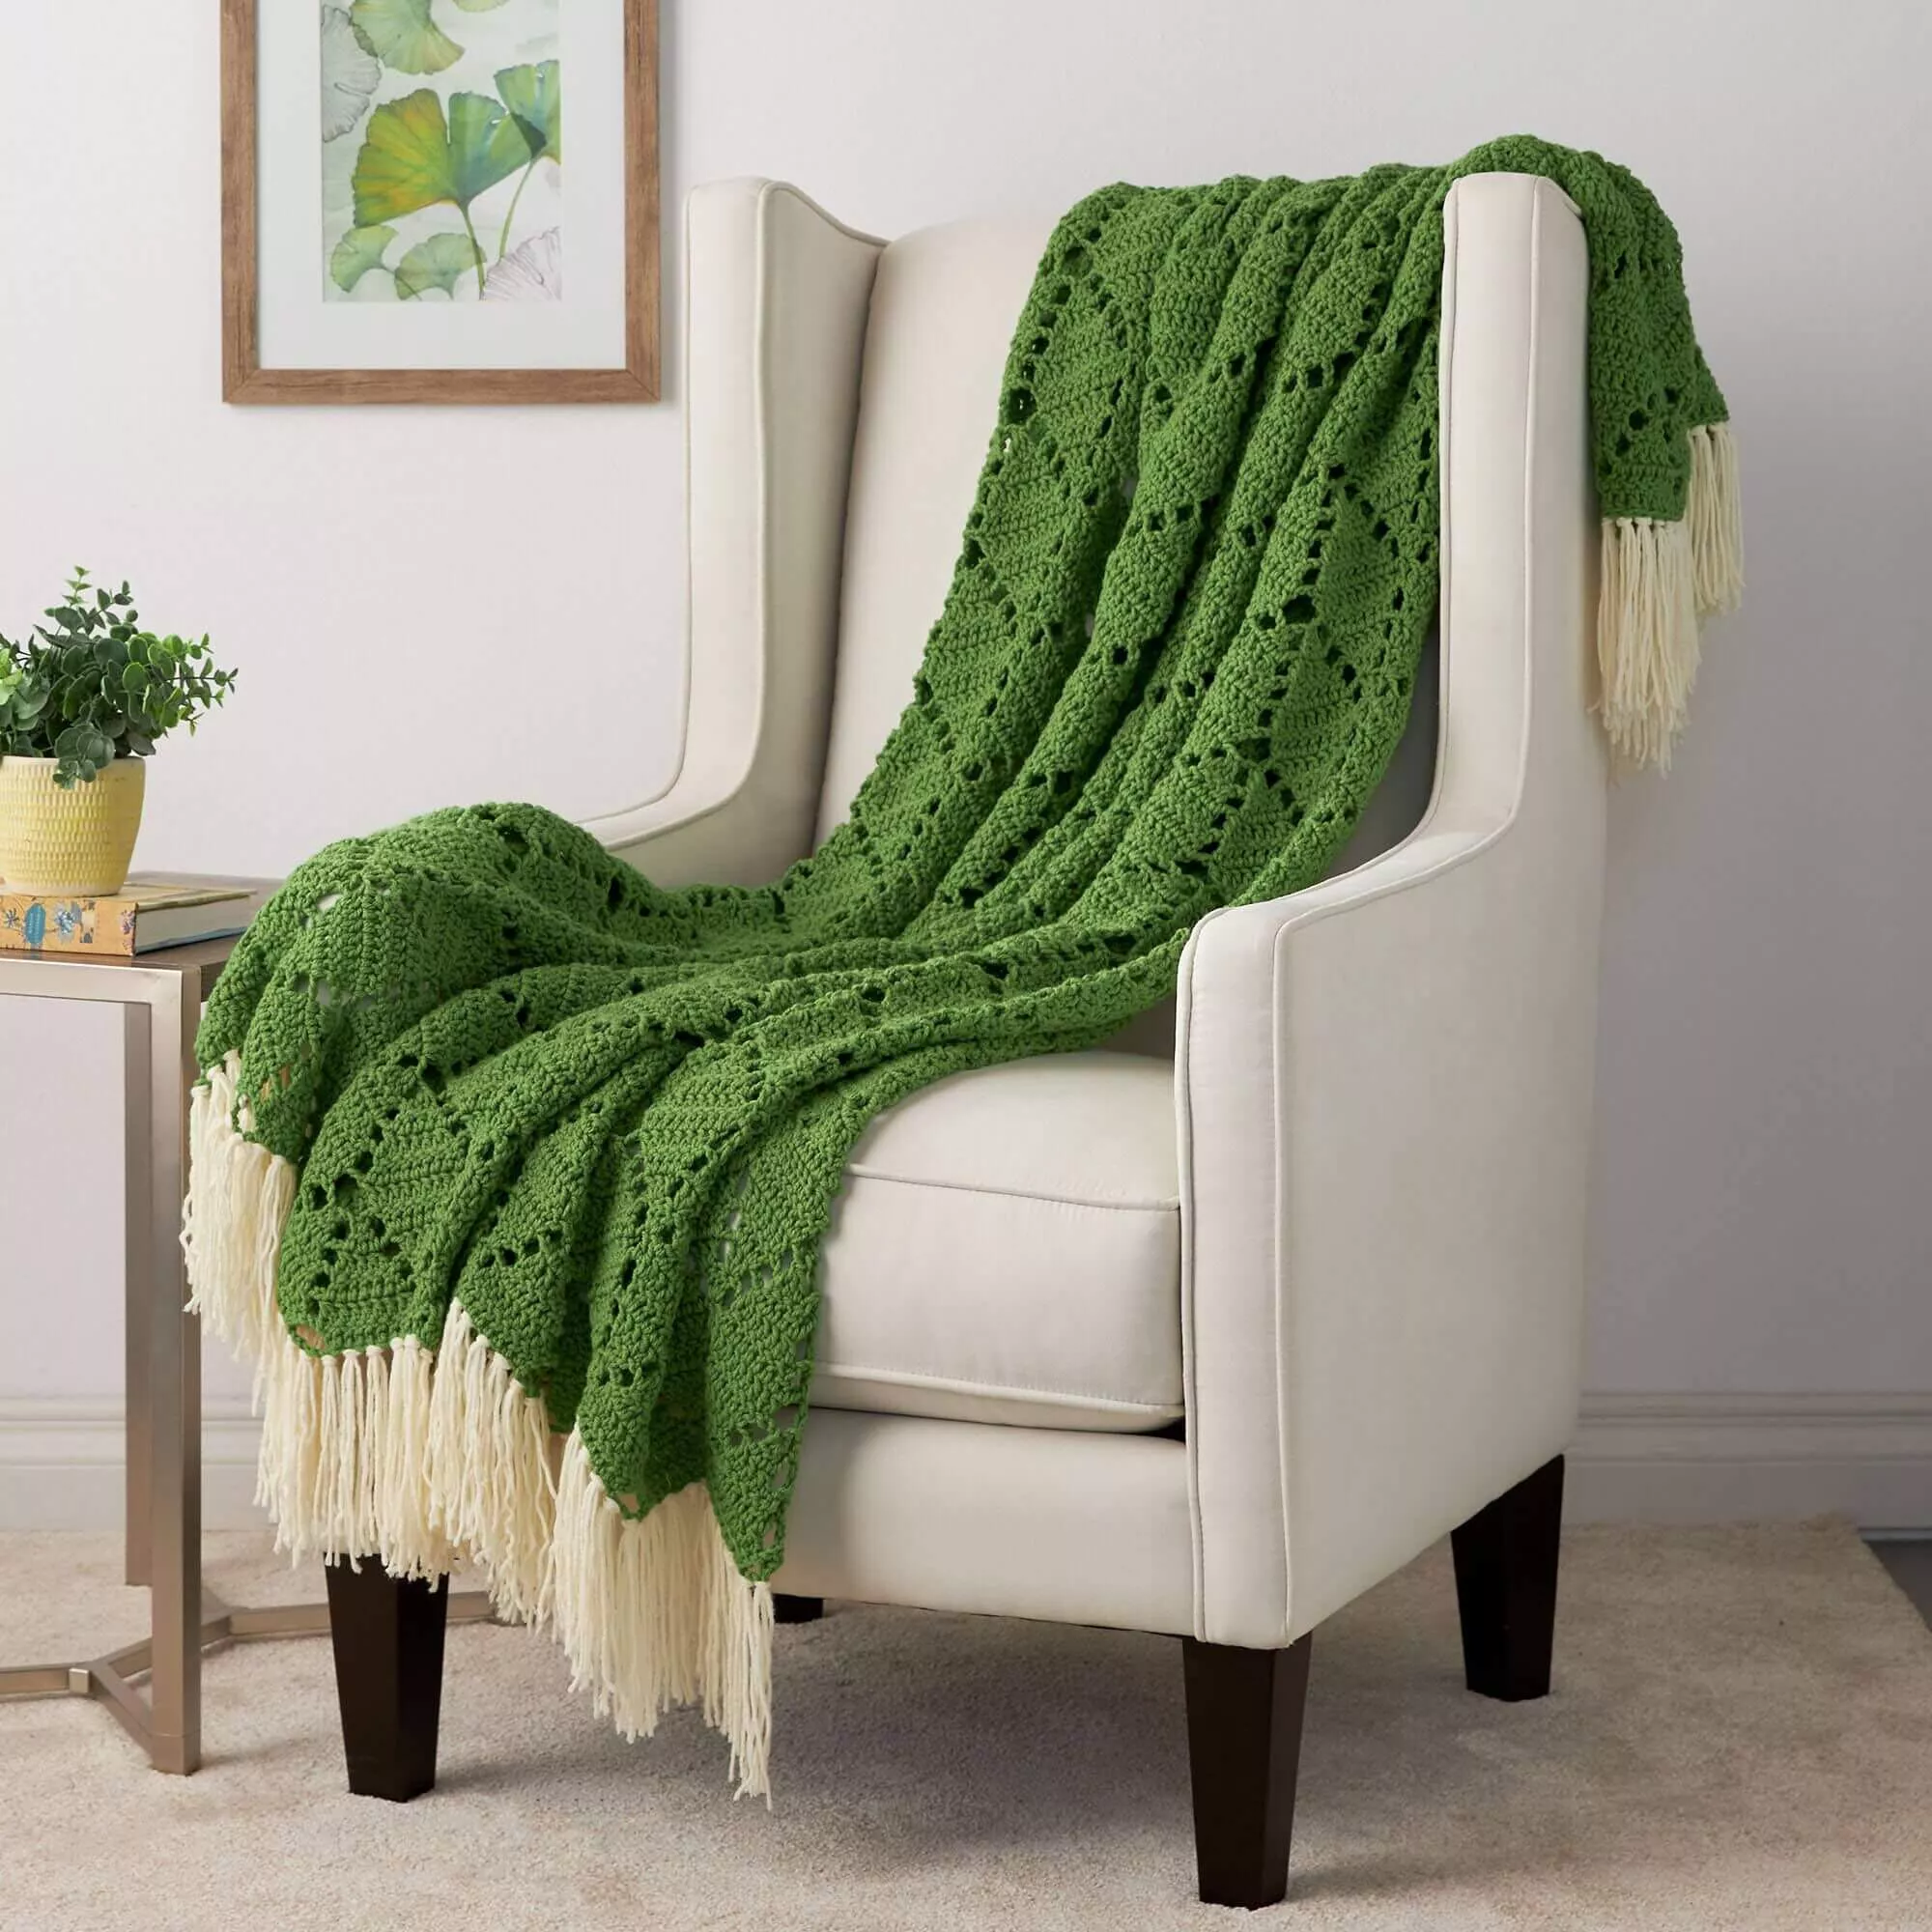
To make the square larger (like the blanket squares shown), continue with additional granny rounds in the same background color or change colors for a playful patchwork effect. For each new round, attach yarn in any corner chain-2 space, chain 3, and work 2 double crochets into that corner space, then work 3 double crochets into each space between clusters along the sides, and at every corner work (3 double crochets, chain 2, 3 double crochets) into the corner chain space. Join each round with a slip stitch. Keep adding rounds until your square reaches the size you want. A neat finishing tip is to use a final round of single crochet evenly around the edges (placing 3 single crochets in each corner chain space) to give the square a clean, structured border—this is especially helpful if you plan to sew or crochet the squares together for a blanket. Weave in all ends securely, and lightly block the square so the corners sharpen and the daisy sits nicely centered.
