Rings of Posies

Making a quilt with the image of your conservation animal can be an exciting and meaningful project. Here is a basic guide to help you accomplish this task:
Necessary materials:
picture of your pet
Fabrics of different colors for the quilt pieces
Backing fabric for quilt base
padded blanket
sewing thread
Sewing needle
scissors
Ruler
iron
Step by step:
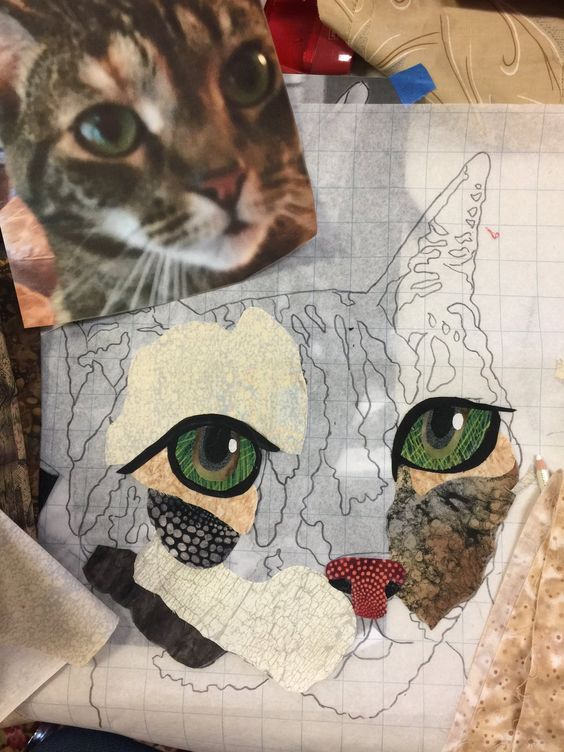
Choose Your Pet’s Image: Select a high quality photo of your pet that you would like to incorporate into the quilt. Make sure the image is well lit and clear enough to capture the details.
Divide the image into blocks: Use an image editing program or an app to divide your pet’s photo into smaller blocks. You can use an imaginary grid or software to help with this process.
Choose fabric cores: Based on the image divided into blocks, choose fabrics that best represent the cores and patterns of your pet’s image. If needed, you can purchase fabric from fabric stores or use leftover fabric you already own.
Cut the fabrics into shapes and sizes corresponding to the blocks: Using the ruler and scissors, cut the fabrics according to the shapes and sizes needed for each block in the image. Be sure to add a seam allowance around each piece.
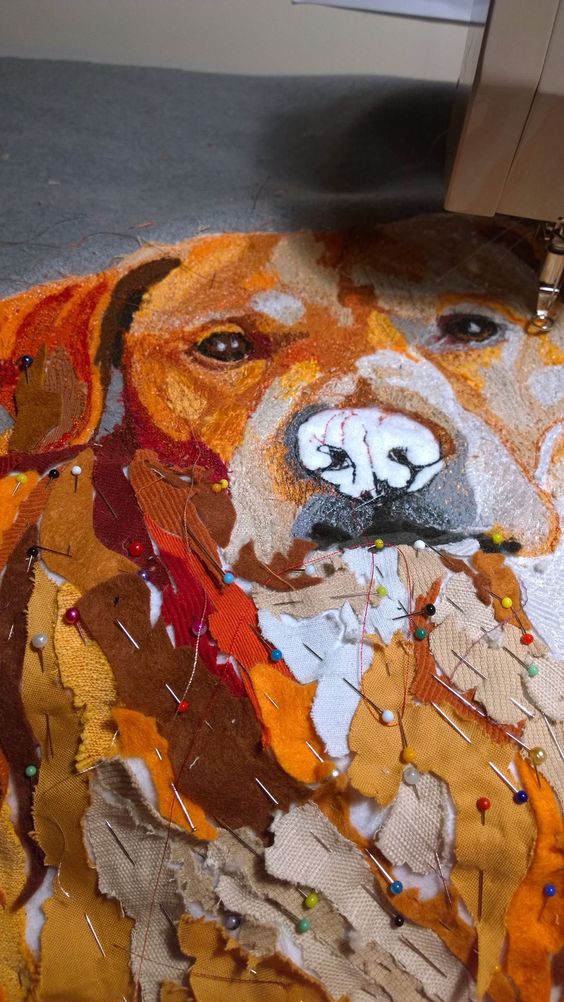
Assemble the image blocks: With the fabrics cut out, assemble the blocks of your pet’s image onto the background fabric. Align the pieces correctly to form a complete picture. You can temporarily secure the pieces with pins to prevent them from moving during the sewing process.
Sew the pieces by hand or by machine: Using a sewing thread and a needle, or a sewing machine, sew the block pieces together. Start with the smallest blocks and build the bigger picture.
Prepare a quilt base: Place the backing fabric on a flat surface and lay it flat. Then place a quilted blanket on top of the backing fabric, lining up the corners and edges.
Place the picture blocks over the quilt base: Place the picture blocks you sewed on the quilt base. Arrange them in the correct order to form a complete picture of your pet.
Attach the blocks to the quilt: Use pins to secure the blocks to the base of the quilt. Make sure they are snug and don’t move during the sewing process.
Sew the blocks to the quilt: With the sewing thread and needle, or the sewing machine, sew the blocks to the base of the quilt. Make firm stitches to ensure they are secure.
Finish: Cut off any excess fabric or loose thread. pass a quilt
Additional Additional Details (Optional): If you want to add more details to the quilt, such as embroidery or appliqués, this is the time to do so. It could be an opportunity to add special features of your pet, such as eyes, nose or coat color.
Prepare a quilt back: Choose fabric for the quilt back and cut it to size, leaving a seam allowance around the edges.
Sew the quilt layers together: Lay the chosen fabric for the quilt backing right side down. Then place a quilt assembled from the blocks over the backing fabric, lining up the edges.
Sew the layers together: Sew around the edges of the quilt, leaving an opening on one side so you can turn the quilt inside out.
Turn the quilt inside out: Pass your hand through the opening left in the seam and turn the quilt inside out, making sure all mothers are correctly positioned.
Make the final finish: Close the seam opening with hand stitches or using a sewing machine. Then, press the quilt with an iron to make it smooth and give it a professional finish.
Finish a quilt: If desired, add a border around the quilt for a nicer finish. You can use a contrasting fabric or a narrow strip of the fabric used in the image blocks.
Ready! Now you have a beautiful quilt with your pet’s image on it. Remember that this is just a basic guide and you can adapt the process according to your skills and abilities. Have fun with the project and keep the personalized quilt that celebrates your beloved pet.
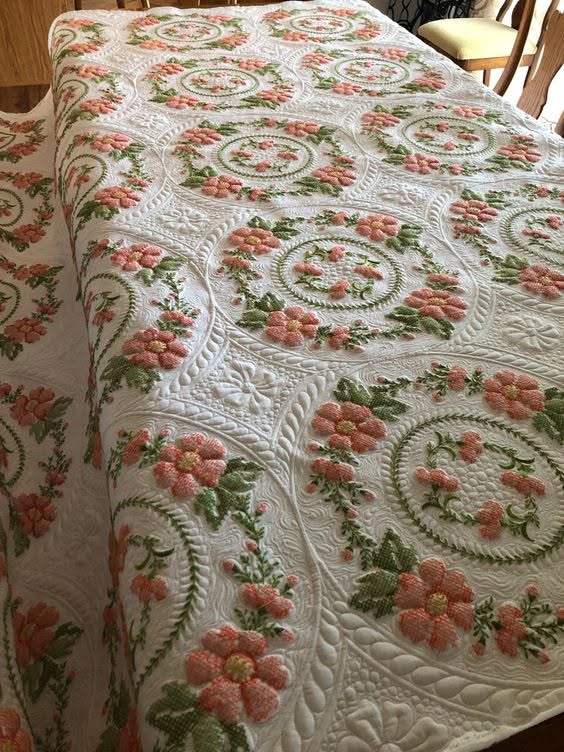
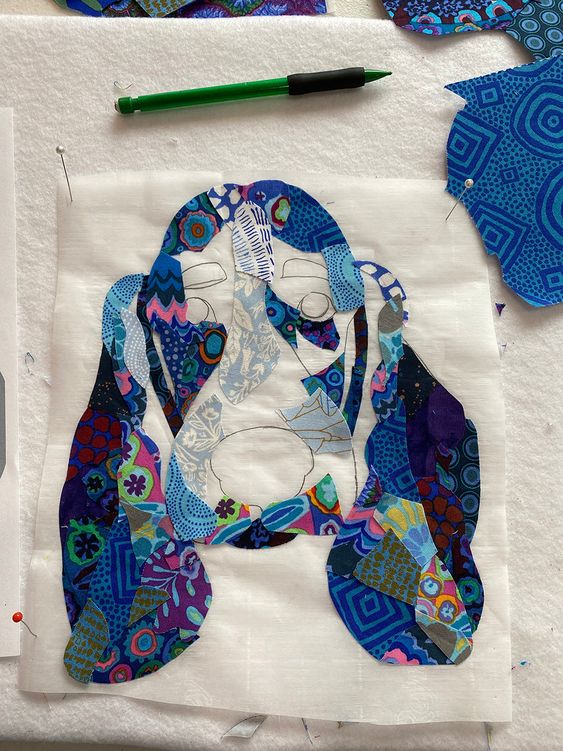
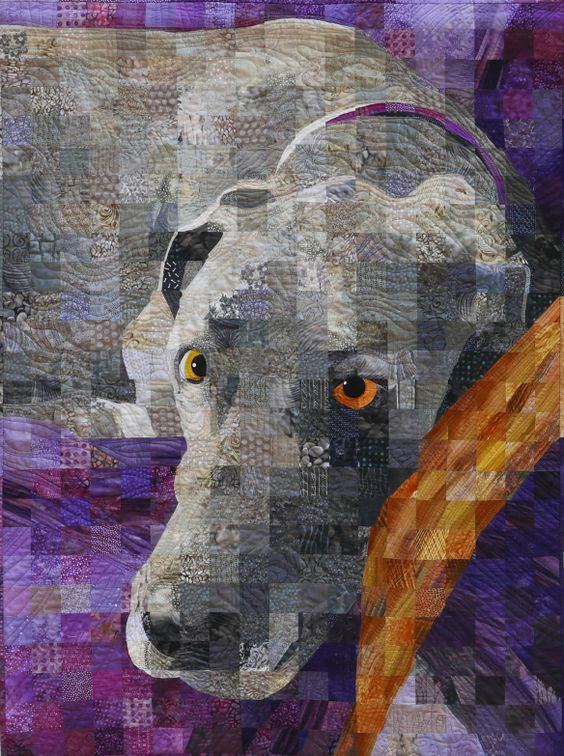
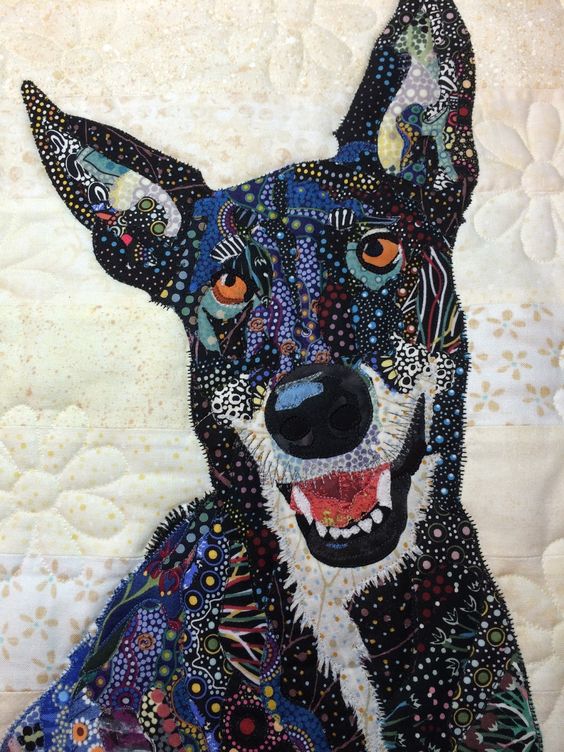
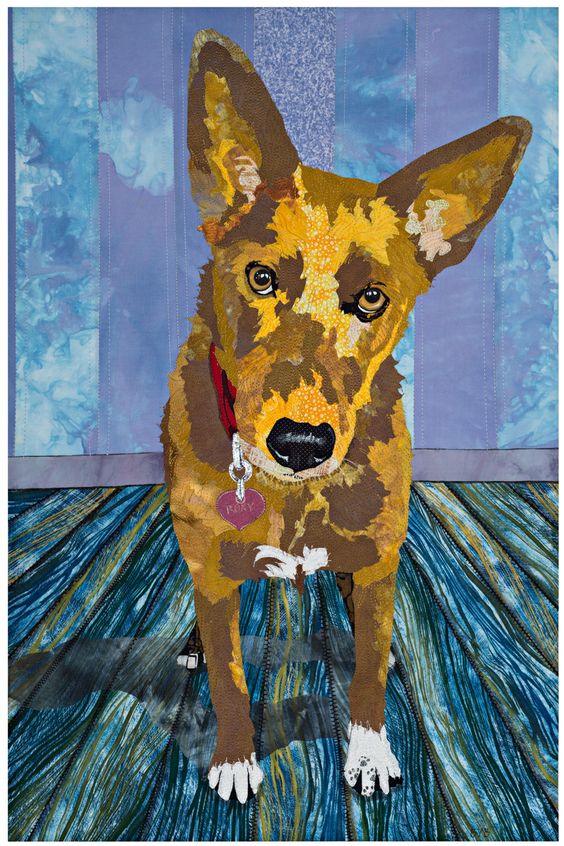
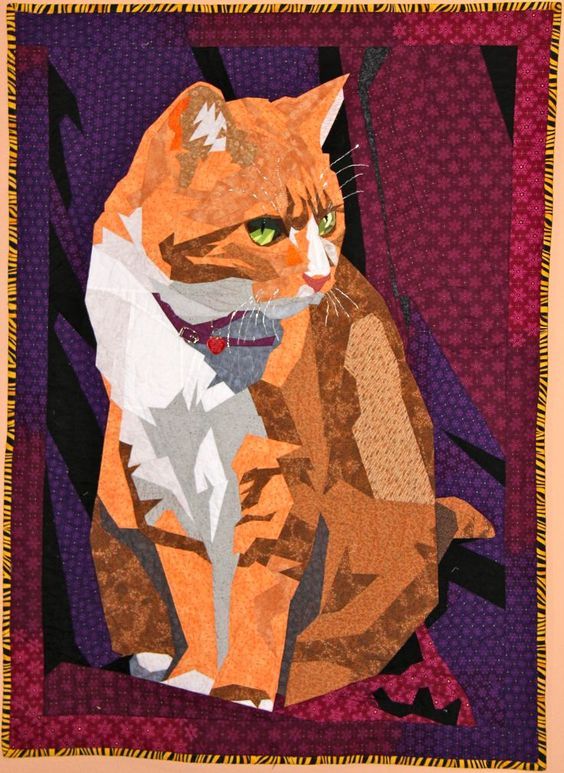
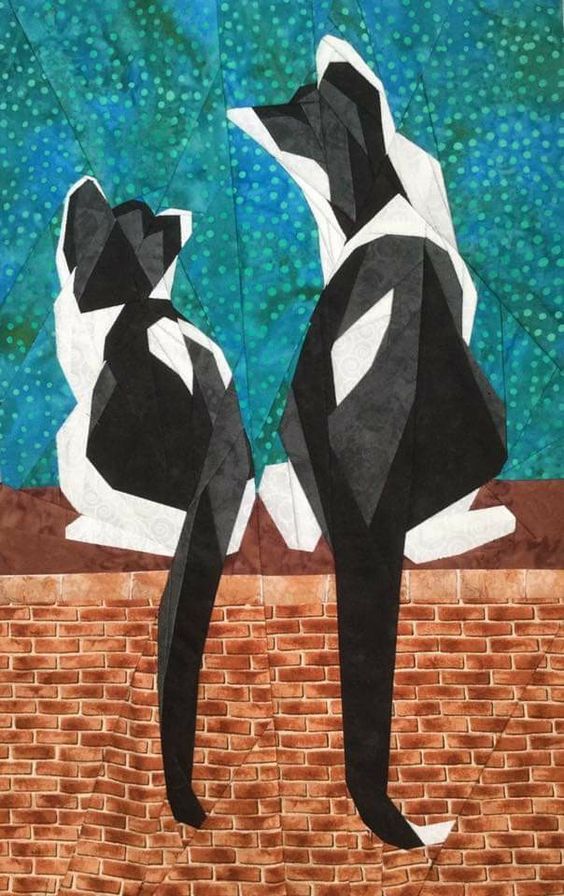
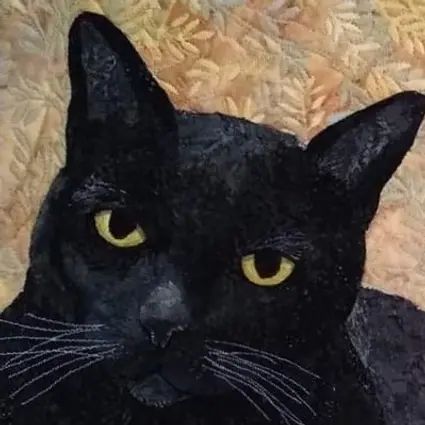
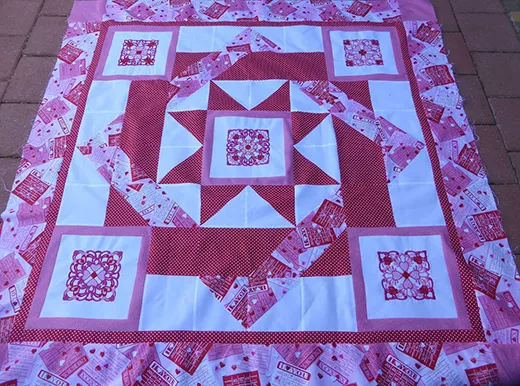
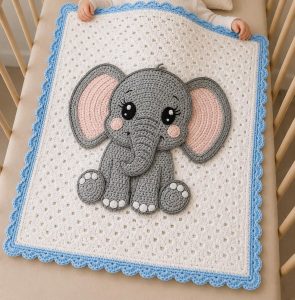
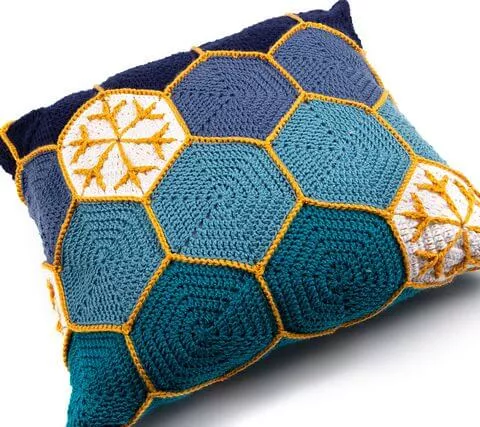
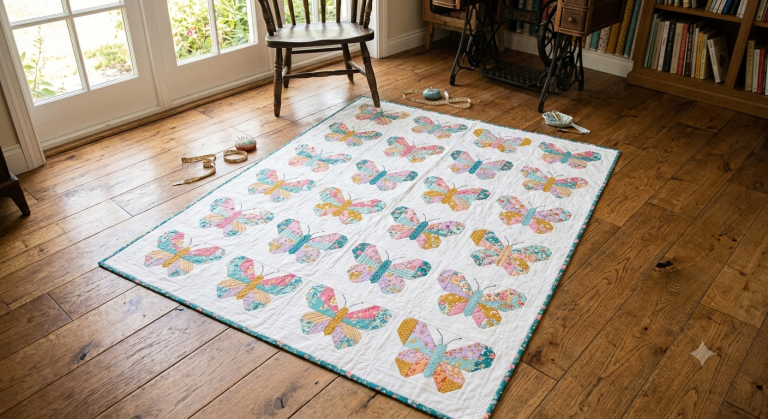
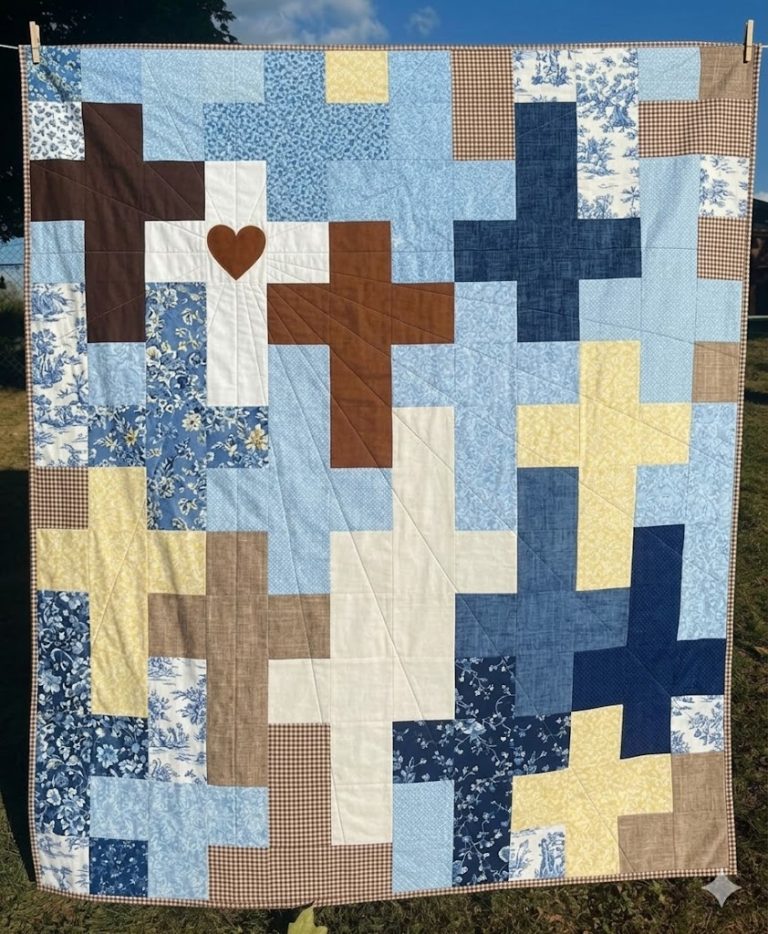
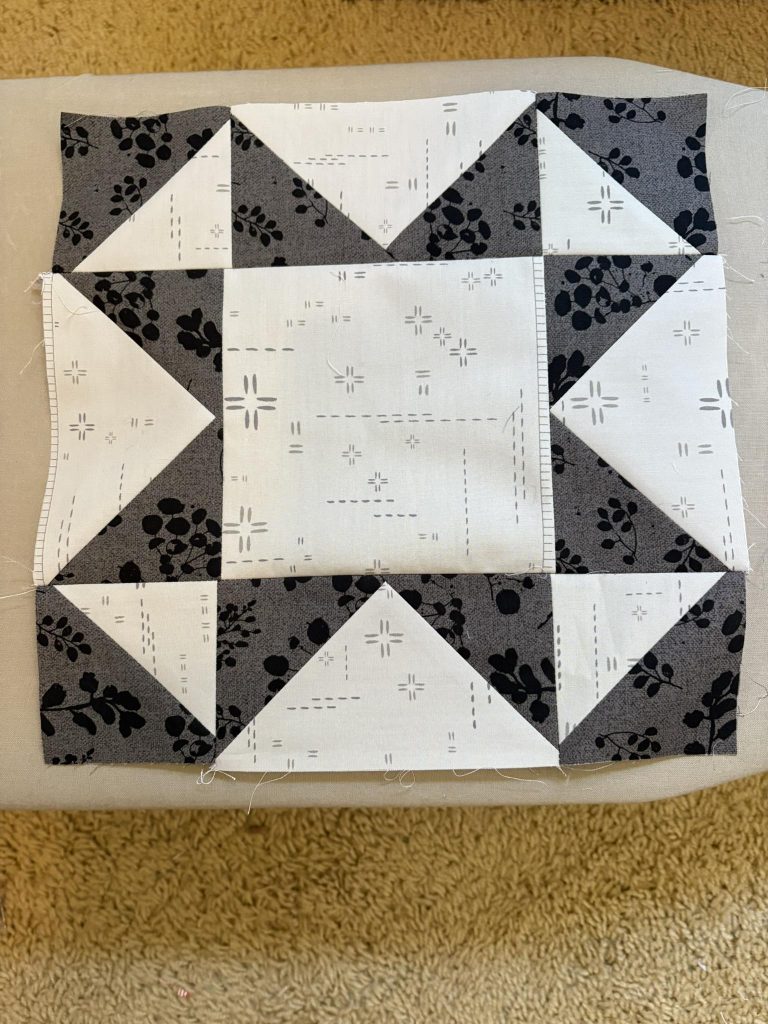
INSPIRATIONS:
Pinterest Image
Pinterest Image
Pinterest Image
Pinterest Image
Pinterest Image
Pinterest Image
Pinterest Image
Pinterest Image
Pinterest Image
