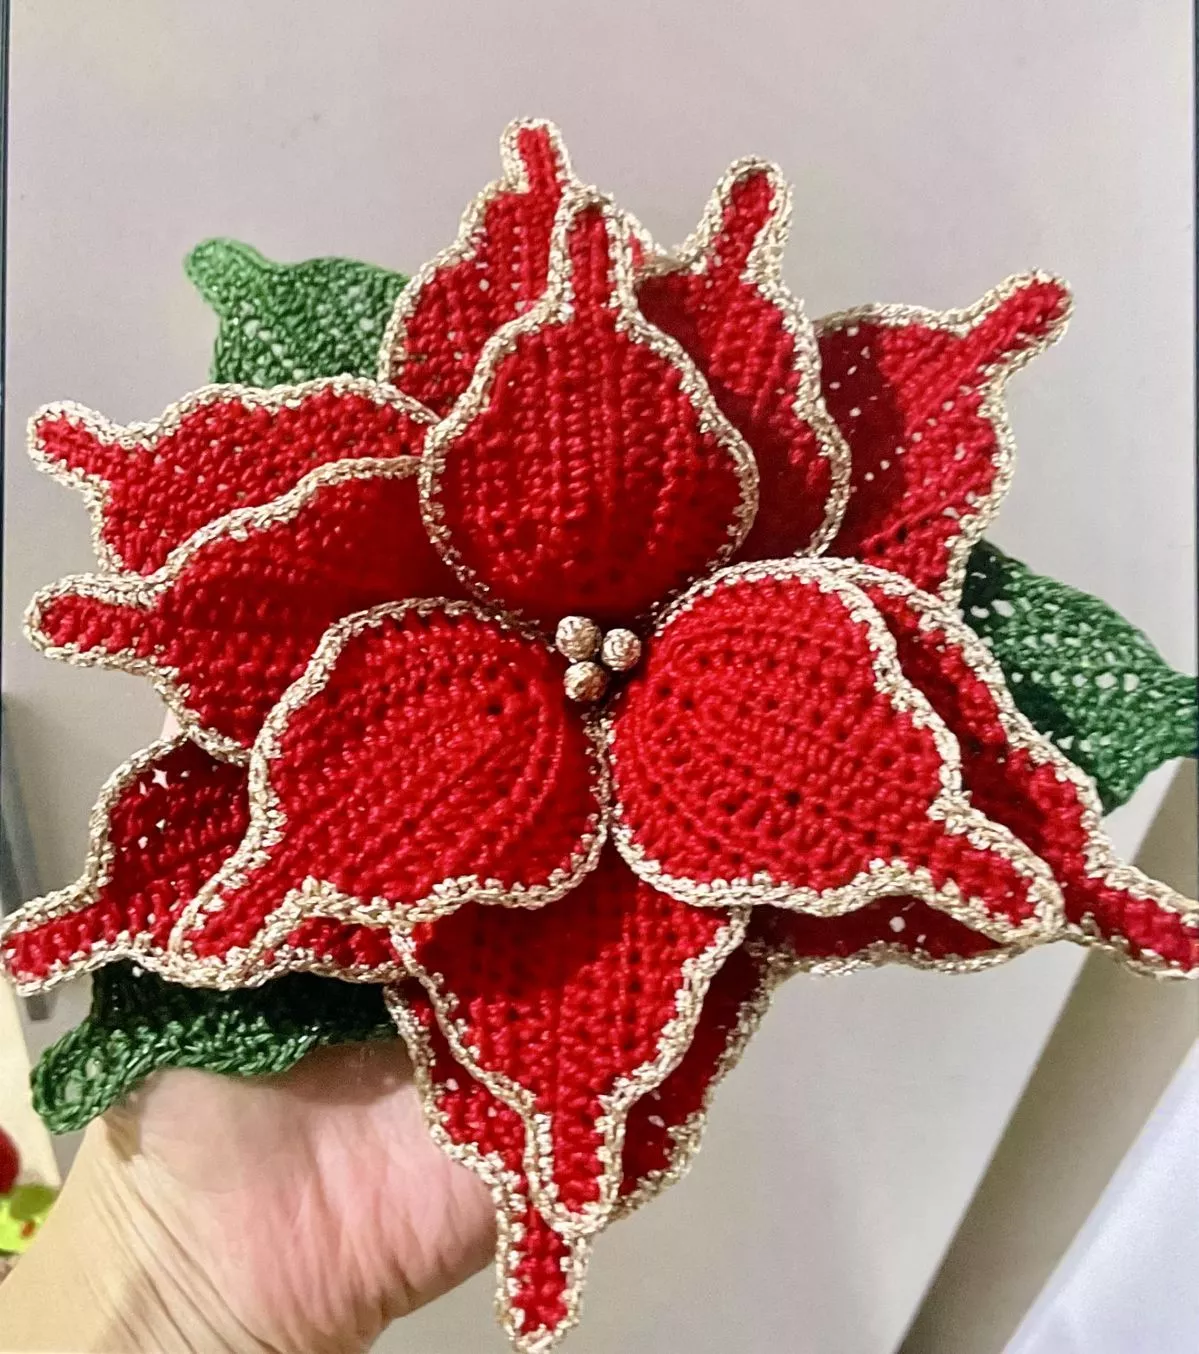
That’s a lovely quilt pattern! These charming Santa ornaments appear to be made using a miniature log cabin or foundation paper piecing (FPP) technique to achieve the square-in-a-square look for Santa’s face and beard, and a stitched-over-a-template or folded corner method for the triangular hat and the overall shape.
Mini Quilted Santa Ornament Pattern
This pattern creates a delightful, small quilted ornament, perfect for Christmas tree decoration or gift-giving. The technique uses strips of fabric to build up the iconic Santa face and hat.
Fabric B (Face): Cut one small square, approximately 1.5 inches×1.5 inches.
Fabric C (Beard/Trim): Cut several strips 1 inch wide.
Batting & Backing: Cut a square approximately 4 inches×4 inches.
Note: The final size will depend on the length of your fabric strips. Adjust the strip width for a larger or smaller ornament.
Step-by-Step Instructions
Part 1: Constructing the Santa Face Block
This section uses a miniature log cabin/strip piecing technique, starting from the center face square.
advertising
Start the Face: Take the Fabric B (Face) 1.5 inch square. This is the nose/face center.
Add the Beard Trim (Fabric C): Take one 1 inch wide strip of Fabric C (Beard).
Place it right sides together along one edge of the Face square. Sew with a 1/4 inch seam allowance.
Press the seam open, pressing the strip away from the center. Trim the strip ends flush with the block.
Repeat this on the opposite side of the Face square. You now have two white strips on the sides of the face.
Complete the Beard (Fabric C): Take another Fabric C strip.
Place it along the top and bottom of the newly formed rectangle (which includes the first two strips). Sew, press open, and trim. The block should now look like a small white square with a tan square in the middle—this is the base of the beard.
Add the Hat Trim (Fabric C): Take the two remaining sides of the square.
Attach 1 inch strips of Fabric C to these two opposite sides, but only along the top two edges that will be under the hat. These strips will form the white fur trim above the beard.
Part 2: Creating the Quilted Hat (Fabric A)
The hat is created by adding the Fabric A strips to the two upper corners of the assembled face block, giving it the triangular shape.
Add the First Hat Strips: Take one 1 inch wide strip of Fabric A (Hat).
Align it diagonally, right sides together, across one of the top corners of the block (from the center of the top edge out to the side edge).
Stitch the strip on, press it open, and trim the excess fabric to start forming a triangle on that corner.
Repeat on Opposite Corner: Repeat the diagonal placement and stitching on the other top corner with another 1 inch Fabric A strip.
Build the Triangle: Continue adding Fabric A strips, working outward in a square/log cabin fashion, but only on the hat side. Each strip will get progressively longer as the triangle shape grows toward the final desired size.
Tip: Keep pressing the seams as you go.
Part 3: Finishing and Assembly
Square Up: Once the quilted block is the size you want (e.g., 3.5 inches×3.5 inches), trim it carefully into a perfect square or your desired final shape (a clean square will make the diagonal fold easier).
Layer and Quilt:
Place the Backing Fabric face down.
Place the Batting on top of the backing.
Place the Santa Quilt Top face up on the batting.
Quilt the layers together. You can “stitch-in-the-ditch” or do simple diagonal or straight-line quilting to secure the layers. Trim the excess batting/backing flush with the quilt top.
Add the Loop: Cut a 4 inch length of twine or ribbon. Fold it into a loop and sew the raw ends to one corner of the square (this corner will become the top point of the Santa hat).
Fold and Finish:
Fold the quilted square diagonally so that the corner with the loop is the top point, and the bottom corner is the lowest point of the ornament.
Stitch all the way around the raw edges of the folded triangle, using a 1/8 inch seam allowance, securing the loop and closing the ornament.
Embellishments:
Beard Tuft: Wrap the white embroidery floss around two fingers about 10-15 times. Tie the middle tightly with another piece of floss. Snip the loops open and trim to create a small pom-pom/tassel. Hand-stitch this tuft to the bottom point of the ornament for the beard.
Eyes: Hand-stitch two small black beads above the beard trim for the eyes.


