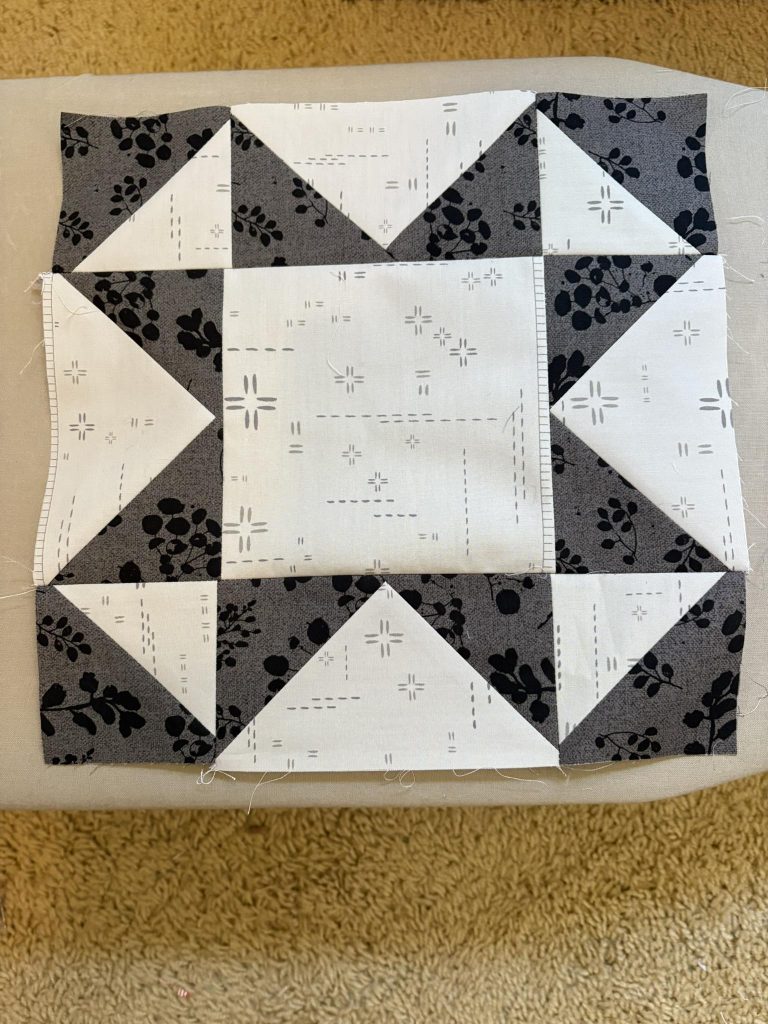
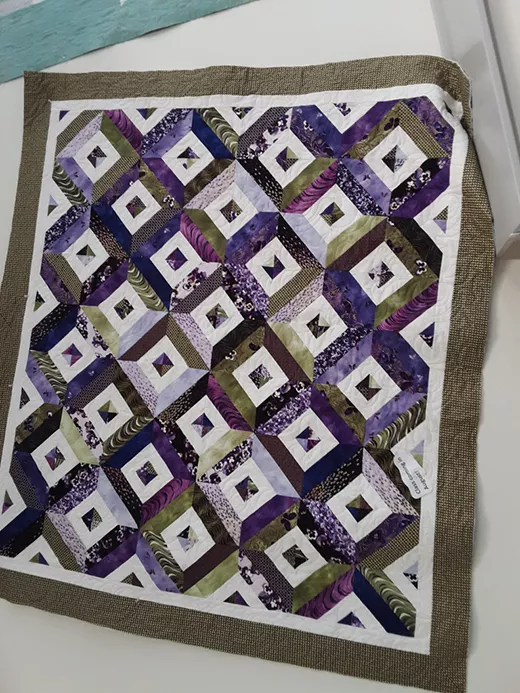
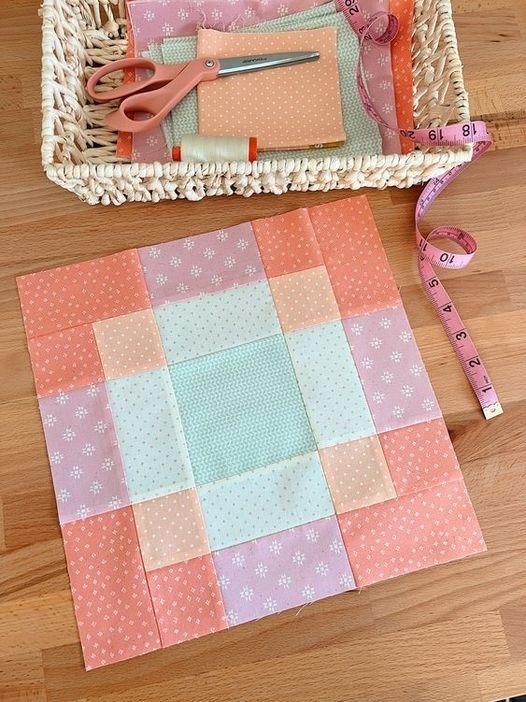
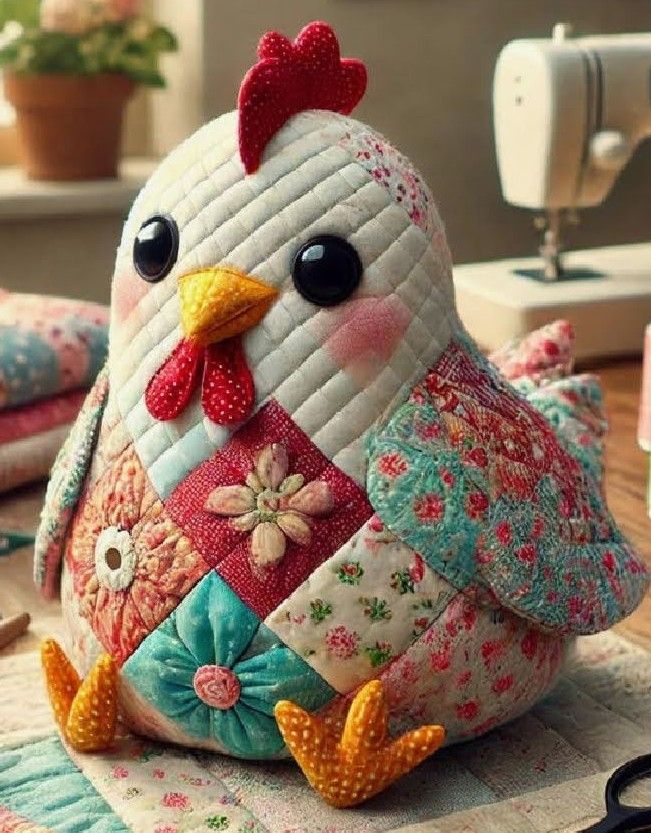
This classic project is a fantastic way to use your fabric scraps (retalhos) to create a charming, freestanding hen, often used as a doorstop, kitchen decoration, or pin cushion.
1. Materials Needed
Scraps for the Body: Assorted cotton fabric pieces in different colours and prints (florals, stripes, dots, checks) for a true patchwork look. You can use a single large scrap or piece smaller scraps together to form the main body fabric.
Scraps/Felt for Details:
Comb: Red or dark pink felt or fabric scrap (doubled).
Wattles (Papos/Barbelas): Red felt or fabric scrap.
Beak: Yellow or orange felt or fabric scrap.
Stuffing: Polyester fiberfill (like Poly-fil) to fill the body.
Weight (Optional): If using it as a doorstop, you’ll need sand, rice, or beans, placed inside a small plastic bag or inner fabric pouch to prevent it from shifting or damaging the fabric.
Other: Needle, thread, scissors, pins, and a sewing machine.
2. Step-by-Step Instructions (3D Construction)
a) Prepare the Pattern and Scraps
Get the Pattern: Search online for “Free Stuffed Chicken Fabric Pattern” or draw a large teardrop or pear shape with a flat base. This will be the main body piece.
Main Body: Cut two pieces of the main body pattern, ensuring the right sides of the fabric are touching when you sew.
Tip for Patchwork: If your scraps are too small, sew them together first (in strips or squares) to create two larger panels, and then cut your pattern pieces from those panels.
Details: Cut the smaller pieces (comb, wattles, and beak) from your chosen felt or fabric scraps.
b) Assemble the Details
Comb and Wattles: Fold the comb and wattles (if using fabric, sew the edges and turn them right-side out first). Pin these to the right side of one of the body pieces, placing them at the head/neck area.
Crucial Step: The part of the comb/wattle that will stick out should be pointed inward toward the center of the body piece. This way, when you turn the hen right-side out, they will pop out correctly.
Beak: Fold the beak fabric into a triangle shape and pin it below the comb, also on the right side of the fabric.
c) Sew and Stuff
Sew the Body: Place the second body piece (right side facing down) on top of the first piece, sandwiching the details (comb, wattles, beak) between the layers. Pin all the way around.
Sew: Sew around the entire shape using your seam allowance, leaving an opening at the flat base or along the bottom edge.
Turn: Clip the excess fabric at the curves (make small snips without cutting the seam line) and turn the hen right-side out through the opening.
d) Fill and Finish
Insert Weight (Doorstop): If you are adding weight, insert the sealed bag of sand or rice into the base of the chicken first.
Stuff: Fill the rest of the hen firmly with polyester fiberfill, making sure the head and tail are well-stuffed to hold their shape.
Close: Hand-sew the opening closed using an invisible (ladder) stitch.
e) Eyes and Wings
Eyes: Use small black beads, buttons, or embroider an eye using a simple French Knot or a few straight stitches with black thread.
Wings (Optional): Cut two small teardrop or oval scraps for the wings. Sew them together, turn them right-side out, and stitch them onto the sides of the chicken body by hand or machine.
Your beautiful patchwork scrap hen is now complete, ready to add a rustic charm to any room!