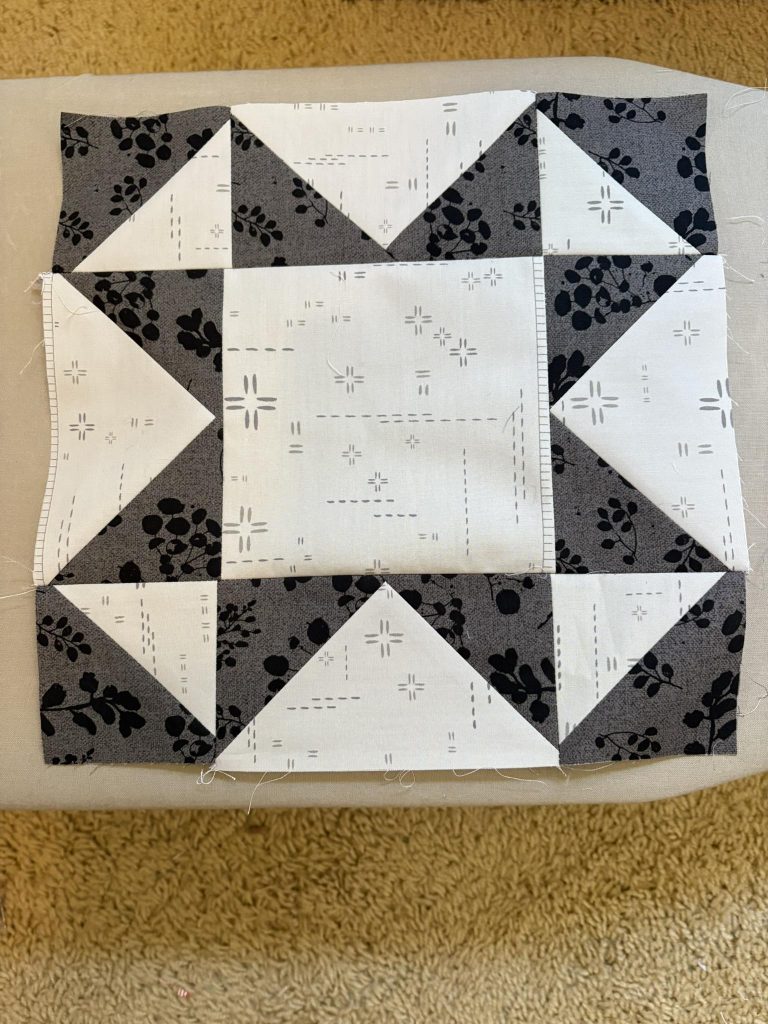
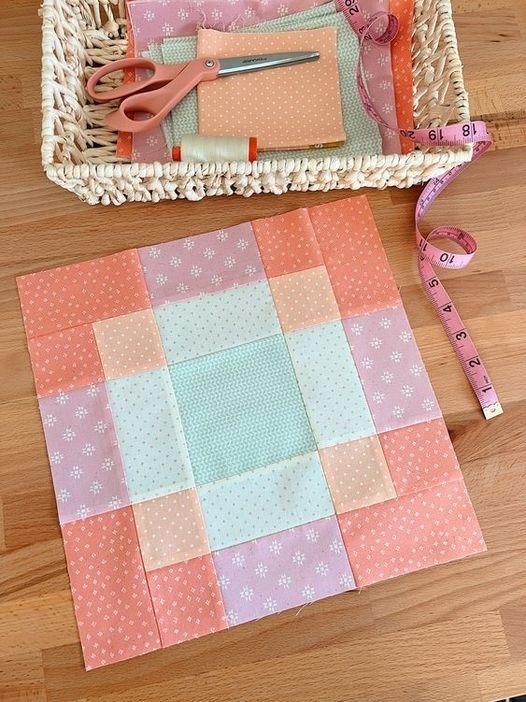
Quilted Christmas Tree Skirt

advertising

Quilted Christmas Tree Skirt – Short Tutorial

Finished size (suggested): 40–48″ diameter, 4–6″ center hole
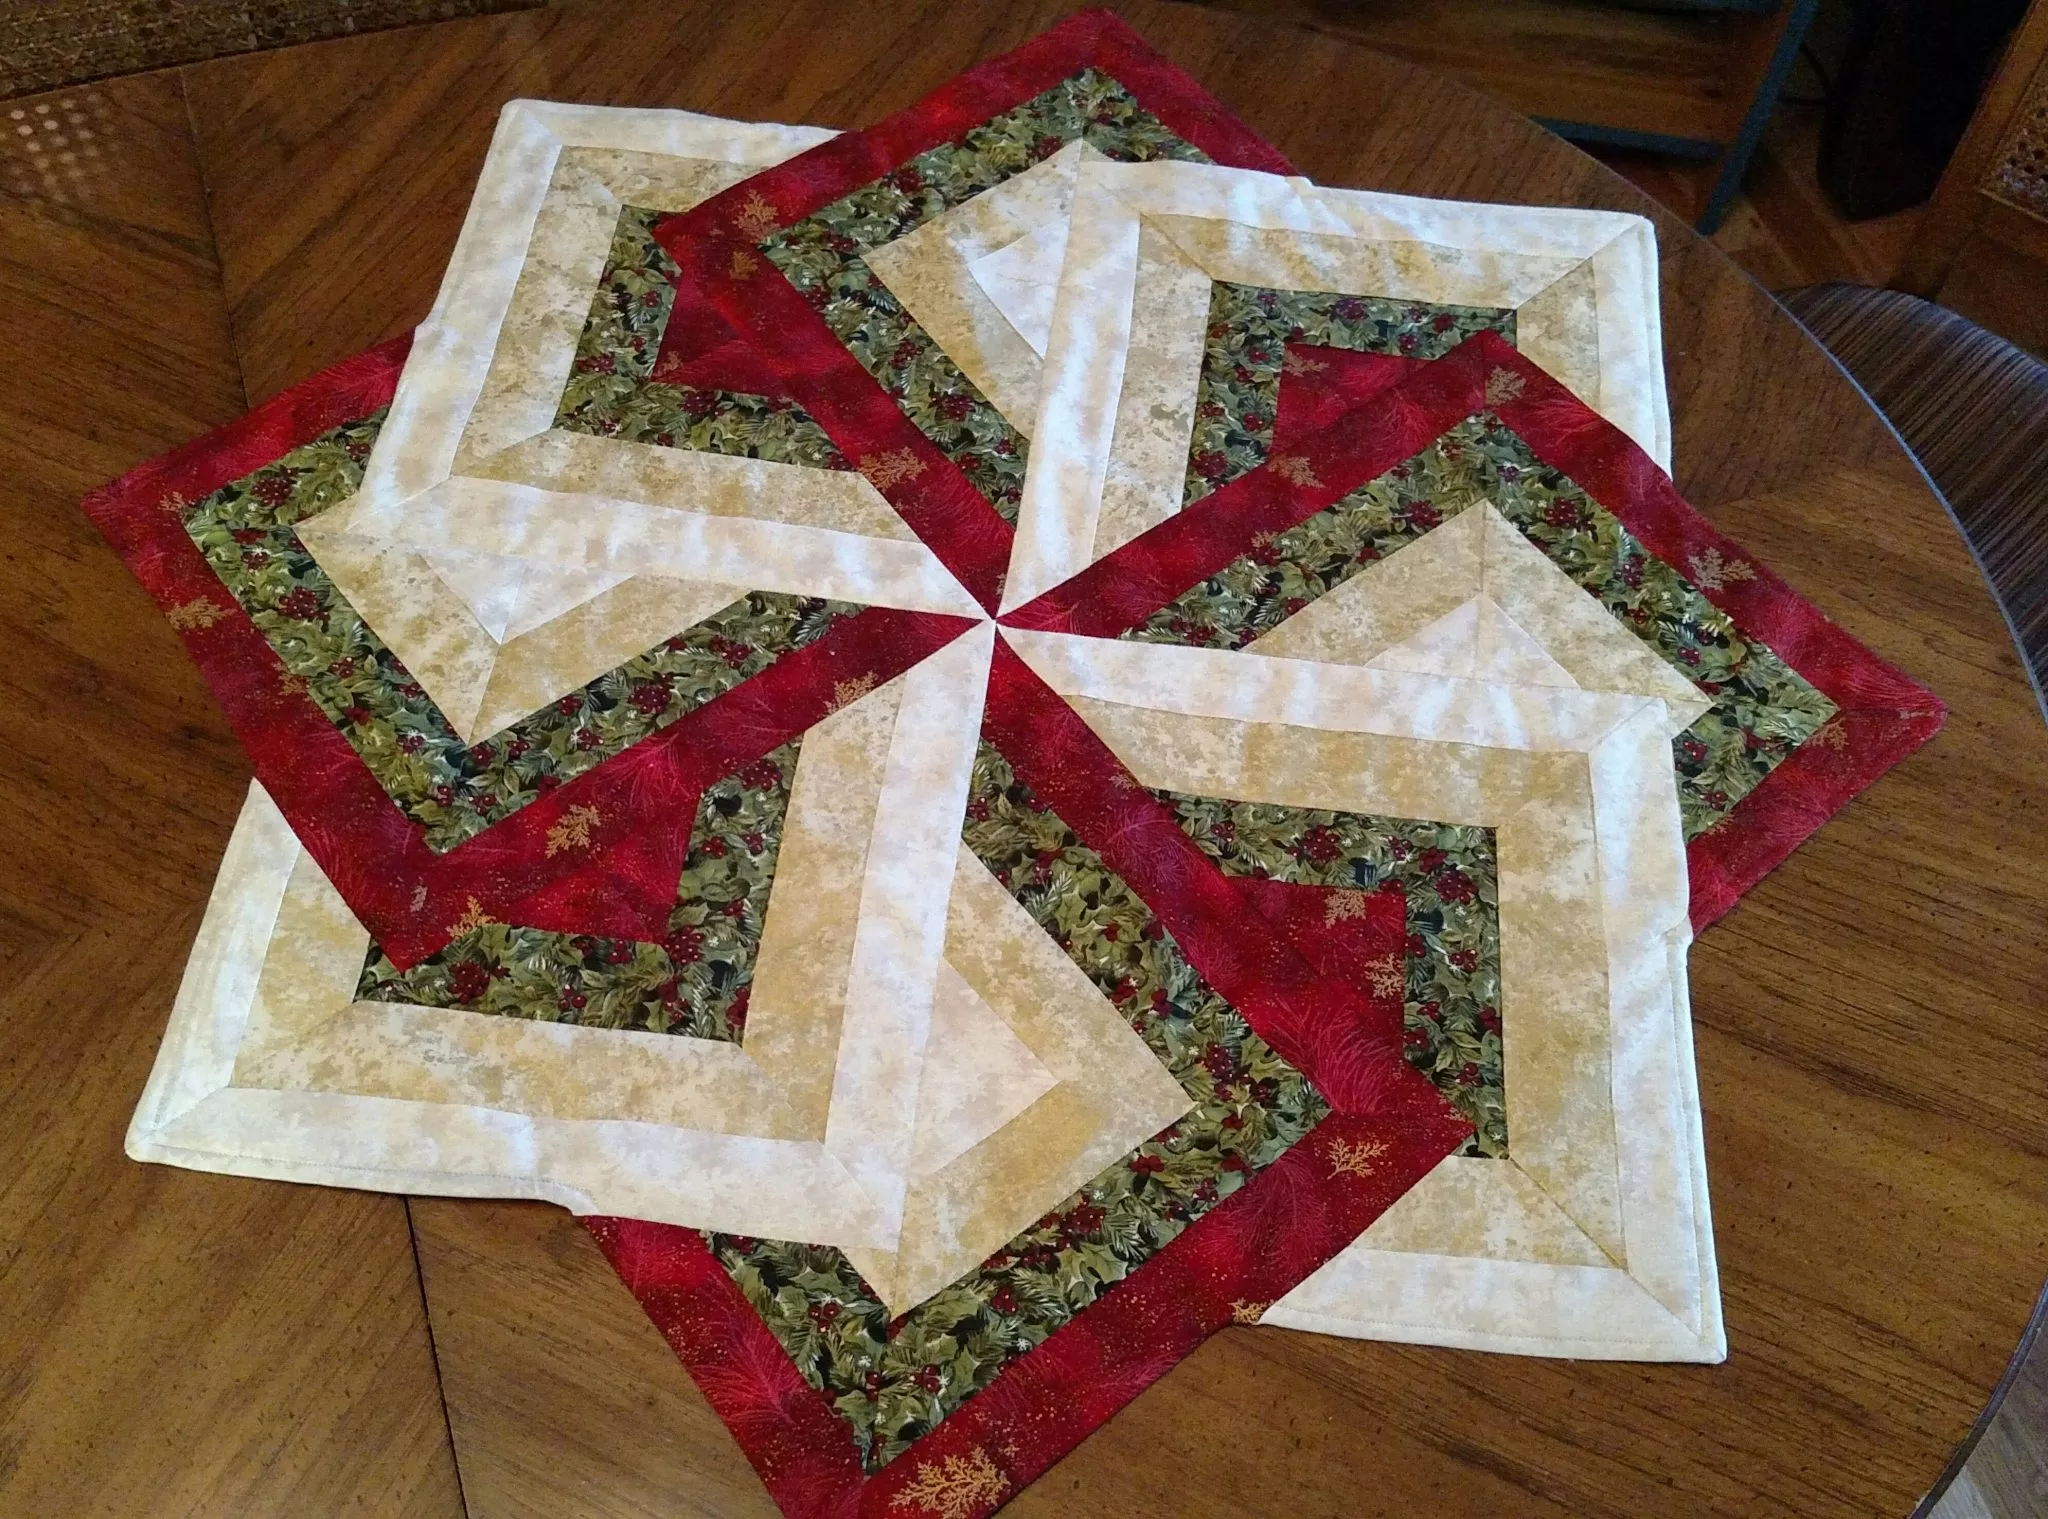
Wedges: 12 wedges @ 30° each (or 16 wedges @ 22.5° each)

Materials

1) Make the wedge template

  1. Draw an isosceles triangle (wedge) with a 30° tip and radius = half your skirt diameter (e.g., 20–24″).
  2. Flatten the tip by drawing a center circle (4–6″ dia.) and trimming the wedge’s tip to that arc.
  3. Add ¼″ seam allowance to both long sides and the tip arc.

You need 12 wedges of this shape to make a full circle (or use 16 wedges at 22.5°).

advertising

2) Cut the fabrics

  1. Cut 12 front wedges. Keep directional prints upright (fat quarters work well).
  2. Cut 12 batting wedges and 12 backing wedges (or cut one big circle later—see Method B).
  3. Cut binding on the bias, 2¼″ wide, join into one long strip.

3) Quilt the wedges (Method A: Quilt-as-You-Go – easiest for this look)

  1. For each wedge, layer: backing (wrong side up) → batting → front wedge (right side up).
  2. Quilt with lines that radiate from the center or echo the prints (walking foot helps).
  3. Trim each quilted wedge back to the template.

Method B (alternative): Sew all front wedges together first, make one front circle with a slit and center hole, then layer over one large batting/backing piece, quilt the whole skirt at once. Trim edges.

4) Assemble the circle

  1. Sew the 12 quilted wedges together, ¼″ seam, forming a circle.
  2. Pick one seam to become the opening slit: cut from outer edge to center hole along that seam (or leave it unsewn).
  3. Check the center hole size; refine the circle with a plate/compass if needed.

5) Add scallops (optional, like the photo)

  1. Using a 6–7″ plate, trace half-circles along the skirt’s outer edge to create even scallops.
  2. Stitch just inside the drawn line through all layers, then trim to the line.
  3. If you used Method B, stitch-and-turn is optional: sew backing and front RST on the scallop line, trim, turn, press, then top-stitch. If using exposed binding, skip turn-through and bind (next step).

6) Bind and finish

  1. Bind the center hole first with bias binding; hand-stitch to finish.
  2. Bind the slit edges (narrow single-fold or bias tape works).
  3. Bind the outer scalloped edge with the long bias strip, easing around curves.
  4. Add closures along the slit: ties, buttons + loops, or hook-and-loop.

Tips

advertising