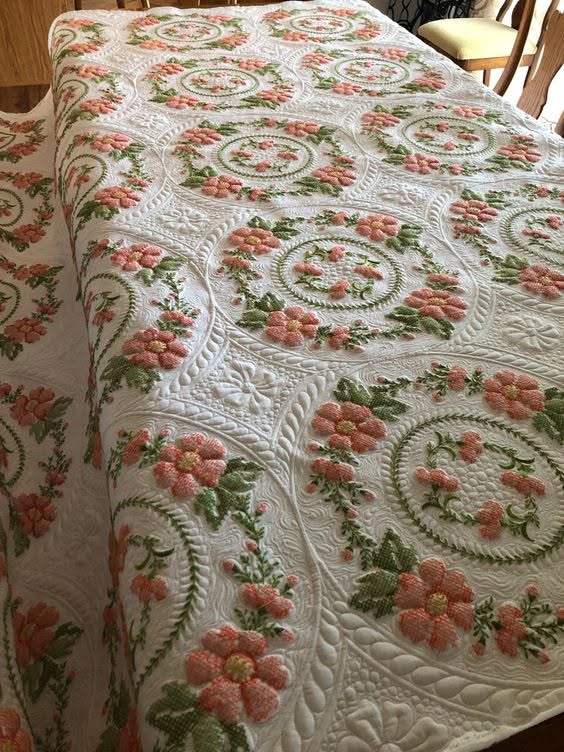
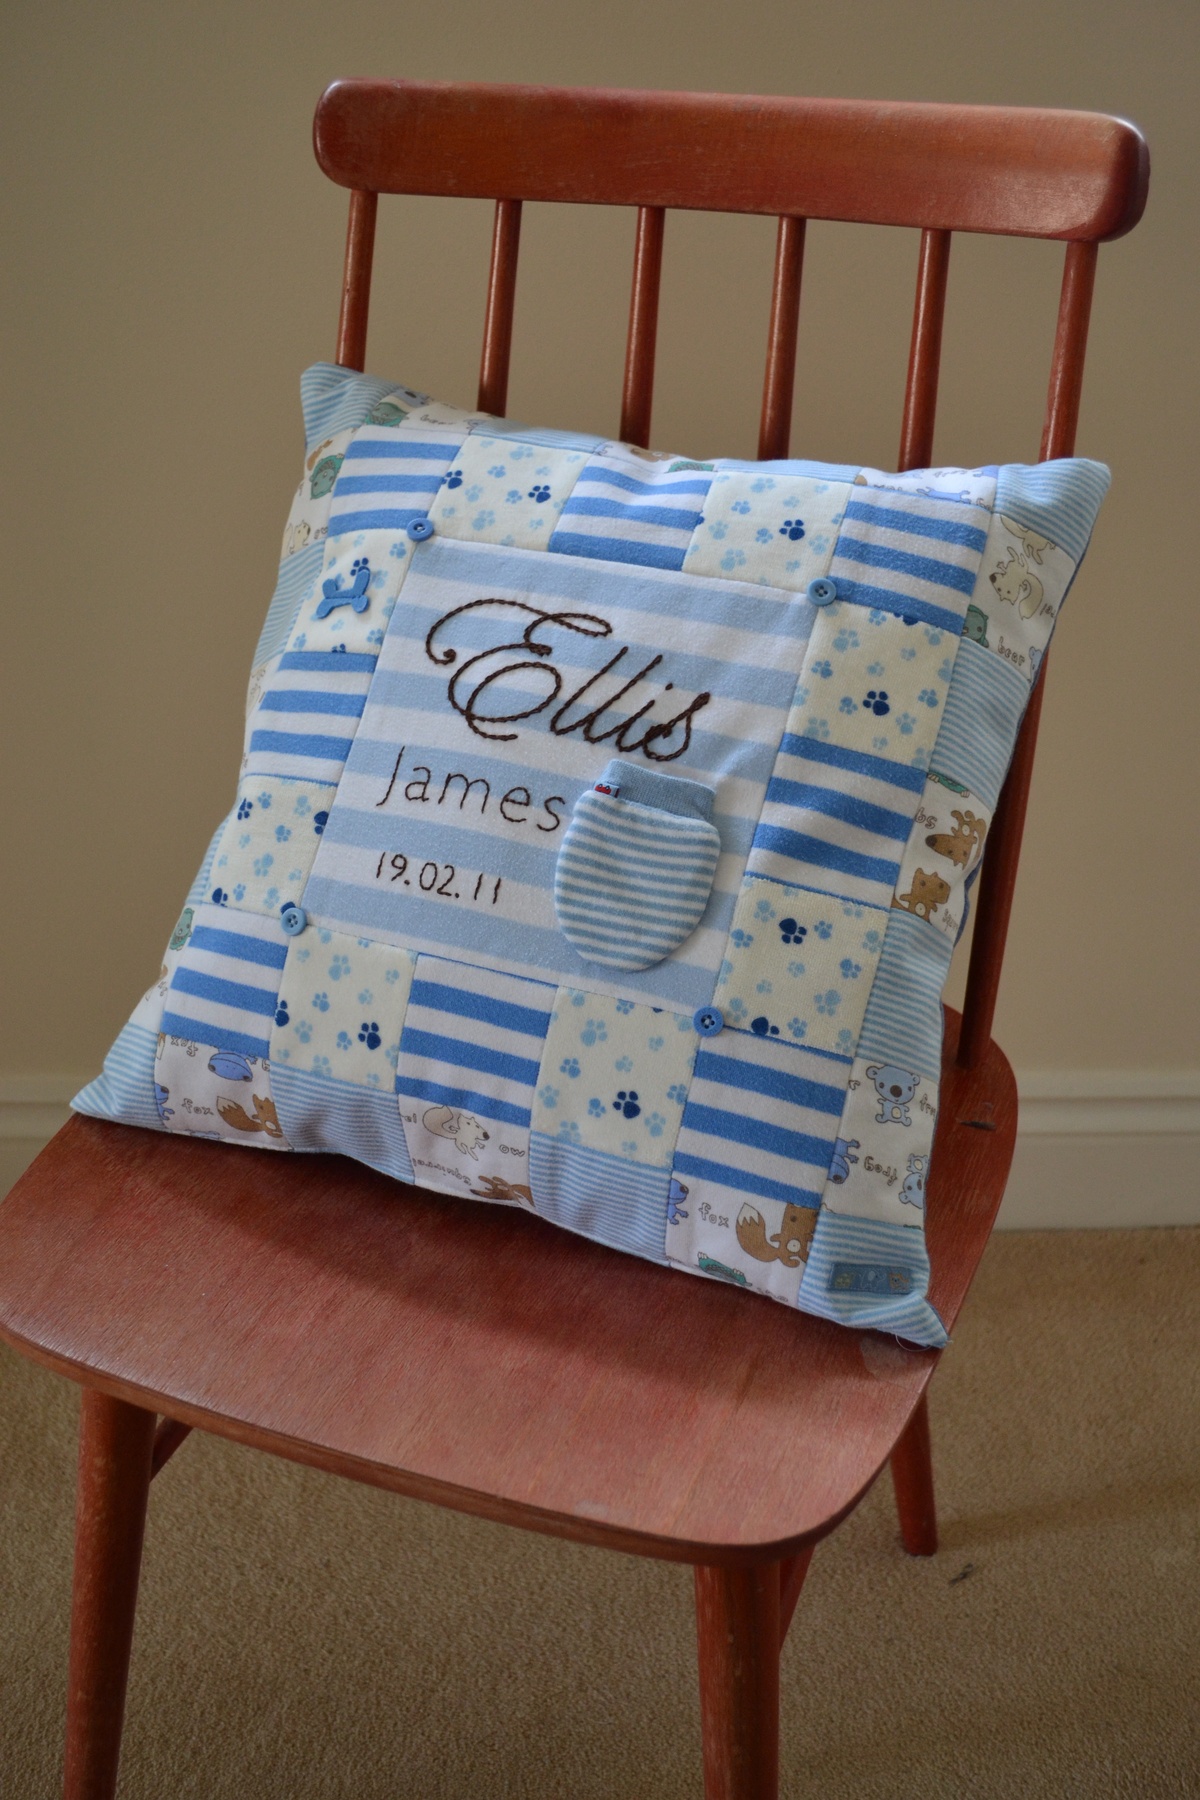
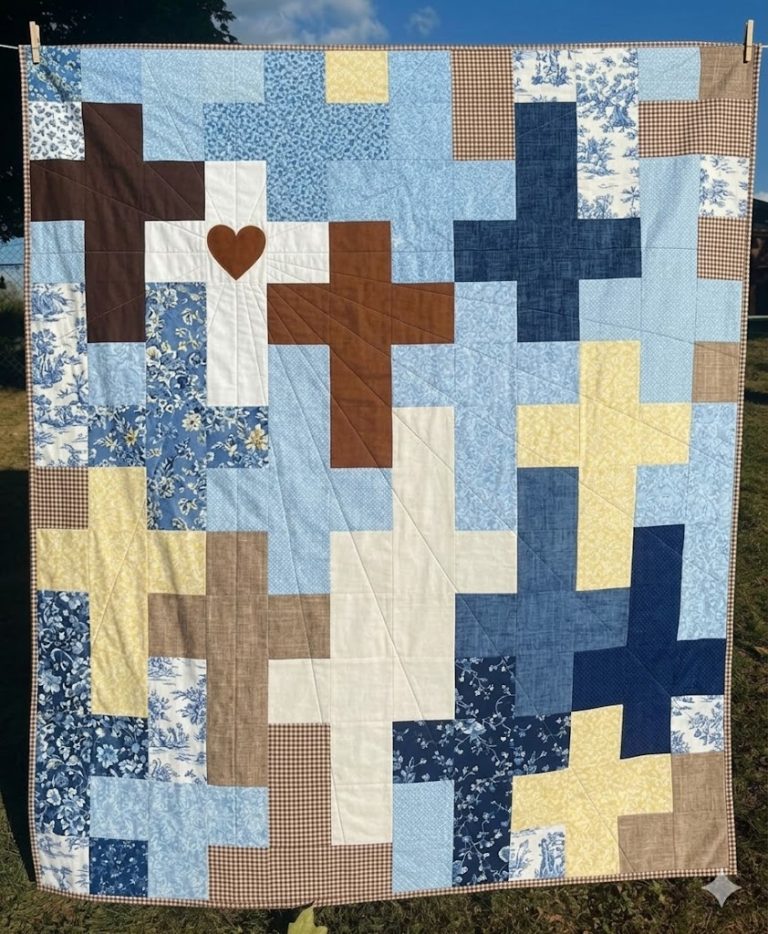
A Memory Quilt Pillow is a beautiful and sentimental way to preserve cherished memories. You can use old clothes, baby blankets, t-shirts, or fabric pieces that remind you of special moments. Turning them into a quilted pillow is a meaningful project for yourself or as a heartfelt gift.
In this article, you’ll learn how to make a memory quilt pillow step by step, even if you’re new to quilting.
advertising
What You’ll Need:
Fabric scraps with sentimental value (old shirts, pajamas, etc.)
Cotton or polyester fabric for backing
Pillow insert (any size you prefer, e.g., 16×16 inches or 40×40 cm)
Batting (for softness and quilted texture)
Sewing machine (or hand sewing supplies if preferred)
Rotary cutter or fabric scissors
Quilting ruler and cutting mat
Pins or clips
Thread (neutral or matching colors)
Iron and ironing board
Step 1 – Gather and Prepare the Fabrics
Choose meaningful fabrics that tell a story:
Baby clothes
Shirts from a loved one
Special event t-shirts
Fabric from blankets or curtains
Wash and iron the fabrics to make them easier to work with.
advertising
Step 2 – Cut the Fabric Squares
Cut your fabric into uniform squares. Common sizes include:
5×5 inches (12×12 cm) for a patchwork look
Larger rectangles if you want fewer seams
Tip: Use a rotary cutter and quilting ruler for precise cuts.
Step 3 – Plan Your Layout
Lay out the squares on a table or the floor. Arrange them in a way that balances colors, patterns, and memories.
Take a photo of the layout to use as a guide when sewing.
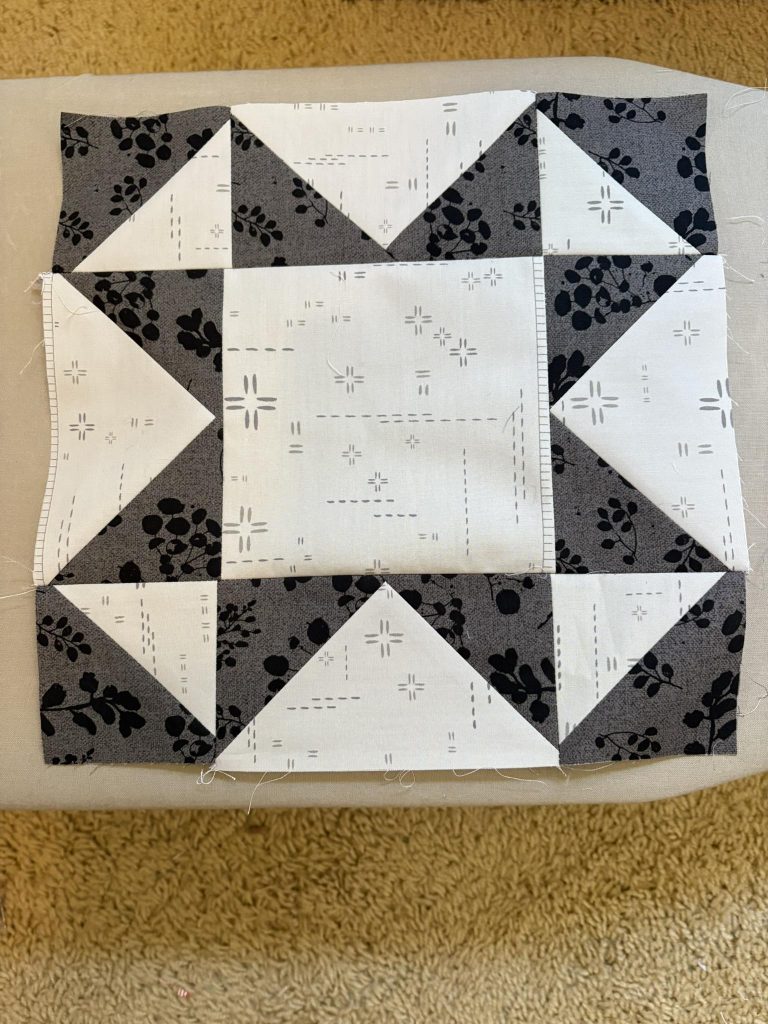
Step 4 – Sew the Squares Together
Sew the squares in rows, right sides facing each other, using a 1/4 inch seam allowance.
Press the seams flat with an iron after sewing each row.
Join the rows together to form the quilted front panel of your pillow.
Step 5 – Add Batting and Quilt the Top
Place the patchwork top on top of the batting and quilt it for texture.
You can sew straight lines, crosshatch patterns, or even follow the seam lines (“stitch in the ditch”).
Quilting will give the pillow extra dimension and softness.
Step 6 – Make the Pillow Back
For a simple envelope back:
Cut two rectangles of backing fabric. Each should be as wide as the pillow but half the height plus 3 inches (for overlap and seam allowance).
Fold and hem one long edge on each rectangle (this will be the opening).
Step 7 – Assemble the Pillow
Place the quilted front right side up.
Place the back rectangles right side down, overlapping them to create the envelope opening.
Pin or clip all sides and sew around the edges.
Step 8 – Turn and Finish
Turn the pillow cover right side out through the envelope opening.
Push out the corners gently with a blunt tool.
Insert the pillow form.
Why Make a Memory Quilt Pillow?
Preserve special memories
Reduce waste by reusing old fabrics
Create a unique piece of home décor
Make a thoughtful handmade gift
Final Thoughts
A Memory Quilt Pillow is more than just a craft project—it’s a way to keep your stories close. Each square tells a part of your life, and the finished pillow becomes a daily reminder of people, places, and moments you love.
