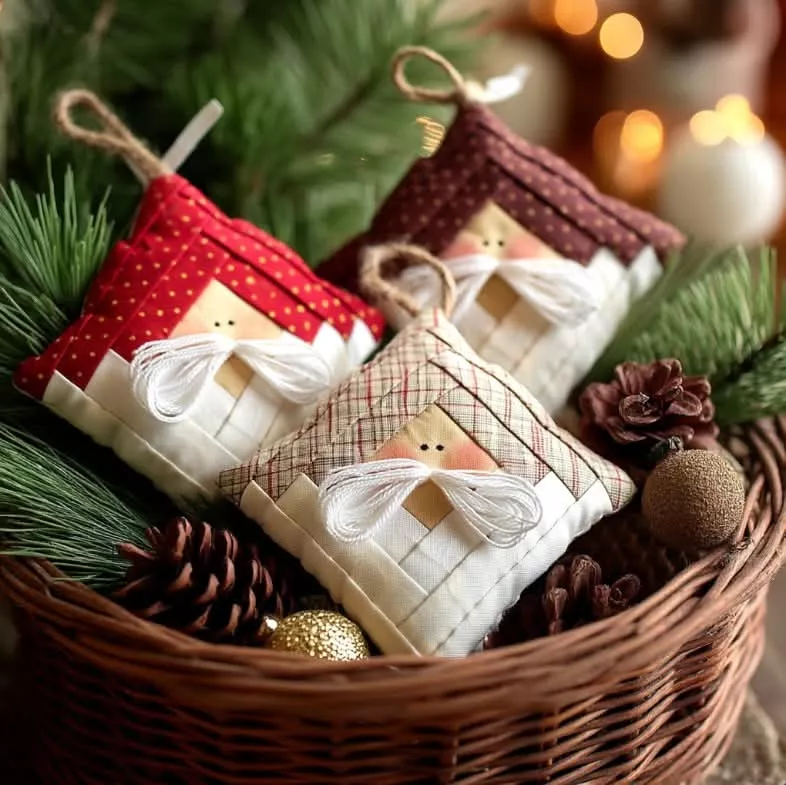
How to Make a Jolly Santa Claus Quilt
A Santa Claus quilt is a wonderful project that brings holiday cheer and coziness to your home. Whether you’re making it for a Christmas gift or simply to decorate your own space, this quilt is a timeless classic. There are many ways to create a Santa quilt, ranging from using a central Santa panel to piecing together individual Santa quilt blocks (like his hat, face, or suit).
Here is a general guide focusing on two common approaches: using a panel or creating individual blocks.
Materials You’ll Need
- Fabric:
- Santa Panel Fabric (Optional): If you’re using a large, printed Santa image for the center.
- Christmas Prints/Solids: Reds (for his suit), whites (for the beard/trim), black/gold (for the belt/buckle), and coordinating Christmas fabrics for borders and backing (greens, other prints).
- Background Fabric: A light or coordinating fabric for the spaces around the blocks or panel.
- Batting: A layer of fluff that goes between the top and back of the quilt.
- Backing Fabric: A large piece of fabric for the back of the quilt.
- Binding Fabric: Strips of fabric to finish the edges.
- Quilting Tools:
- Rotary cutter, cutting mat, and acrylic ruler.
- Sewing machine and thread (matching and contrasting colors).
- Pins or fabric clips.
- Iron and ironing board.
- Optional: Appliqué supplies (fusible web) or paper-piecing patterns if using those techniques for blocks.
Method 1: The Quick Panel Quilt
Using a large printed panel with a Santa image is the fastest way to make a beautiful quilt.
1. Prepare the Panel
Start by squaring up your Santa panel. Panels are often printed a bit crooked, so measure carefully to ensure all corners are 90 degrees and the sides are straight.
2. Add Borders
To reach your desired quilt size, you will add borders around the central panel.
- Measure: Measure the width and height of your trimmed panel.
- Cut Strips: Cut fabric strips for the borders (e.g., 4-inch wide strips of red or green fabric).
- Sew Sides: Sew the strips onto the two opposing sides of the panel first. Press the seams open or toward the border fabric.
- Sew Top and Bottom: Measure the new width (including the first borders) and cut your top and bottom border strips to match this length. Sew them on. This process can be repeated with different colors/widths for a multi-layered border.
3. Layer and Quilt
- Basting: Lay out your backing fabric (wrong side up), then your batting, and finally your quilt top (Santa panel with borders) centered on top. Smooth out all layers, removing any wrinkles. Secure the three layers together using safety pins, basting spray, or basting stitches. This is called “basting.”
- Quilting: Stitch through all three layers (top, batting, and backing). You can follow the lines of the panel design, stitch straight lines across the borders, or use free-motion quilting for a unique texture.
Method 2: Piecing Santa Blocks
This method creates a quilt top by sewing multiple small, stylized Santa blocks (like his face, hat, or suit) together.
1. Choose Your Block Pattern
Decide on a Santa quilt block design. Common designs include:
- Santa’s Face Block: Uses piecing or appliqué for the hat, beard, and face.
- Santa’s Suit Block: Features red squares, a black belt, and a yellow buckle, often made with standard patchwork techniques.
- Foundation Paper Piecing (FPP) Block: Used for more intricate or detailed Santa designs (like a miniature Santa figure) for perfect accuracy.
2. Cut and Sew the Blocks
- Cutting: Follow your chosen pattern’s instructions to cut all the fabric pieces for the blocks (red, white, black, tan, etc.).
- Piecing: Assemble the individual blocks using a precise 1/4 inch seam allowance. Press all seams after each step to keep your blocks flat and square. Make enough blocks to create your desired quilt size.
3. Assemble the Quilt Top
- Layout: Arrange your finished blocks on a floor or design wall to find the most pleasing arrangement.
- Sashing (Optional): You can sew thin strips of fabric (sashing) between the blocks to frame them and add visual separation.
- Rows: Sew the blocks together into rows, then sew the rows together to form the quilt center.
- Borders: As with the panel method, add outer borders to complete the quilt top and reach your desired size.
4. Layer, Quilt, and Finish
- Basting: Layer the quilt top, batting, and backing, and secure them together.
- Quilting: Quilt through all three layers. For block quilts, you can “stitch in the ditch” (sew along the seam lines) to make the blocks pop, or use an all-over Christmas-themed design.
Final Step: Binding the Quilt
Binding is the final step that gives your quilt a clean, professional edge.
- Trim: Square up your finished quilted piece and trim away all excess batting and backing fabric.
- Cut Binding: Cut long strips of your binding fabric (usually 2.25 or 2.5 inches wide). Sew these strips together end-to-end to create one long strip.
- Attach: Sew the long binding strip around the perimeter of the quilt, mitering the corners as you go.
- Finish: Fold the binding over to the back of the quilt and stitch it down, either by machine (for speed) or by hand (for a classic finish).
Congratulations! You’ve created a beautiful Santa Claus quilt, a handmade heirloom that will be cherished for many holidays to come.
