Crochet Floral Summer Dress Pattern Outline

The Bavarian crochet stitch, also known as the Bavarian square or the “Wheel Stitch,” is a beautiful and intricate crochet technique that creates a textured, layered, and geometric design. It involves working rounds of increasing and decreasing to create the distinctive raised layers. Here’s a step-by-step guide to help you get started with the Bavarian stitch:
Materials you’ll need:
Instructions:
Remember that practice makes perfect, especially with more intricate stitches like the Bavarian stitch. Don’t be discouraged if your first attempts don’t turn out exactly as you envisioned. As you become more familiar with the pattern and the stitches, you’ll be able to create stunning Bavarian crochet projects.
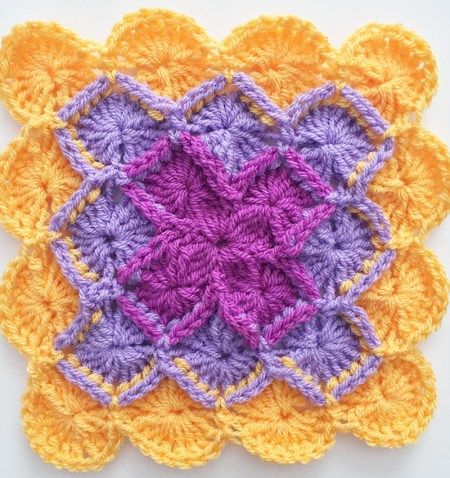
Internet Image
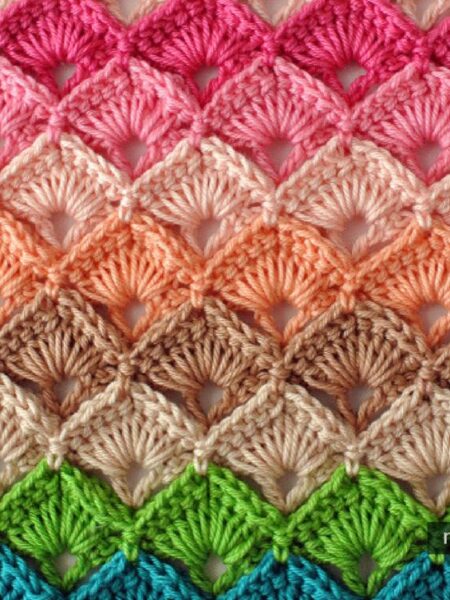
Internet Image
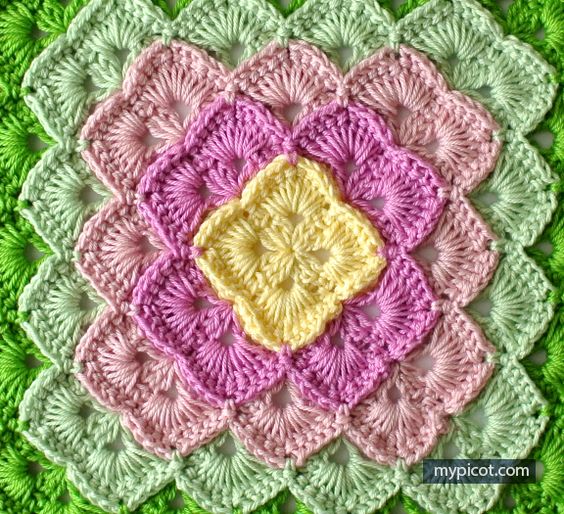
Internet Image


