
How to Crochet a Dog Sweater

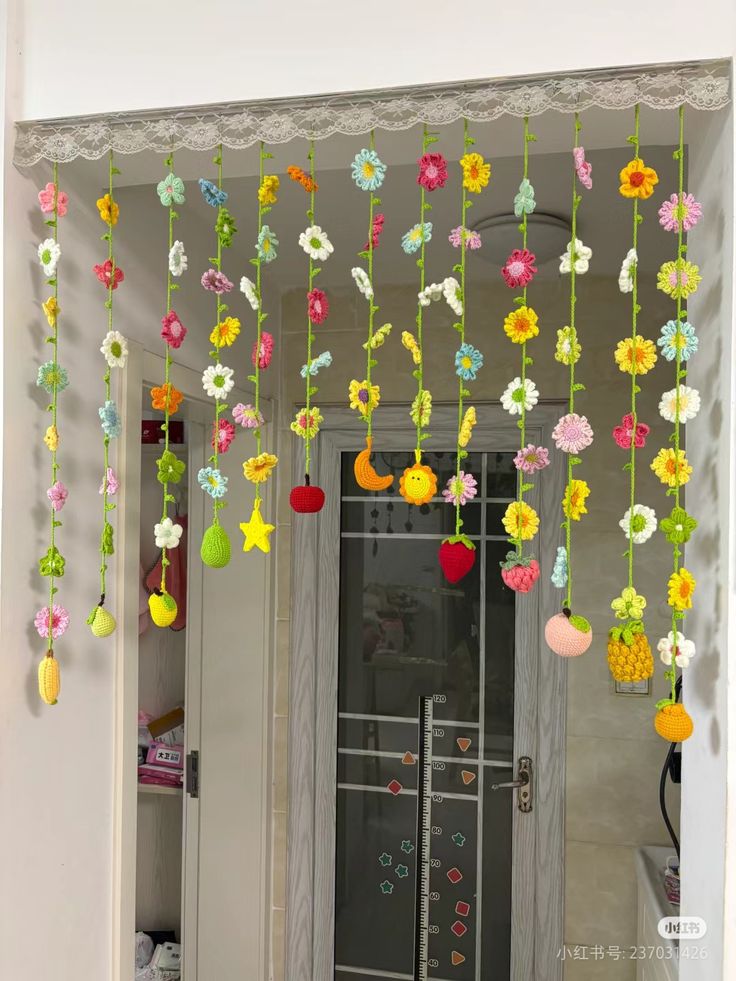
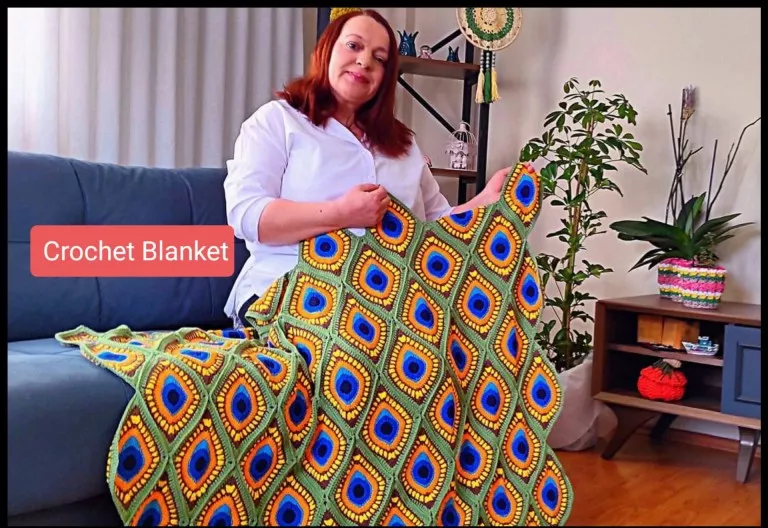
Crocheted curtains are a beautiful way to add a handmade touch to your home. They’re lightweight, elegant, and perfect for small windows, kitchen decor, or cozy rooms.
This tutorial will show you how to crochet a simple and charming curtain, even if you’re a beginner.
Measure the width and the height where you want to place your curtain.
Add about 10-15% more width so the curtain has a gentle wave when hanging.
Make a foundation chain as wide as your desired curtain width.
Example:
If your window is 80 cm wide, and you want soft folds, make chains for 90 cm of width.
Here’s a simple openwork pattern you can repeat:
Row 1:
Row 2:
This creates a mesh look, perfect for curtains.
Continue working the open mesh pattern until the curtain reaches the desired length.
To make a pocket for the curtain rod:
Soak the curtain in lukewarm water, gently stretch it to shape, and let it dry flat. This helps to set the stitches and makes the curtain hang beautifully.
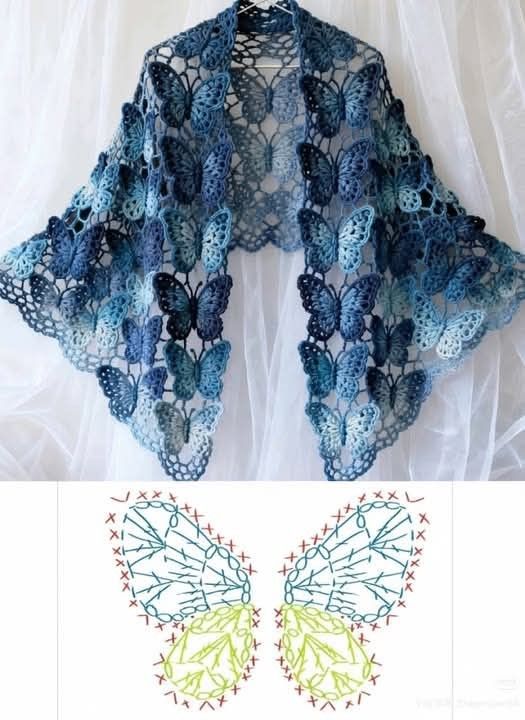
You can add crochet flowers, scalloped borders, or tassels to the bottom edge for extra charm.
Crocheting your own curtain is a rewarding project that adds warmth and personality to your home. This simple pattern is easy to adapt: make it wider, longer, or customize the design with different stitches.
Happy crocheting!

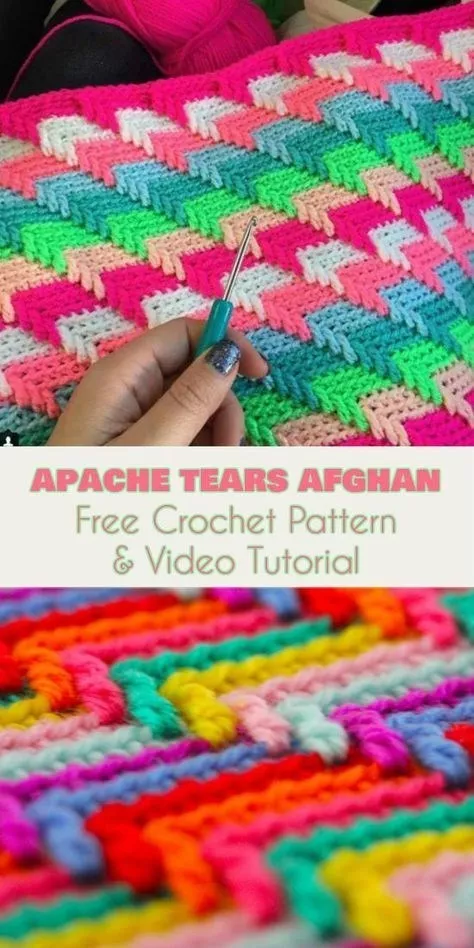
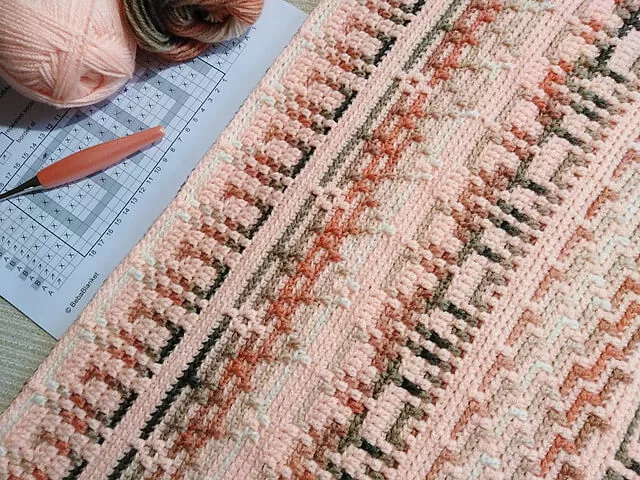
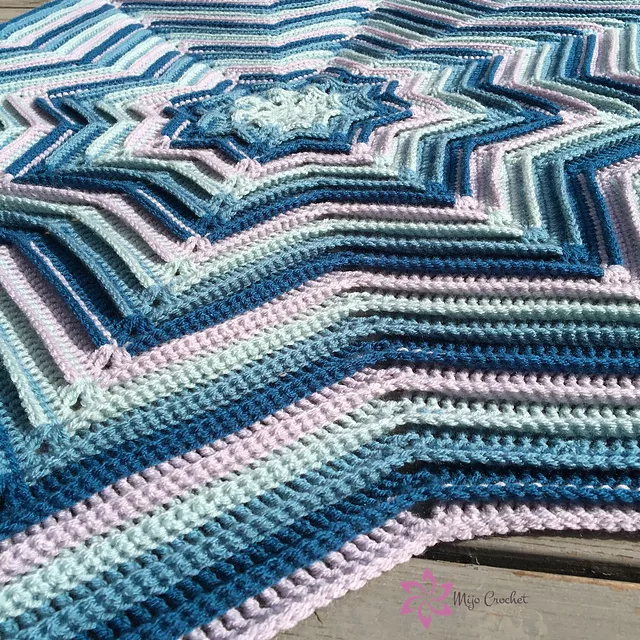
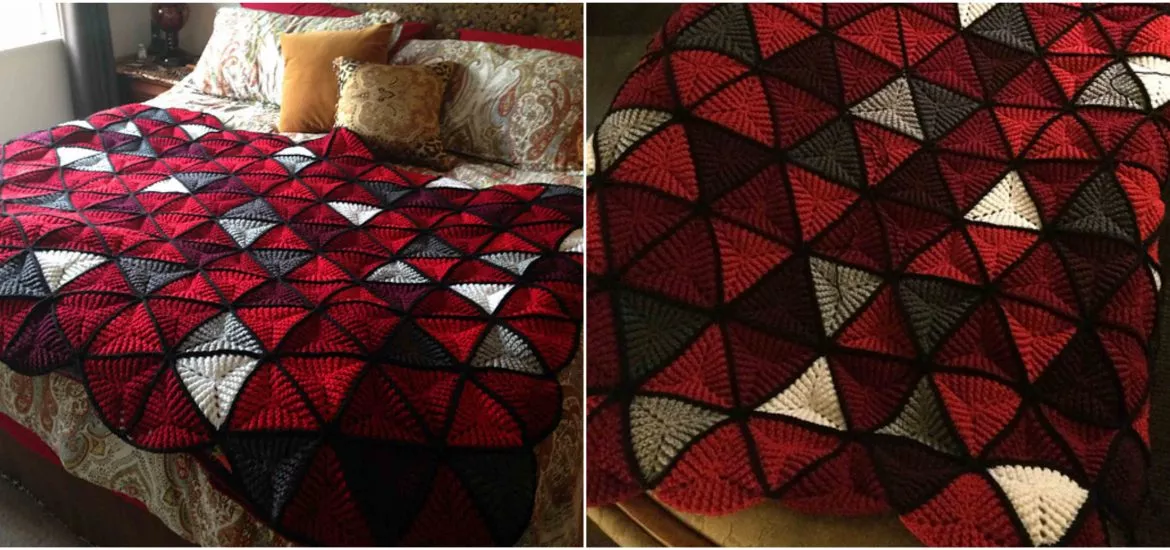
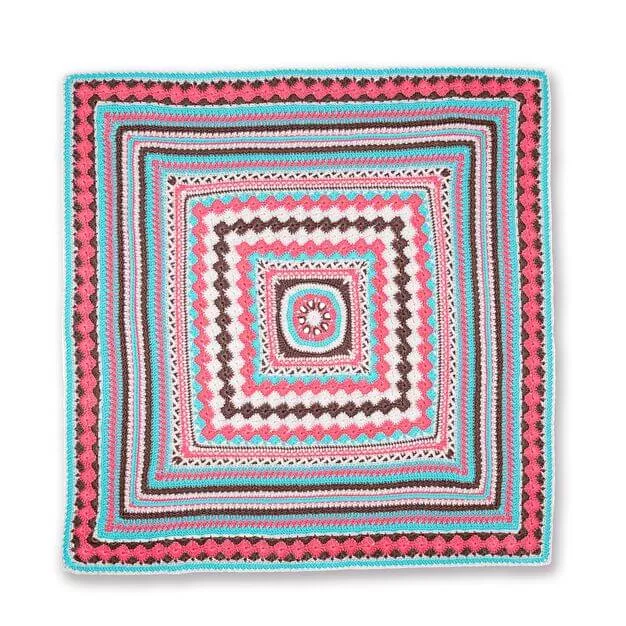
Other ideas