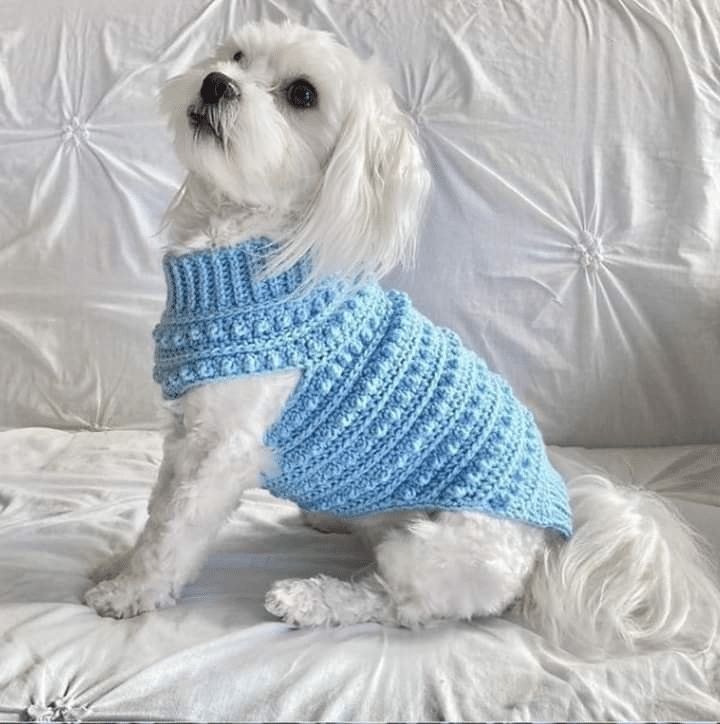
Crochet Dress Pattern

advertising

Crochet Dress Pattern

This dress features a fitted bodice and skirt, utilizing different stitches to create texture and shape.

I. Materials & Gauge

II. Garment Construction

The dress is typically worked from the top-down or bottom-up in the round. For a fitted design like this, working in sections is common.

advertising

Section 1: The Skirt – Bottom-Up Method

  1. Start: Begin by chaining a length that corresponds to the circumference of your hips. Join with a slip stitch to form a loop, ensuring the chain is not twisted.
  2. Main Body Stitch: Use a moderately dense stitch (like Double Crochet (DC) or Textured Post Stitches for the texture seen near the hem).
  3. Shaping: Work in the round, decreasing stitches gradually as you approach the waistline to create the fitted shape.
  4. Length: Continue until the skirt reaches the natural waist or the hip line.

Section 2: The Bodice – Working Up from the Skirt

  1. Waistline: Ensure the stitch count matches your waist measurement. You may switch to a Single Crochet (SC) or a tighter stitch for a few rows at the waistline for definition.
  2. Bust Area: Begin to increase stitches gradually at the bustline. Switch to a more Open/Lace Stitch (like the V-Stitch or Shell Stitch) for the main body of the bodice, which creates the semi-sheer look.
  3. Armholes: Stop working in the round. Split the work into two sections (Front and Back) and work flat to create the armhole openings.

Section 3: The Yoke and Neckline

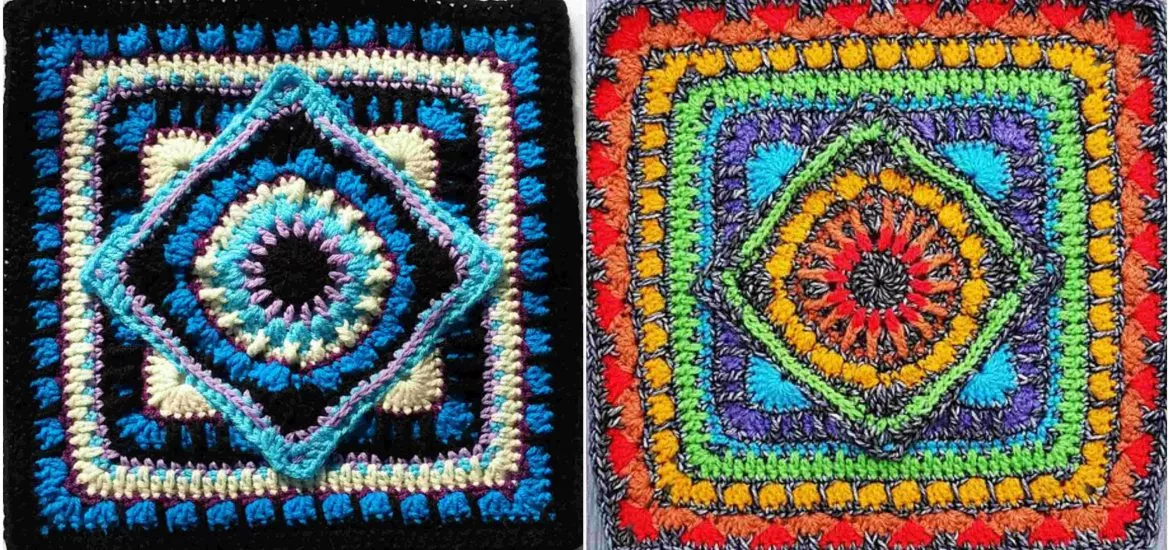
This is the most detailed part of the design, featuring open circular details.

  1. Lace Yoke: Continue working flat on the front and back panels. Use a highly Decorative Lace Stitch (e.g., chains and DC clusters) to form the openwork circles visible at the shoulder/neck area.
  2. Shoulder Seams: Join the front and back panels at the shoulders using a slip stitch or single crochet seam.
  3. Neck Edging: Work a final round of Single Crochet (SC) or Crab Stitch (Reverse SC) around the entire neckline to clean the edge and add stability.

Section 4: Sleeves (Mangas)

  1. Sleeve Cap: Attach the yarn at the armhole. Work in the round or flat (then seam) to create a short sleeve.
  2. Sleeve Stitch: Use the same lace pattern from the bodice or a matching decorative trim.
  3. Edging: Finish the sleeve openings with a tight round of SC or a decorative picot edging.

III. Key Crochet Stitches Used

advertising