Crochet Floral Summer Dress Pattern Outline

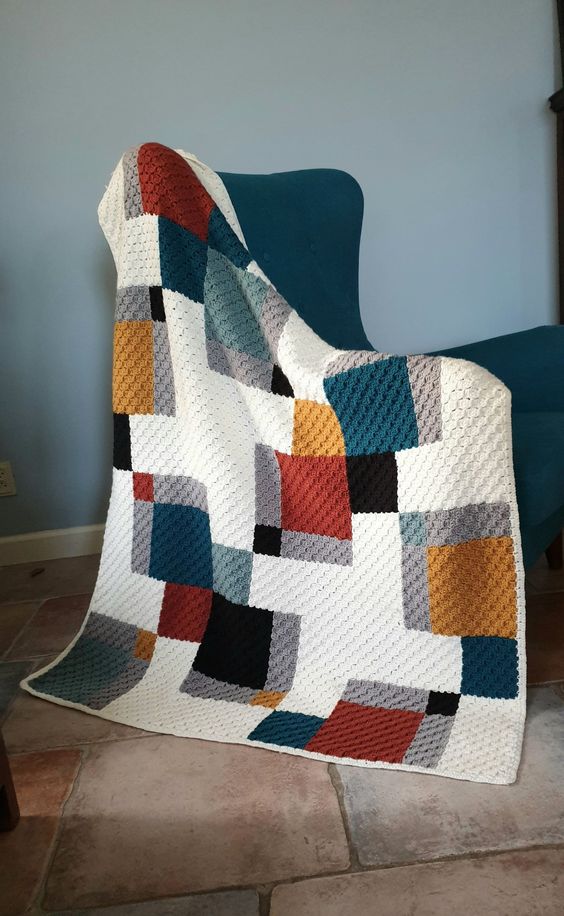
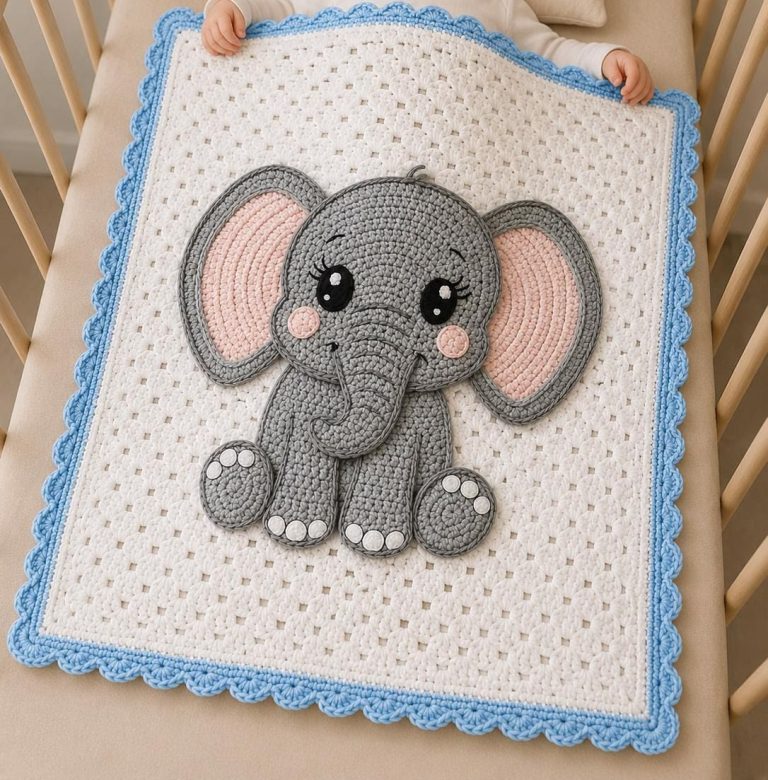
The blanket in c2c stitch (corner to corner) is a very popular crochet project that creates a nice checkerboard effect. To make a blanket using this stitch, follow the instructions below:
Necessary materials:
Yarn of your choice, medium or thick.
Crochet hook suitable for the chosen yarn.
Scissors.
Tapestry needle to finish the job.
Step by step:
Start by making a chain with 6 stitches. To do this, make a slipknot and then make 6 chains.
In the fourth chain counting from the hook, make a single crochet (sc). Now you have a small square.
Turn the work over and make 3 chains to go up.
Now, make 3 double crochets (dc) in the same space you made the single crochet in the previous step.
Turn the work over again. You now have two connected squares.
Make a single crochet in the space between the three double crochets of the previous square.
Make 3 more chains to go up and then make 3 double crochets in the same space as the previous single crochet.
Repeat steps 5, 6 and 7 until you reach the desired size for your blanket.
Tips:
Increase the number of starting stitches (step 1) to make a larger blanket.
Vary the yarn colors to create a checkerboard pattern or any other design you like.
To finish the blanket, finish with low stitches around the entire piece.
Remember to leave a tail of yarn at the end of the job to hide the ends with a tapestry needle.
These are just basic instructions for starting a blanket using the c2c stitch. There are variations and more advanced techniques that you can explore as you become more familiar with the stitch. I hope you enjoy the process of making your c2c stitch blanket!
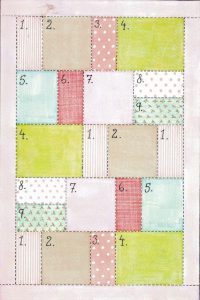
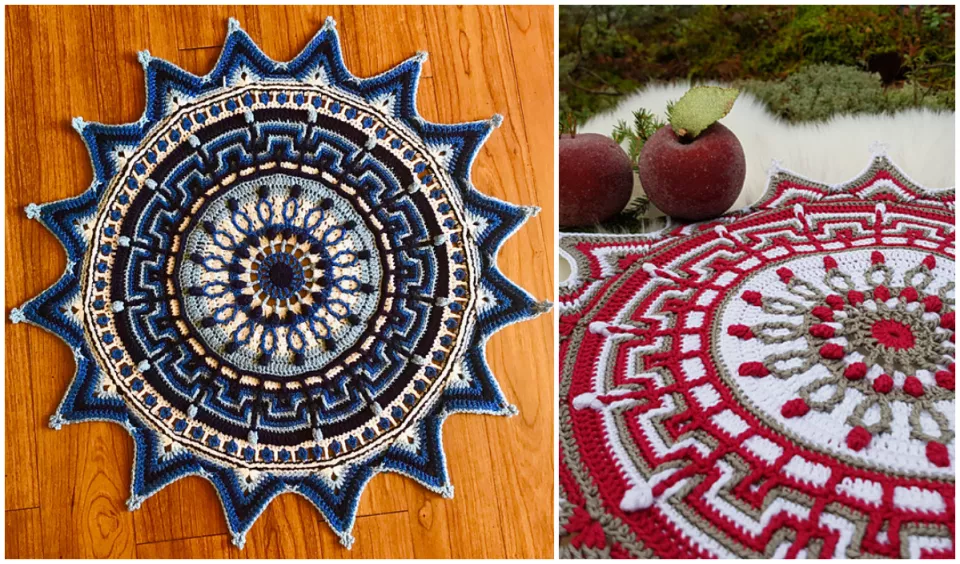
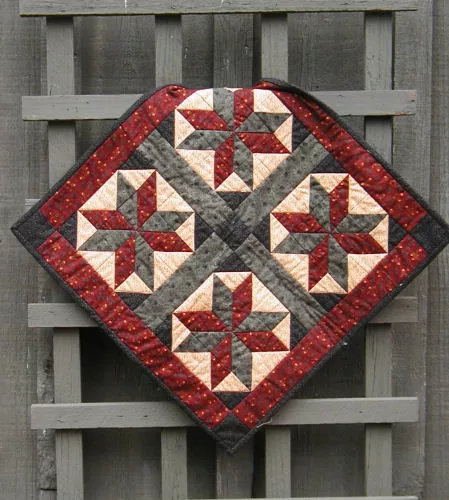
Inspiration:
Pinterest Image
See also>>> VIDEO TUTORIAL C2C

