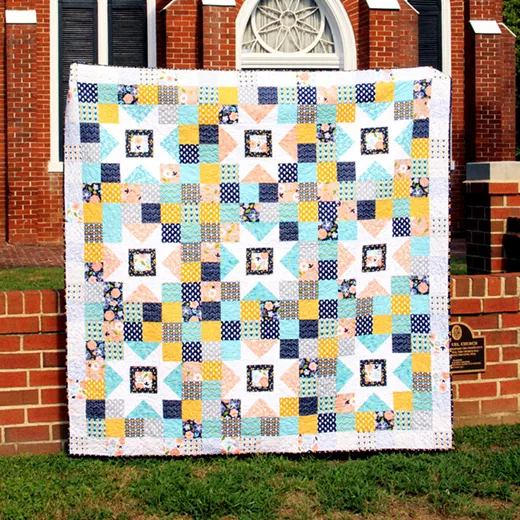
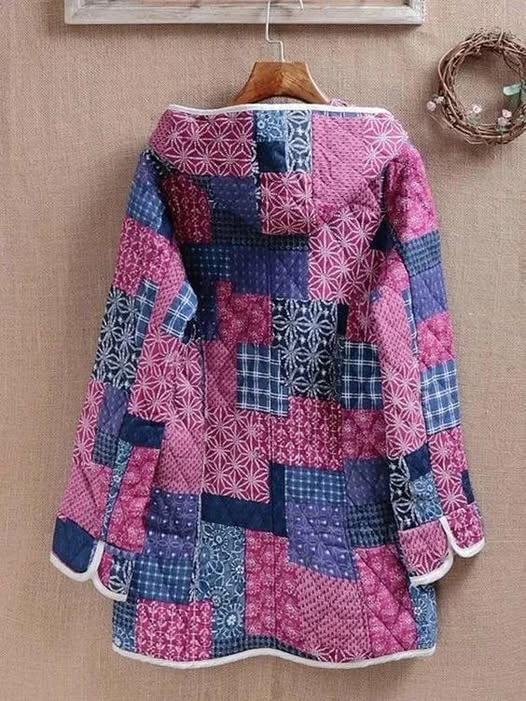
Curating the Scraps: Choose 5 to 8 different cotton fabrics with geometric and floral prints in a cohesive color palette.
Pre-washing: Always pre-wash your cotton fabrics to prevent the jacket from shrinking unevenly later.
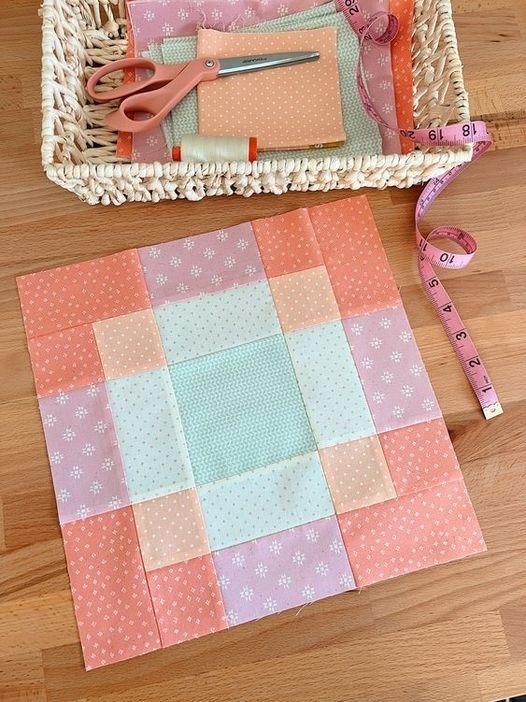
2. Creating the “Quilt Top” (Patchwork)
Cutting Rectangles: Cut your fabrics into various rectangle sizes (e.g., 5″×7″ or 4″×6″).
Piecing: Sew the rectangles together using a 1/4 inch seam allowance. You can create long strips first and then join the strips to form a large “fabric sheet” big enough for your pattern pieces.
Pressing: Press all seams flat (usually to one side or open) to reduce bulk.
3. The “Quilting Sandwich”
Layering: Create a sandwich with your patchwork sheet (top), a lightweight cotton batting (middle), and a soft lining fabric (bottom).
Basting: Use safety pins or basting spray to hold the three layers together.
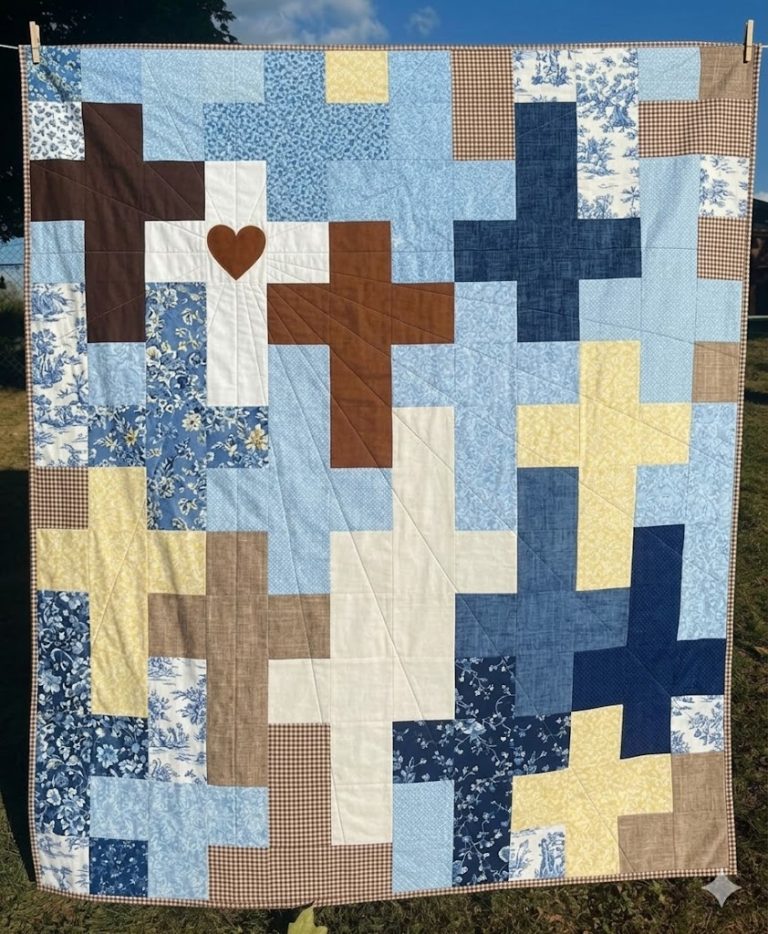
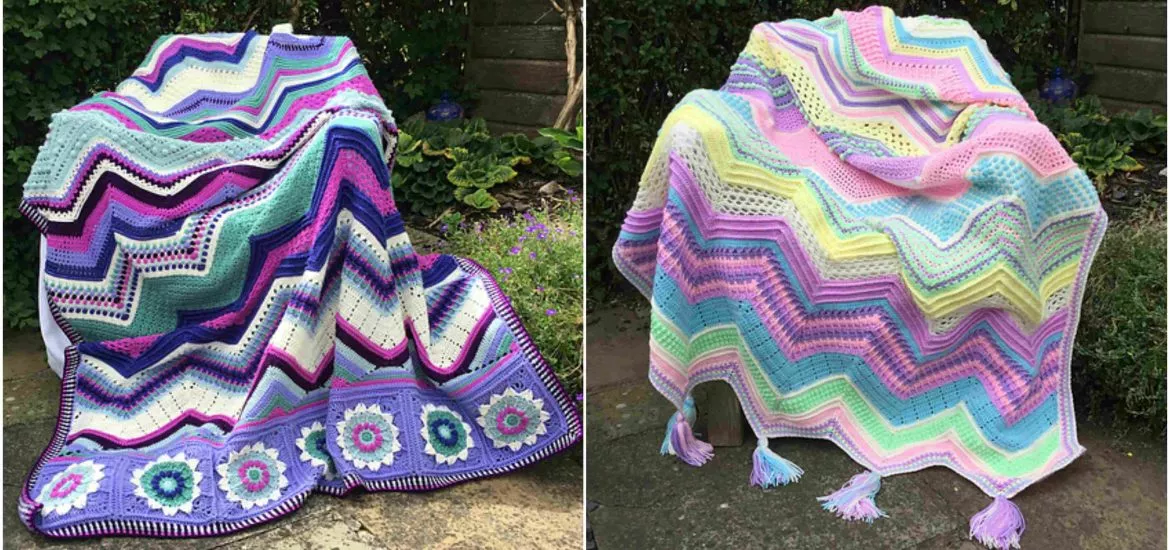
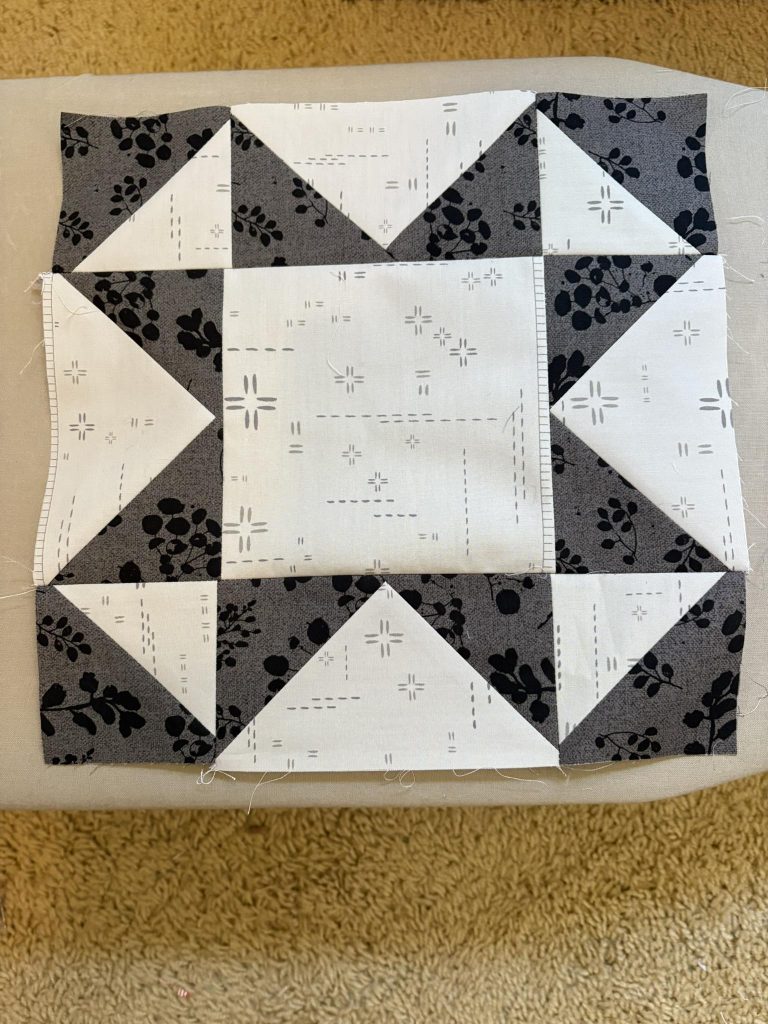
Quilting: Stitch the layers. The image shows a diagonal diamond quilt pattern (cross-hatching). Follow a 45-degree angle across the patchwork to achieve this look.
4. Cutting the Pattern Pieces
Layout: Place your jacket pattern pieces (Back, Fronts, Sleeves, and Hood) on top of your newly quilted fabric.
Cutting: Cut out the pieces. Tip: Since the fabric is thick, use heavy-duty fabric shears or a fresh rotary cutter blade.
5. Assembly (Construction)
Shoulders and Sleeves: Sew the shoulder seams first, then attach the sleeves while the jacket is still flat (flat-sleeve construction).
Side Seams: Sew the side seams and underarm seams in one continuous line.
The Hood: Assemble the hood pieces and attach them to the neckline.
6. Finishing with Binding
Edge Binding: This jacket uses a contrasting white bias binding to finish all raw edges (cuffs, hem, hood, and front opening).
Application: Sew the binding to the right side, fold it over the raw edge, and topstitch or hand-stitch it on the inside for a clean finish.
