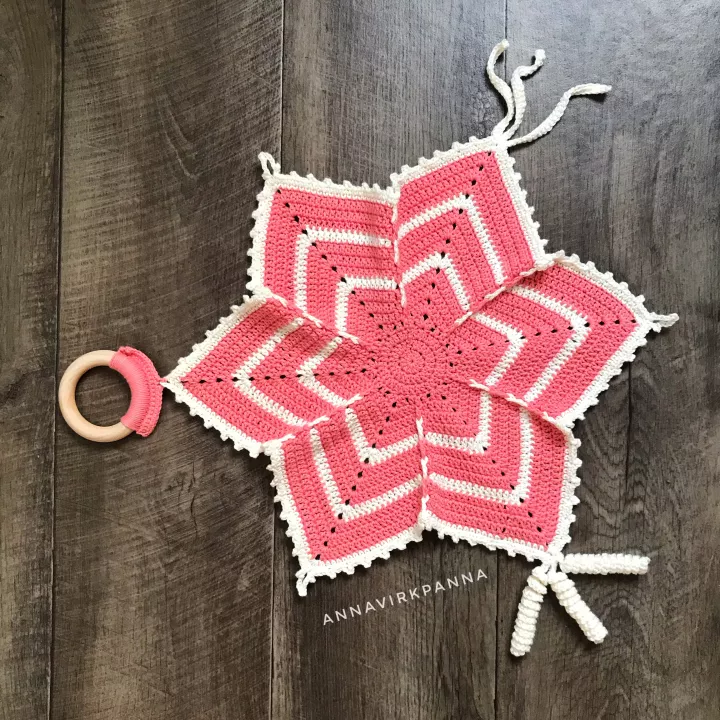
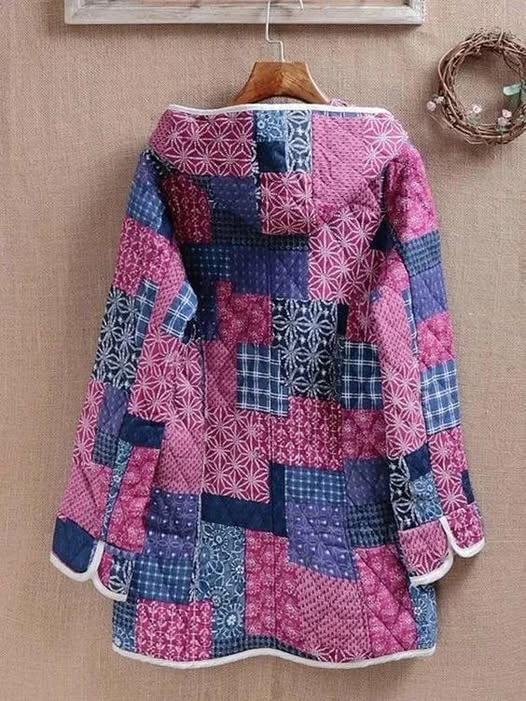
Este artigo foi elaborado para ajudar você a dominar as técnicas fundamentais do patchwork, permitindo que você crie desde colchas tradicionais até peças modernas como o casaco que vimos anteriormente.
Master the Art of Patchwork: 5 Essential Quilt Blocks
Creating a quilt is a journey of precision and creativity. To build complex designs, you first need to master the basic building blocks. Here are five classic quilt blocks with step-by-step instructions.
advertising
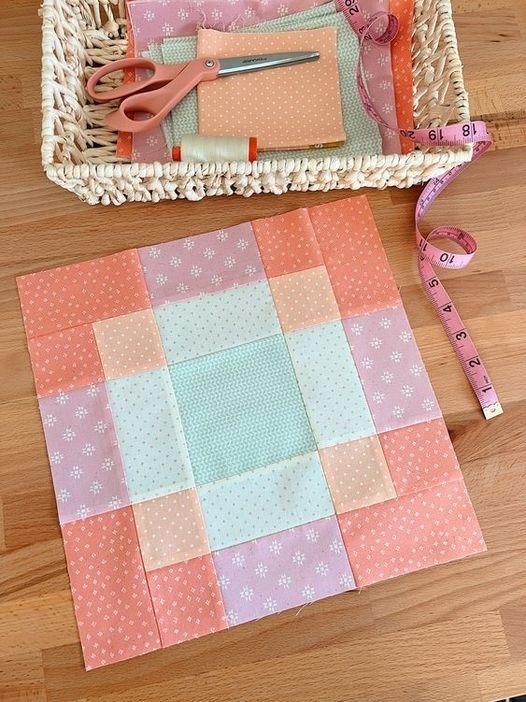
1. The Nine-Patch Block
The most fundamental block in quilting, perfect for beginners.
Materials: Two contrasting fabrics (Color A and Color B).
Step 1: Cut five $3.5″$ squares of Color A and four $3.5″$ squares of Color B.
Step 2: Arrange them in three rows of three, alternating colors like a checkerboard.
Step 3: Sew the squares in each row together using a 1/4″ seam allowance.
Step 4: Press the seams of Row 1 and 3 to the left, and Row 2 to the right.
Step 5: Sew the three rows together, “nesting” the seams for perfect corners.
2. Half-Square Triangle (HST) Block
The HST is the “chameleon” of quilting; you can arrange it in infinite ways.
advertising
Materials: Two contrasting fabric squares (e.g., $5″ \times 5″$).
Step 1: Draw a diagonal line on the wrong side of the lighter fabric square.
Step 2: Place the two squares Right Sides Together (RST).
Step 3: Sew a seam 1/4″ away from both sides of the drawn diagonal line.
Step 4: Cut along the drawn center line.
Step 5: Open and press. You now have two HST units. Trim them to your desired size.
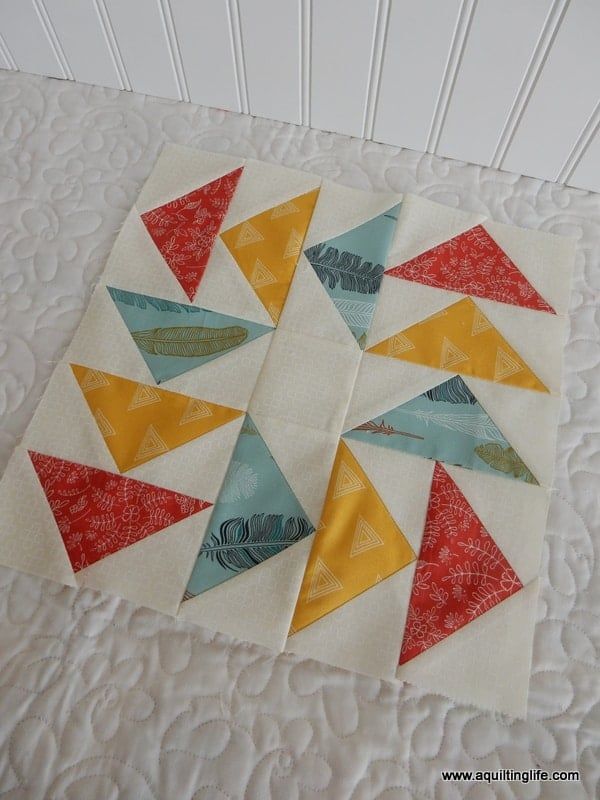
3. The Flying Geese Block
Essential for creating stars and borders with a sense of movement.
Materials: One large rectangle (e.g., $2.5″ \times 4.5″$) and two small squares ($2.5″ \times 2.5″$).
Step 1: Draw a diagonal line on the back of both squares.
Step 2: Place one square on the right side of the rectangle, aligning edges.
Step 3: Sew directly on the drawn line. Trim the excess fabric $1/4″$ from the seam and press open.
Step 4: Repeat the process with the second square on the opposite side of the rectangle.
Step 5: The result is a “triangle” inside a rectangle.
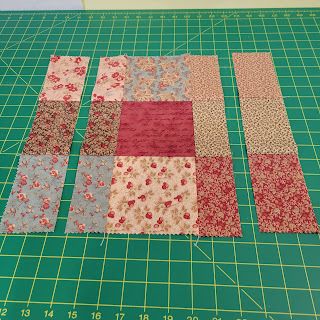
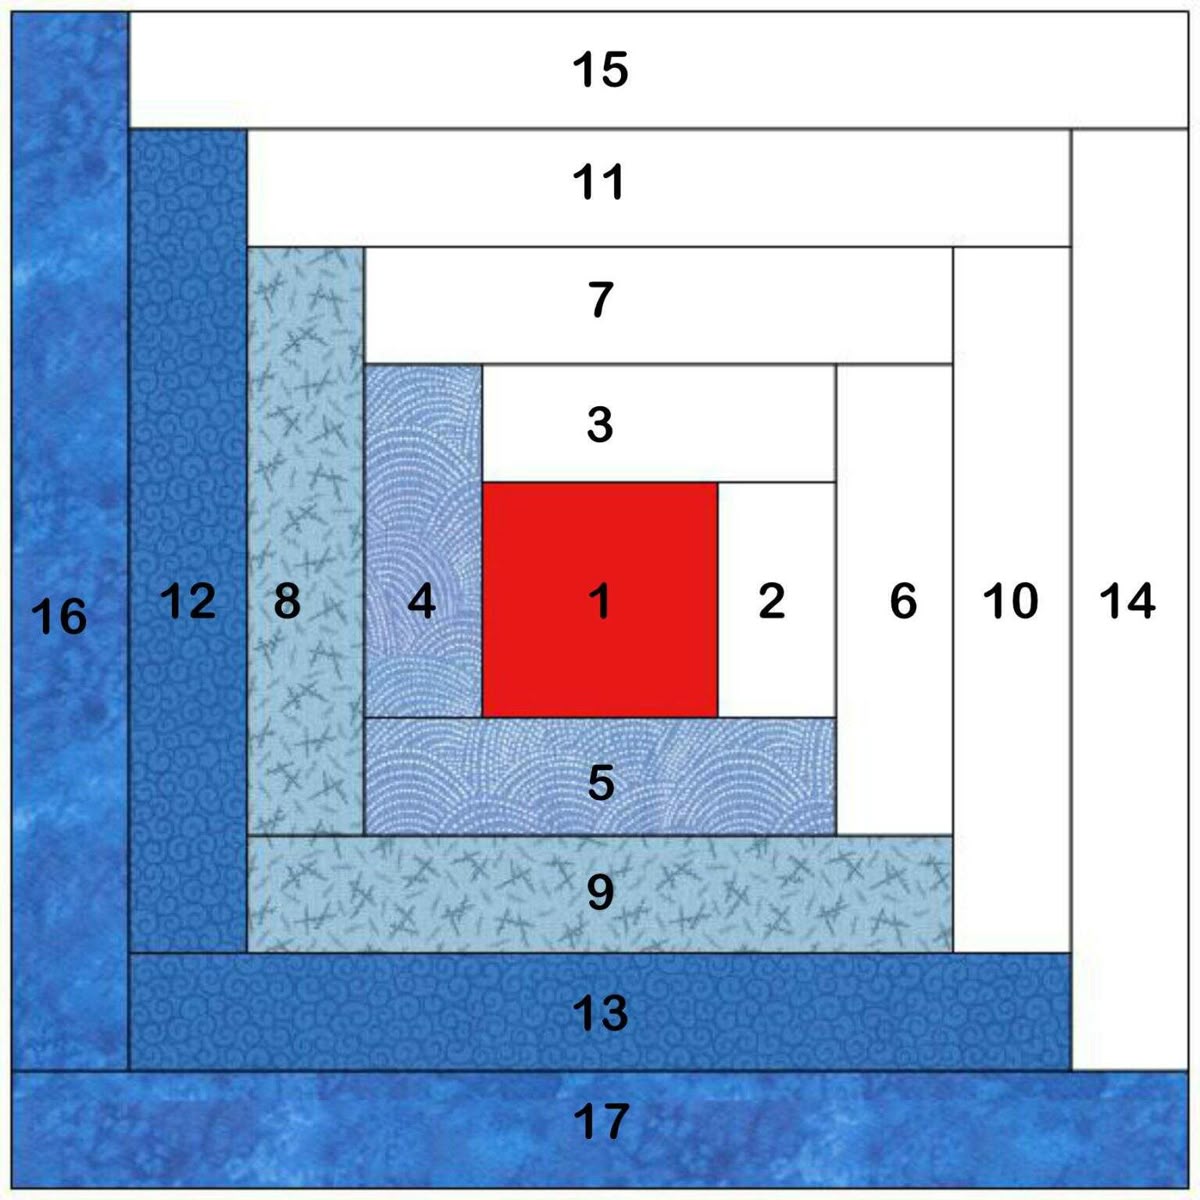
4. Log Cabin Block
A traditional block representing the hearth of a home, built by “stacking logs.”
Materials: One center square (usually red) and various strips of light and dark fabrics (all $2″$ wide).
Step 1: Sew a light strip to the right side of the center square. Trim and press.
Step 2: Sew a light strip to the bottom of that unit. Trim and press.
Step 3: Sew a dark strip to the left side. Trim and press.
Step 4: Sew a dark strip to the top. Trim and press.
Step 5: Continue “spiraling” around the center, adding light strips to two sides and dark strips to the other two until the block reaches your desired size.
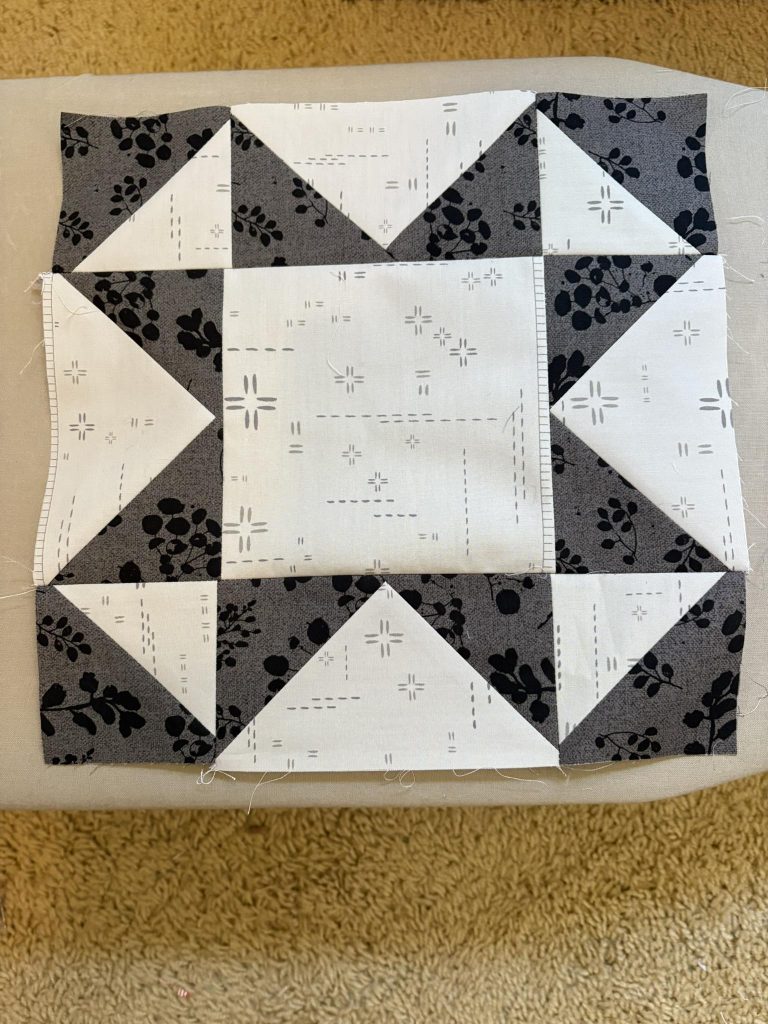
5. Churn Dash Block
A classic pioneer block that looks like a butter churn.
Materials: Fabrics for the “frame” and a contrasting center square.
Step 1: Make four HST units (as explained in Block #2) for the four corners.
Step 2: Create four Strip Sets (two rectangles sewn together) for the middle sides.
Step 3: Place your center square in the middle.
Step 4: Arrange the HSTs in the corners so the “triangles” point inward.
Step 5: Sew the pieces into three rows, then join the rows to finish the block.


