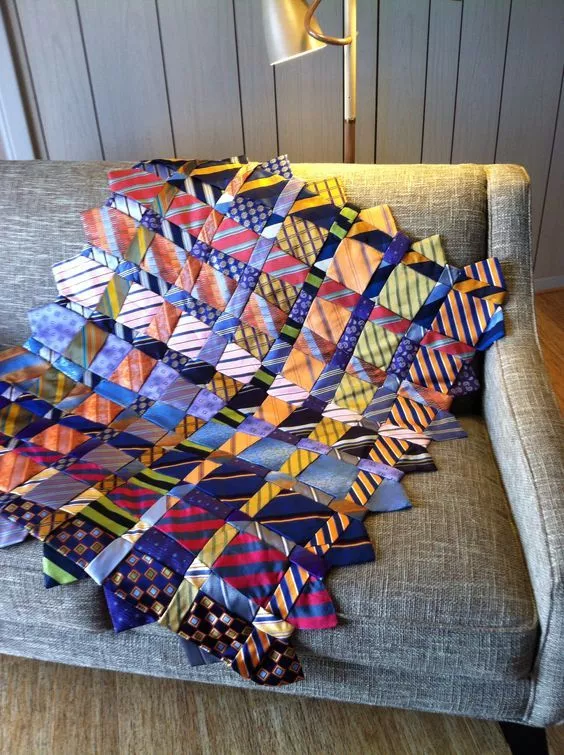
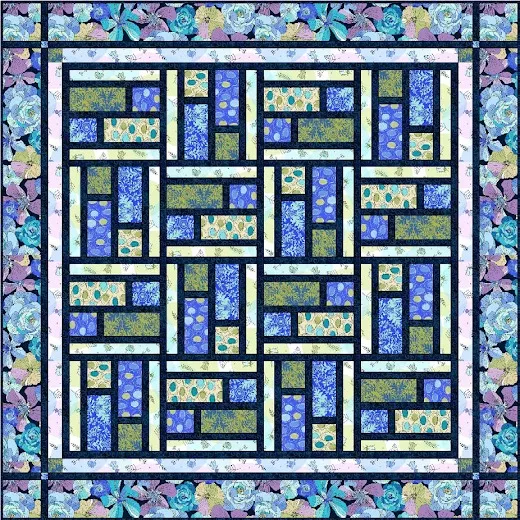
Tie Quilt

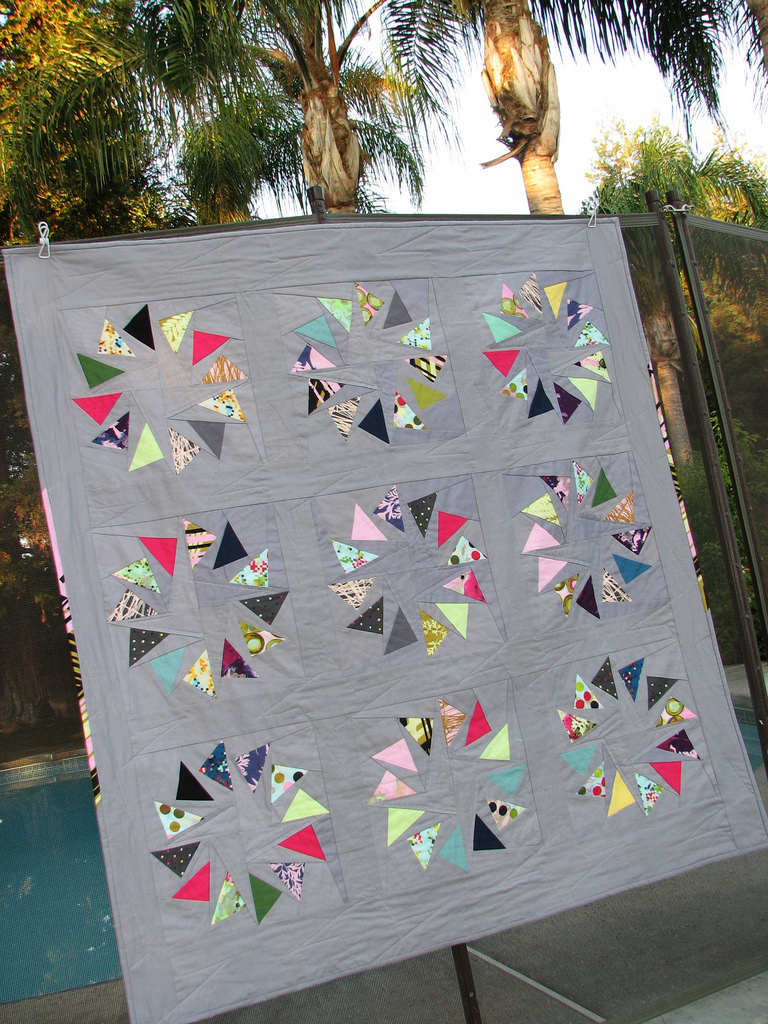
This project called the Circle of Geese Quilt for almost 15 years and has become very popular ever since.
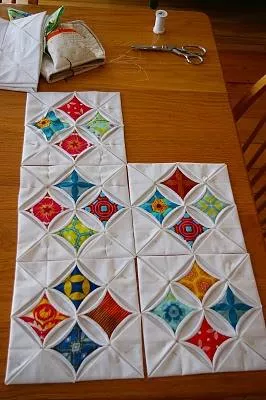
I want to introduce you how to successfully sew a Circle of Geese block without throwing your scissors in the room or pulling your hair. This is one of those blocks that can intimidate many, but you can trust you can do it.
This is a pad of paper which means that you sew the fabric onto a piece of paper following the lines that are preprinted on the paper. And it ‘s really easy when you get the hang of it.
This block is much like learning to ride a bike. It may be hard at first, but once you learn it, you wonder how hard you’ve worked. Lear more
The most complicated part of assembling this block is that it involves a lot of turning, folding of fabric and pieces of paper. It’s easy to get confused and make mistakes, so this tutorial has lots of photos.

EASY OR DIFFICULT?
This tutorial also gives you some extra steps to help you avoid problems. As you feel more comfortable with the assembly of the block, you can cut out some of the extra steps. Or you can throw caution to the wind and just jump all of them together from the start. Okay, so let’s go! It’s good to have the model you want first. Then cut it along the dotted line. This will be the final size of your block section and you will use the edge of the paper as your finish line when finished, then trim it accurately and accurately.
IMPORTANT!
Set the length of your point to the smallest setting so that your points – or, in this case, the holes – are close together.
The other good thing about punching the lines in advance is that it is useful when you need to fold the paper along the lines. And in this tutorial, you will be doing a lot of this.
NEXT STEP
Cut fabric to your bottom and fabric pieces for your goose triangle pieces. I think 3 “x 5” is a good size; can get smaller as it gets more comfortable, but I like to give myself room for mistakes. The first few times you mount this block, it is helpful to start with larger tissue cuts. Most of my initial mistakes involved using a piece that I swore would be large enough, but after sewing and spinning, it would be too short. You can trust me when I say I’d rather have some tissue waste than the frustration of having to undo a section because it turned out to be a few millimeters short. If fabric wastage is a concern, a 19 “x 6” piece will fit all six bottom pieces.
Follow our Facebook page on Ck Crafts, and our Love Quilting group. We give weekly tips with free pattern. I see you there.
Go to the link where is the PDF to be downloaded and this beautiful Free Pattern


